
默认UserAgent定义
从API version 11起,Web组件基于ArkWeb的内核,默认UserAgent定义如下:
Mozilla/5.0 ({deviceType}; {OSName} {OSVersion}) AppleWebKit/537.36 (KHTML, like Gecko) Chrome/114.0.0.0 Safari/537.36 ArkWeb/{ArkWeb VersionCode} {Mobile}
| 字段 | 含义 | 备注 |
|---|---|---|
| deviceType | 设备类型 | 通过系统参数const.product.devicetype映射得到。 |
| OSName | 发行版操作系统名称 | 通过系统参数const.product.os.dist.name得到。 |
| OSVersion | 发行版操作系统版本 | 通过系统参数const.ohos.fullname解析版本号得到。 |
| ArkWeb VersionCode | ArkWeb版本号 | - |
| Mobile(可选) | 是否是手机设备 | - |
举例:
Mozilla/5.0 (Phone; HarmonyOS 4.1) AppleWebKit/537.36 (KHTML, like Gecko) Chrome/114.0.0.0 Safari/537.36 ArkWeb/4.1.6.1 Mobile
建议通过ArkWeb关键字识别是否是HarmonyOS设备以及web内核是否为ArkWeb,同时可以通过deviceType识别设备类型用于不同设备上的页面显示
管理Cookie及数据存储
Cookie管理
Cookie是网络访问过程中,由服务端发送给客户端的一小段数据。客户端可持有该数据,并在后续访问该服务端时,方便服务端快速对客户端身份、状态等进行识别。
Web组件提供了WebCookieManager类,用于管理Web组件的Cookie信息。Cookie信息保存在应用沙箱路径下/proc/{pid}/root/data/storage/el2/base/cache/web/Cookiesd的文件中。
下面以 configCookieSync() 接口举例,为“www.example.com”设置单个Cookie的值“value=test”。其他Cookie的相关功能及使用,请参考 WebCookieManager() 接口文档。
// xxx.ets
import { webview } from '@kit.ArkWeb';
import { BusinessError } from '@kit.BasicServicesKit';

@Entry
@Component
struct WebComponent {
  controller: webview.WebviewController = new webview.WebviewController();

  build() {
    Column() {
      Button('configCookieSync')
        .onClick(() => {
          try {
            webview.WebCookieManager.configCookieSync('https://www.example.com', 'value=test');
          } catch (error) {
            console.error(`ErrorCode: ${(error as BusinessError).code},  Message: ${(error as BusinessError).message}`);
          }
        })
      Web({ src: 'www.example.com', controller: this.controller })
    }
  }
}

- 1
- 2
- 3
- 4
- 5
- 6
- 7
- 8
- 9
- 10
- 11
- 12
- 13
- 14
- 15
- 16
- 17
- 18
- 19
- 20
- 21
- 22
- 23
缓存与存储管理
在访问网站时,网络资源请求是相对比较耗时的。开发者可以通过Cache、Dom Storage等手段将资源保存到本地,以提升访问同一网站的速度。
Cache
使用 cacheMode() 配置页面资源的缓存模式,Web组件为开发者提供四种缓存模式,分别为:
- Default : 优先使用未过期的缓存,如果缓存不存在,则从网络获取。
- None : 加载资源使用cache,如果cache中无该资源则从网络中获取。
- Online : 加载资源不使用cache,全部从网络中获取。
- Only :只从cache中加载资源。
在下面的示例中,选用缓存设置为None模式。
// xxx.ets
import { webview } from '@kit.ArkWeb';

@Entry
@Component
struct WebComponent {
  @State mode: CacheMode = CacheMode.None;
  controller: webview.WebviewController = new webview.WebviewController();

  build() {
    Column() {
      Web({ src: 'www.example.com', controller: this.controller })
        .cacheMode(this.mode)
    }
  }
}
- 1
- 2
- 3
- 4
- 5
- 6
- 7
- 8
- 9
- 10
- 11
- 12
- 13
- 14
- 15
- 16
同时,为了获取最新资源,开发者可以通过 removeCache() 接口清除已经缓存的资源,示例代码如下:
// xxx.ets
import { webview } from '@kit.ArkWeb';
import { BusinessError } from '@kit.BasicServicesKit';

@Entry
@Component
struct WebComponent {
  @State mode: CacheMode = CacheMode.None;
  controller: webview.WebviewController = new webview.WebviewController();

  build() {
    Column() {
      Button('removeCache')
        .onClick(() => {
          try {
            // 设置为true时同时清除rom和ram中的缓存,设置为false时只清除ram中的缓存
            this.controller.removeCache(true);
          } catch (error) {
            console.error(`ErrorCode: ${(error as BusinessError).code},  Message: ${(error as BusinessError).message}`);
          }
        })
      Web({ src: 'www.example.com', controller: this.controller })
        .cacheMode(this.mode)
    }
  }
}
- 1
- 2
- 3
- 4
- 5
- 6
- 7
- 8
- 9
- 10
- 11
- 12
- 13
- 14
- 15
- 16
- 17
- 18
- 19
- 20
- 21
- 22
- 23
- 24
- 25
- 26
Dom Storage
Dom Storage包含了Session Storage和Local Storage两类。前者为临时数据,其存储与释放跟随会话生命周期;后者为可持久化数据,落盘在应用目录下。两者的数据均通过Key-Value的形式存储,通常在访问需要客户端存储的页面时使用。开发者可以通过Web组件的属性接口 domStorageAccess() 进行使能配置,示例如下:
// xxx.ets
import { webview } from '@kit.ArkWeb';

@Entry
@Component
struct WebComponent {
  controller: webview.WebviewController = new webview.WebviewController();

  build() {
    Column() {
      Web({ src: 'www.example.com', controller: this.controller })
        .domStorageAccess(true)
    }
  }
}
- 1
- 2
- 3
- 4
- 5
- 6
- 7
- 8
- 9
- 10
- 11
- 12
- 13
- 14
- 15
设置深色模式
Web组件支持对前端页面进行深色模式配置。
- 通过 darkMode() 接口可以配置不同的深色模式,默认关闭。当深色模式开启时,Web将启用媒体查询prefers-color-scheme中网页所定义的深色样式,若网页未定义深色样式,则保持原状。如需开启强制深色模式,建议配合 forceDarkAccess() 使用。 WebDarkMode.Off 模式表示关闭深色模式。 WebDarkMode.On 表示开启深色模式,并且深色模式跟随前端页面。 WebDarkMode.Auto 表示开启深色模式,并且深色模式跟随系统。
在下面的示例中, 通过 darkMode() 接口将页面深色模式配置为跟随系统。
// xxx.ets
import { webview } from '@kit.ArkWeb';

@Entry
@Component
struct WebComponent {
  controller: webview.WebviewController = new webview.WebviewController();
  @State mode: WebDarkMode = WebDarkMode.Auto;

  build() {
    Column() {
      Web({ src: $rawfile('index.html'), controller: this.controller })
        .darkMode(this.mode)
    }
  }
}
- 1
- 2
- 3
- 4
- 5
- 6
- 7
- 8
- 9
- 10
- 11
- 12
- 13
- 14
- 15
- 16
- 通过 forceDarkAccess() 接口可将前端页面强制配置深色模式,强制深色模式无法保证所有颜色转换符合预期,且深色模式不跟随前端页面和系统。配置该模式时候,需要将深色模式配置成WebDarkMode.On。
在下面的示例中, 通过 forceDarkAccess() 接口将页面强制配置为深色模式。
// xxx.ets
import { webview } from '@kit.ArkWeb';

@Entry
@Component
struct WebComponent {
  controller: webview.WebviewController = new webview.WebviewController();
  @State mode: WebDarkMode = WebDarkMode.On;
  @State access: boolean = true;

  build() {
    Column() {
      Web({ src: $rawfile('index.html'), controller: this.controller })
        .darkMode(this.mode)
        .forceDarkAccess(this.access)
    }
  }
}
- 1
- 2
- 3
- 4
- 5
- 6
- 7
- 8
- 9
- 10
- 11
- 12
- 13
- 14
- 15
- 16
- 17
- 18
- index.html页面代码。
Dark mode debug page
- 1
- 2
- 3
- 4
- 5
- 6
- 7
- 8
- 9
- 10
- 11
- 12
- 13
- 14
- 15
- 16
- 17
- 18
- 19
- 20
- 21
在新窗口中打开页面
Web组件提供了在新窗口打开页面的能力,开发者可以通过 multiWindowAccess() 接口来设置是否允许网页在新窗口打开。当有新窗口打开时,应用侧会在 onWindowNew() 接口中收到Web组件新窗口事件,开发者需要在此接口事件中,新建窗口来处理Web组件窗口请求。
说明:
-
allowWindowOpenMethod() 接口设置为true时,前端页面通过JavaScript函数调用的方式打开新窗口。
-
如果开发者在 onWindowNew() 接口通知中不需要打开新窗口,需要将 ControllerHandler.setWebController() 接口参数设置成null。
如下面的本地示例,当用户点击“新窗口中打开网页”按钮时,应用侧会在 onWindowNew() 接口中收到Web组件新窗口事件。
- 应用侧代码。
// xxx.ets
import { webview } from '@kit.ArkWeb';

// 在同一page页有两个Web组件。在WebComponent新开窗口时,会跳转到NewWebViewComp。
@CustomDialog
struct NewWebViewComp {
  controller?: CustomDialogController;
  webviewController1: webview.WebviewController = new webview.WebviewController();

  build() {
    Column() {
      Web({ src: "", controller: this.webviewController1 })
        .javaScriptAccess(true)
        .multiWindowAccess(false)
        .onWindowExit(() => {
          console.info("NewWebViewComp onWindowExit");
          if (this.controller) {
            this.controller.close();
          }
        })
    }
  }
}

@Entry
@Component
struct WebComponent {
  controller: webview.WebviewController = new webview.WebviewController();
  dialogController: CustomDialogController | null = null;

  build() {
    Column() {
      Web({ src: $rawfile("window.html"), controller: this.controller })
        .javaScriptAccess(true)
          // 需要使能multiWindowAccess
        .multiWindowAccess(true)
        .allowWindowOpenMethod(true)
        .onWindowNew((event) => {
          if (this.dialogController) {
            this.dialogController.close()
          }
          let popController: webview.WebviewController = new webview.WebviewController();
          this.dialogController = new CustomDialogController({
            builder: NewWebViewComp({ webviewController1: popController })
          })
          this.dialogController.open();
          // 将新窗口对应WebviewController返回给Web内核。
          // 如果不需要打开新窗口请调用event.handler.setWebController接口设置成null。
          // 若不调用event.handler.setWebController接口,会造成render进程阻塞。
          event.handler.setWebController(popController);
        })
    }
  }
}
- 1
- 2
- 3
- 4
- 5
- 6
- 7
- 8
- 9
- 10
- 11
- 12
- 13
- 14
- 15
- 16
- 17
- 18
- 19
- 20
- 21
- 22
- 23
- 24
- 25
- 26
- 27
- 28
- 29
- 30
- 31
- 32
- 33
- 34
- 35
- 36
- 37
- 38
- 39
- 40
- 41
- 42
- 43
- 44
- 45
- 46
- 47
- 48
- 49
- 50
- 51
- 52
- 53
- 54
- window.html页面代码。
WindowEvent
- 1
- 2
- 3
- 4
- 5
- 6
- 7
- 8
- 9
- 10
- 11
- 12
- 13
- 14
- 15
- 16
- 17
- 18
管理位置权限
Web组件提供位置权限管理能力。开发者可以通过 onGeolocationShow() 接口对某个网站进行位置权限管理。Web组件根据接口响应结果,决定是否赋予前端页面权限。获取设备位置,需要开发者配置 ohos.permission.LOCATION 、 ohos.permission.APPROXIMATELY_LOCATION 、 ohos.permission.LOCATION_IN_BACKGROUND ,并同时在设备上打开应用的位置权限和控制中心的位置信息,具体权限说明请参考 位置服务 。
在下面的示例中,用户点击前端页面"获取位置"按钮,Web组件通过弹窗的形式通知应用侧位置权限请求消息。
- 前端页面代码。
位置信息
- 1
- 2
- 3
- 4
- 5
- 6
- 7
- 8
- 9
- 10
- 11
- 12
- 13
- 14
- 15
- 16
- 17
- 18
- 19
- 应用代码。
// xxx.ets
import { webview } from '@kit.ArkWeb';
import { BusinessError } from '@kit.BasicServicesKit';
import { abilityAccessCtrl, common } from '@kit.AbilityKit';

let context = getContext(this) as common.UIAbilityContext;
let atManager = abilityAccessCtrl.createAtManager();

// 向用户请求位置权限设置。
atManager.requestPermissionsFromUser(context, ["ohos.permission.APPROXIMATELY_LOCATION"]).then((data) => {
  console.info('data:' + JSON.stringify(data));
  console.info('data permissions:' + data.permissions);
  console.info('data authResults:' + data.authResults);
}).catch((error: BusinessError) => {
  console.error(`Failed to request permissions from user. Code is ${error.code}, message is ${error.message}`);
})

@Entry
@Component
struct WebComponent {
  controller: webview.WebviewController = new webview.WebviewController();

  build() {
    Column() {
      Web({ src: $rawfile('getLocation.html'), controller: this.controller })
        .geolocationAccess(true)
        .onGeolocationShow((event) => { // 地理位置权限申请通知
          AlertDialog.show({
            title: '位置权限请求',
            message: '是否允许获取位置信息',
            primaryButton: {
              value: 'cancel',
              action: () => {
                if (event) {
                  event.geolocation.invoke(event.origin, false, false); // 不允许此站点地理位置权限请求
                }
              }
            },
            secondaryButton: {
              value: 'ok',
              action: () => {
                if (event) {
                  event.geolocation.invoke(event.origin, true, false); // 允许此站点地理位置权限请求
                }
              }
            },
            cancel: () => {
              if (event) {
                event.geolocation.invoke(event.origin, false, false); // 不允许此站点地理位置权限请求
              }
            }
          })
        })
    }
  }
}
- 1
- 2
- 3
- 4
- 5
- 6
- 7
- 8
- 9
- 10
- 11
- 12
- 13
- 14
- 15
- 16
- 17
- 18
- 19
- 20
- 21
- 22
- 23
- 24
- 25
- 26
- 27
- 28
- 29
- 30
- 31
- 32
- 33
- 34
- 35
- 36
- 37
- 38
- 39
- 40
- 41
- 42
- 43
- 44
- 45
- 46
- 47
- 48
- 49
- 50
- 51
- 52
- 53
- 54
- 55
- 56
使用隐私模式
开发者在创建Web组件时,可以将可选参数 incognitoMode 设置为’true’,来开启Web组件的隐私模式。 当使用隐私模式时,浏览网页时的cookies、 cache data 等数据不会保存在本地的持久化文件,当隐私模式的Web组件被销毁时,cookies、 cache data等数据将不被记录下来。
- 创建隐私模式的 Web组件 。
// xxx.ets
import { webview } from '@kit.ArkWeb';

@Entry
@Component
struct WebComponent {
 controller: webview.WebviewController = new webview.WebviewController();

 build() {
   Column() {
     Web({ src: 'www.example.com', controller: this.controller, incognitoMode: true })
   }
 }
}
- 1
- 2
- 3
- 4
- 5
- 6
- 7
- 8
- 9
- 10
- 11
- 12
- 13
- 14
- 通过 isIncogntoMode 判断当前Web组件是否是隐私模式。
// xxx.ets
import { webview } from '@kit.ArkWeb';
import { BusinessError } from '@kit.BasicServicesKit';

@Entry
@Component
struct WebComponent {
  controller: webview.WebviewController = new webview.WebviewController();

  build() {
    Column() {
      Button('isIncognitoMode')
        .onClick(() => {
          try {
            let result = this.controller.isIncognitoMode();
            console.log('isIncognitoMode' + result);
          } catch (error) {
            console.error(`ErrorCode: ${(error as BusinessError).code},  Message: ${(error as BusinessError).message}`);
          }
        })
      Web({ src: 'www.example.com', controller: this.controller })
    }
  }
}
- 1
- 2
- 3
- 4
- 5
- 6
- 7
- 8
- 9
- 10
- 11
- 12
- 13
- 14
- 15
- 16
- 17
- 18
- 19
- 20
- 21
- 22
- 23
- 24
隐私模式提供了一系列接口,用于操作地理位置、Cookie以及Cache Data。
- 通过 allowGeolocation 设置隐私模式下的Web组件允许指定来源使用地理位置。
// xxx.ets
import { webview } from '@kit.ArkWeb';
import { BusinessError } from '@kit.BasicServicesKit';

@Entry
@Component
struct WebComponent {
  controller: webview.WebviewController = new webview.WebviewController();
  origin: string = "file:///";

  build() {
    Column() {
      Button('allowGeolocation')
        .onClick(() => {
          try {
            // allowGeolocation第二个参数表示隐私模式(true)或非隐私模式(false)下,允许指定来源使用地理位置。
            webview.GeolocationPermissions.allowGeolocation(this.origin, true);
          } catch (error) {
            console.error(`ErrorCode: ${(error as BusinessError).code},  Message: ${(error as BusinessError).message}`);
          }
        })
      Web({ src: 'www.example.com', controller: this.controller, incognitoMode: true })
    }
  }
}
- 1
- 2
- 3
- 4
- 5
- 6
- 7
- 8
- 9
- 10
- 11
- 12
- 13
- 14
- 15
- 16
- 17
- 18
- 19
- 20
- 21
- 22
- 23
- 24
- 25
- 通过 deleteGeolocation 清除隐私模式下指定来源的地理位置权限状态。
// xxx.ets
import { webview } from '@kit.ArkWeb';
import { BusinessError } from '@kit.BasicServicesKit';

@Entry
@Component
struct WebComponent {
  controller: webview.WebviewController = new webview.WebviewController();
  origin: string = "file:///";

  build() {
    Column() {
      Button('deleteGeolocation')
        .onClick(() => {
          try {
            // deleteGeolocation第二个参数表示隐私模式(true)或非隐私模式(false)下,清除指定来源的地理位置权限状态。
            webview.GeolocationPermissions.deleteGeolocation(this.origin, true);
          } catch (error) {
            console.error(`ErrorCode: ${(error as BusinessError).code},  Message: ${(error as BusinessError).message}`);
          }
        })
      Web({ src: 'www.example.com', controller: this.controller, incognitoMode: true })
    }
  }
}
- 1
- 2
- 3
- 4
- 5
- 6
- 7
- 8
- 9
- 10
- 11
- 12
- 13
- 14
- 15
- 16
- 17
- 18
- 19
- 20
- 21
- 22
- 23
- 24
- 25
- 通过 getAccessibleGeolocation 以回调方式异步获取隐私模式下指定源的地理位置权限状态。
// xxx.ets
import { webview } from '@kit.ArkWeb';
import { BusinessError } from '@kit.BasicServicesKit';

@Entry
@Component
struct WebComponent {
  controller: webview.WebviewController = new webview.WebviewController();
  origin: string = "file:///";

  build() {
    Column() {
      Button('getAccessibleGeolocation')
        .onClick(() => {
          try {
            // getAccessibleGeolocation第三个参数表示隐私模式(true)或非隐私模式(false)下,以回调方式异步获取指定源的地理位置权限状态。
            webview.GeolocationPermissions.getAccessibleGeolocation(this.origin, (error, result) => {
              if (error) {
                console.log('getAccessibleGeolocationAsync error: ' + JSON.stringify(error));
                return;
              }
              console.log('getAccessibleGeolocationAsync result: ' + result);
            }, true);
          } catch (error) {
            console.error(`ErrorCode: ${(error as BusinessError).code},  Message: ${(error as BusinessError).message}`);
          }
        })
      Web({ src: 'www.example.com', controller: this.controller, incognitoMode: true })
    }
  }
}
- 1
- 2
- 3
- 4
- 5
- 6
- 7
- 8
- 9
- 10
- 11
- 12
- 13
- 14
- 15
- 16
- 17
- 18
- 19
- 20
- 21
- 22
- 23
- 24
- 25
- 26
- 27
- 28
- 29
- 30
- 31
- 通过 deleteAllData 清除隐私模式下Web SQL当前使用的所有存储。
// xxx.ets
import { webview } from '@kit.ArkWeb';
import { BusinessError } from '@kit.BasicServicesKit';

@Entry
@Component
struct WebComponent {
  controller: webview.WebviewController = new webview.WebviewController();

  build() {
    Column() {
      Button('deleteAllData')
        .onClick(() => {
          try {
            // deleteAllData参数表示删除所有隐私模式(true)或非隐私模式(false)下,内存中的web数据。
            webview.WebStorage.deleteAllData(true);
          } catch (error) {
            console.error(`ErrorCode: ${(error as BusinessError).code},  Message: ${(error as BusinessError).message}`);
          }
        })
      Web({ src: $rawfile('index.html'), controller: this.controller, incognitoMode: true })
        .databaseAccess(true)
    }
  }
}
- 1
- 2
- 3
- 4
- 5
- 6
- 7
- 8
- 9
- 10
- 11
- 12
- 13
- 14
- 15
- 16
- 17
- 18
- 19
- 20
- 21
- 22
- 23
- 24
- 25
- 通过 fetchCookieSync 获取隐私模式下指定url对应cookie的值。
// xxx.ets
import { webview } from '@kit.ArkWeb';
import { BusinessError } from '@kit.BasicServicesKit';

@Entry
@Component
struct WebComponent {
  controller: webview.WebviewController = new webview.WebviewController();

  build() {
    Column() {
      Button('fetchCookieSync')
        .onClick(() => {
          try {
            // fetchCookieSync第二个参数表示获取隐私模式(true)或非隐私模式(false)下,webview的内存cookies。
            let value = webview.WebCookieManager.fetchCookieSync('https://www.example.com', true);
            console.log("fetchCookieSync cookie = " + value);
          } catch (error) {
            console.error(`ErrorCode: ${(error as BusinessError).code},  Message: ${(error as BusinessError).message}`);
          }
        })
      Web({ src: 'www.example.com', controller: this.controller, incognitoMode: true })
    }
  }
}
- 1
- 2
- 3
- 4
- 5
- 6
- 7
- 8
- 9
- 10
- 11
- 12
- 13
- 14
- 15
- 16
- 17
- 18
- 19
- 20
- 21
- 22
- 23
- 24
- 25
- 通过 configCookieSync 设置隐私模式下指定url的单个cookie的值。
// xxx.ets
import { webview } from '@kit.ArkWeb';
import { BusinessError } from '@kit.BasicServicesKit';

@Entry
@Component
struct WebComponent {
  controller: webview.WebviewController = new webview.WebviewController();

  build() {
    Column() {
      Button('configCookieSync')
        .onClick(() => {
          try {
            // configCookieSync第三个参数表示获取隐私模式(true)或非隐私模式(false)下,对应url的cookies。
            webview.WebCookieManager.configCookieSync('https://www.example.com', 'a=b', true);
          } catch (error) {
            console.error(`ErrorCode: ${(error as BusinessError).code},  Message: ${(error as BusinessError).message}`);
          }
        })
      Web({ src: 'www.example.com', controller: this.controller, incognitoMode: true })
    }
  }
}
- 1
- 2
- 3
- 4
- 5
- 6
- 7
- 8
- 9
- 10
- 11
- 12
- 13
- 14
- 15
- 16
- 17
- 18
- 19
- 20
- 21
- 22
- 23
- 24
- 通过 existCookie 查询隐私模式下是否存在cookie。
// xxx.ets
import { webview } from '@kit.ArkWeb';

@Entry
@Component
struct WebComponent {
  controller: webview.WebviewController = new webview.WebviewController();

  build() {
    Column() {
      Button('existCookie')
        .onClick(() => {
          // existCookie参数表示隐私模式(true)或非隐私模式(false)下,查询是否存在cookies。
          let result = webview.WebCookieManager.existCookie(true);
          console.log("result: " + result);
        })
      Web({ src: 'www.example.com', controller: this.controller, incognitoMode: true })
    }
  }
}
- 1
- 2
- 3
- 4
- 5
- 6
- 7
- 8
- 9
- 10
- 11
- 12
- 13
- 14
- 15
- 16
- 17
- 18
- 19
- 20
- 通过 clearAllCookiesSync 清除隐私模式下所有cookie。
// xxx.ets
import { webview } from '@kit.ArkWeb';

@Entry
@Component
struct WebComponent {
  controller: webview.WebviewController = new webview.WebviewController();

  build() {
    Column() {
      Button('clearAllCookiesSync')
        .onClick(() => {
          // clearAllCookiesSync参数表示清除隐私模式(true)或非隐私模式(false)下,webview的所有内存cookies。
          webview.WebCookieManager.clearAllCookiesSync(true);
        })
      Web({ src: 'www.example.com', controller: this.controller, incognitoMode: true })
    }
  }
}
- 1
- 2
- 3
- 4
- 5
- 6
- 7
- 8
- 9
- 10
- 11
- 12
- 13
- 14
- 15
- 16
- 17
- 18
- 19
鸿蒙全栈开发全新学习指南
有很多小伙伴不知道学习哪些鸿蒙开发技术?不知道需要重点掌握哪些鸿蒙应用开发知识点?而且学习时频繁踩坑,最终浪费大量时间。所以要有一份实用的鸿蒙(HarmonyOS NEXT)学习路线与学习文档用来跟着学习是非常有必要的。
针对一些列因素,整理了一套纯血版鸿蒙(HarmonyOS Next)全栈开发技术的学习路线,包含了鸿蒙开发必掌握的核心知识要点,内容有(ArkTS、ArkUI开发组件、Stage模型、多端部署、分布式应用开发、WebGL、元服务、OpenHarmony多媒体技术、Napi组件、OpenHarmony内核、OpenHarmony驱动开发、系统定制移植等等)鸿蒙(HarmonyOS NEXT)技术知识点。
本路线共分为四个阶段:
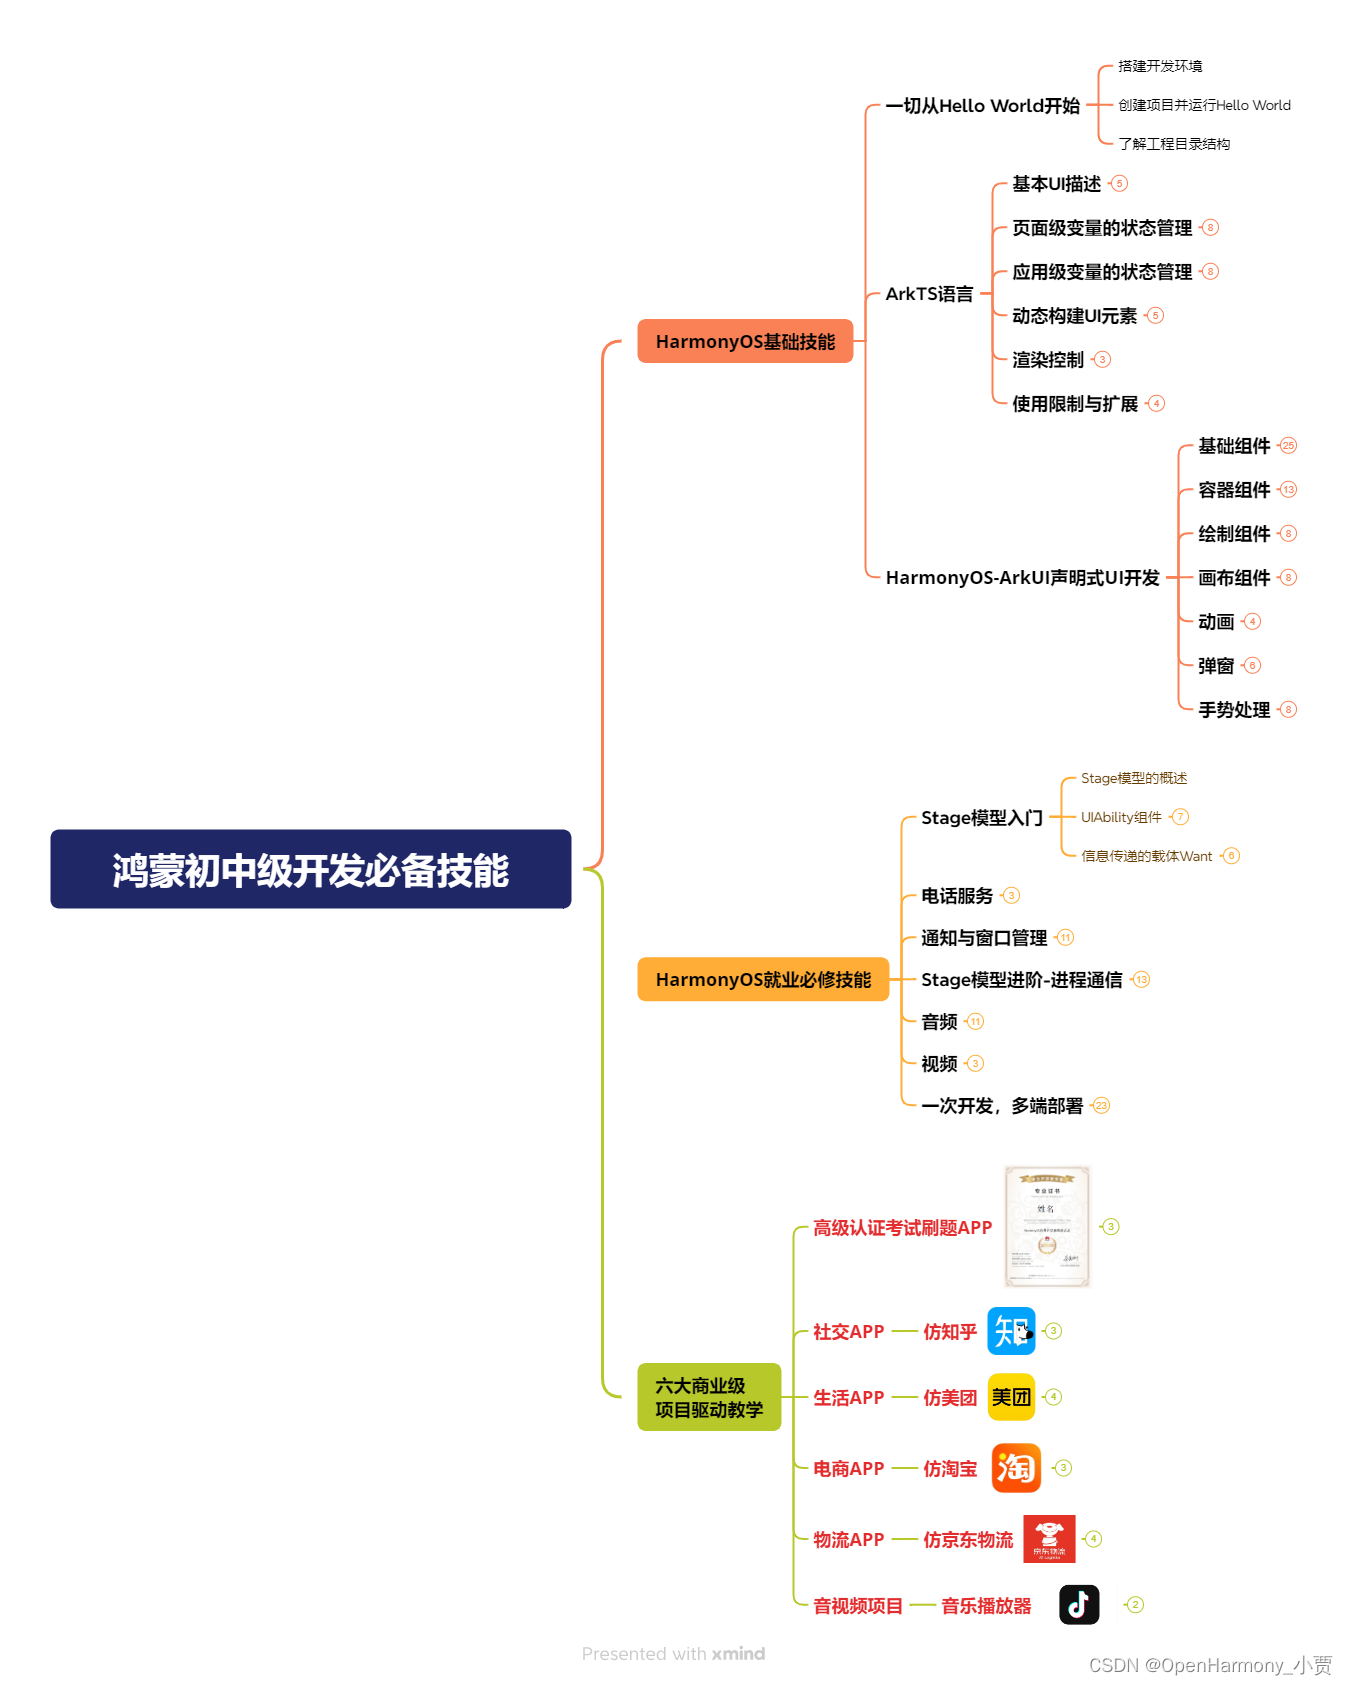
第一阶段:鸿蒙初中级开发必备技能
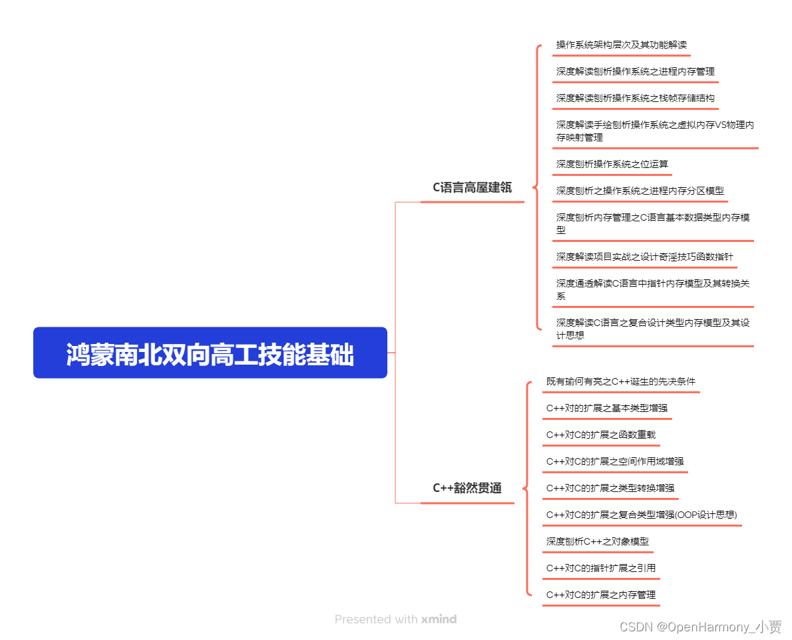
第二阶段:鸿蒙南北双向高工技能基础:gitee.com/MNxiaona/733GH
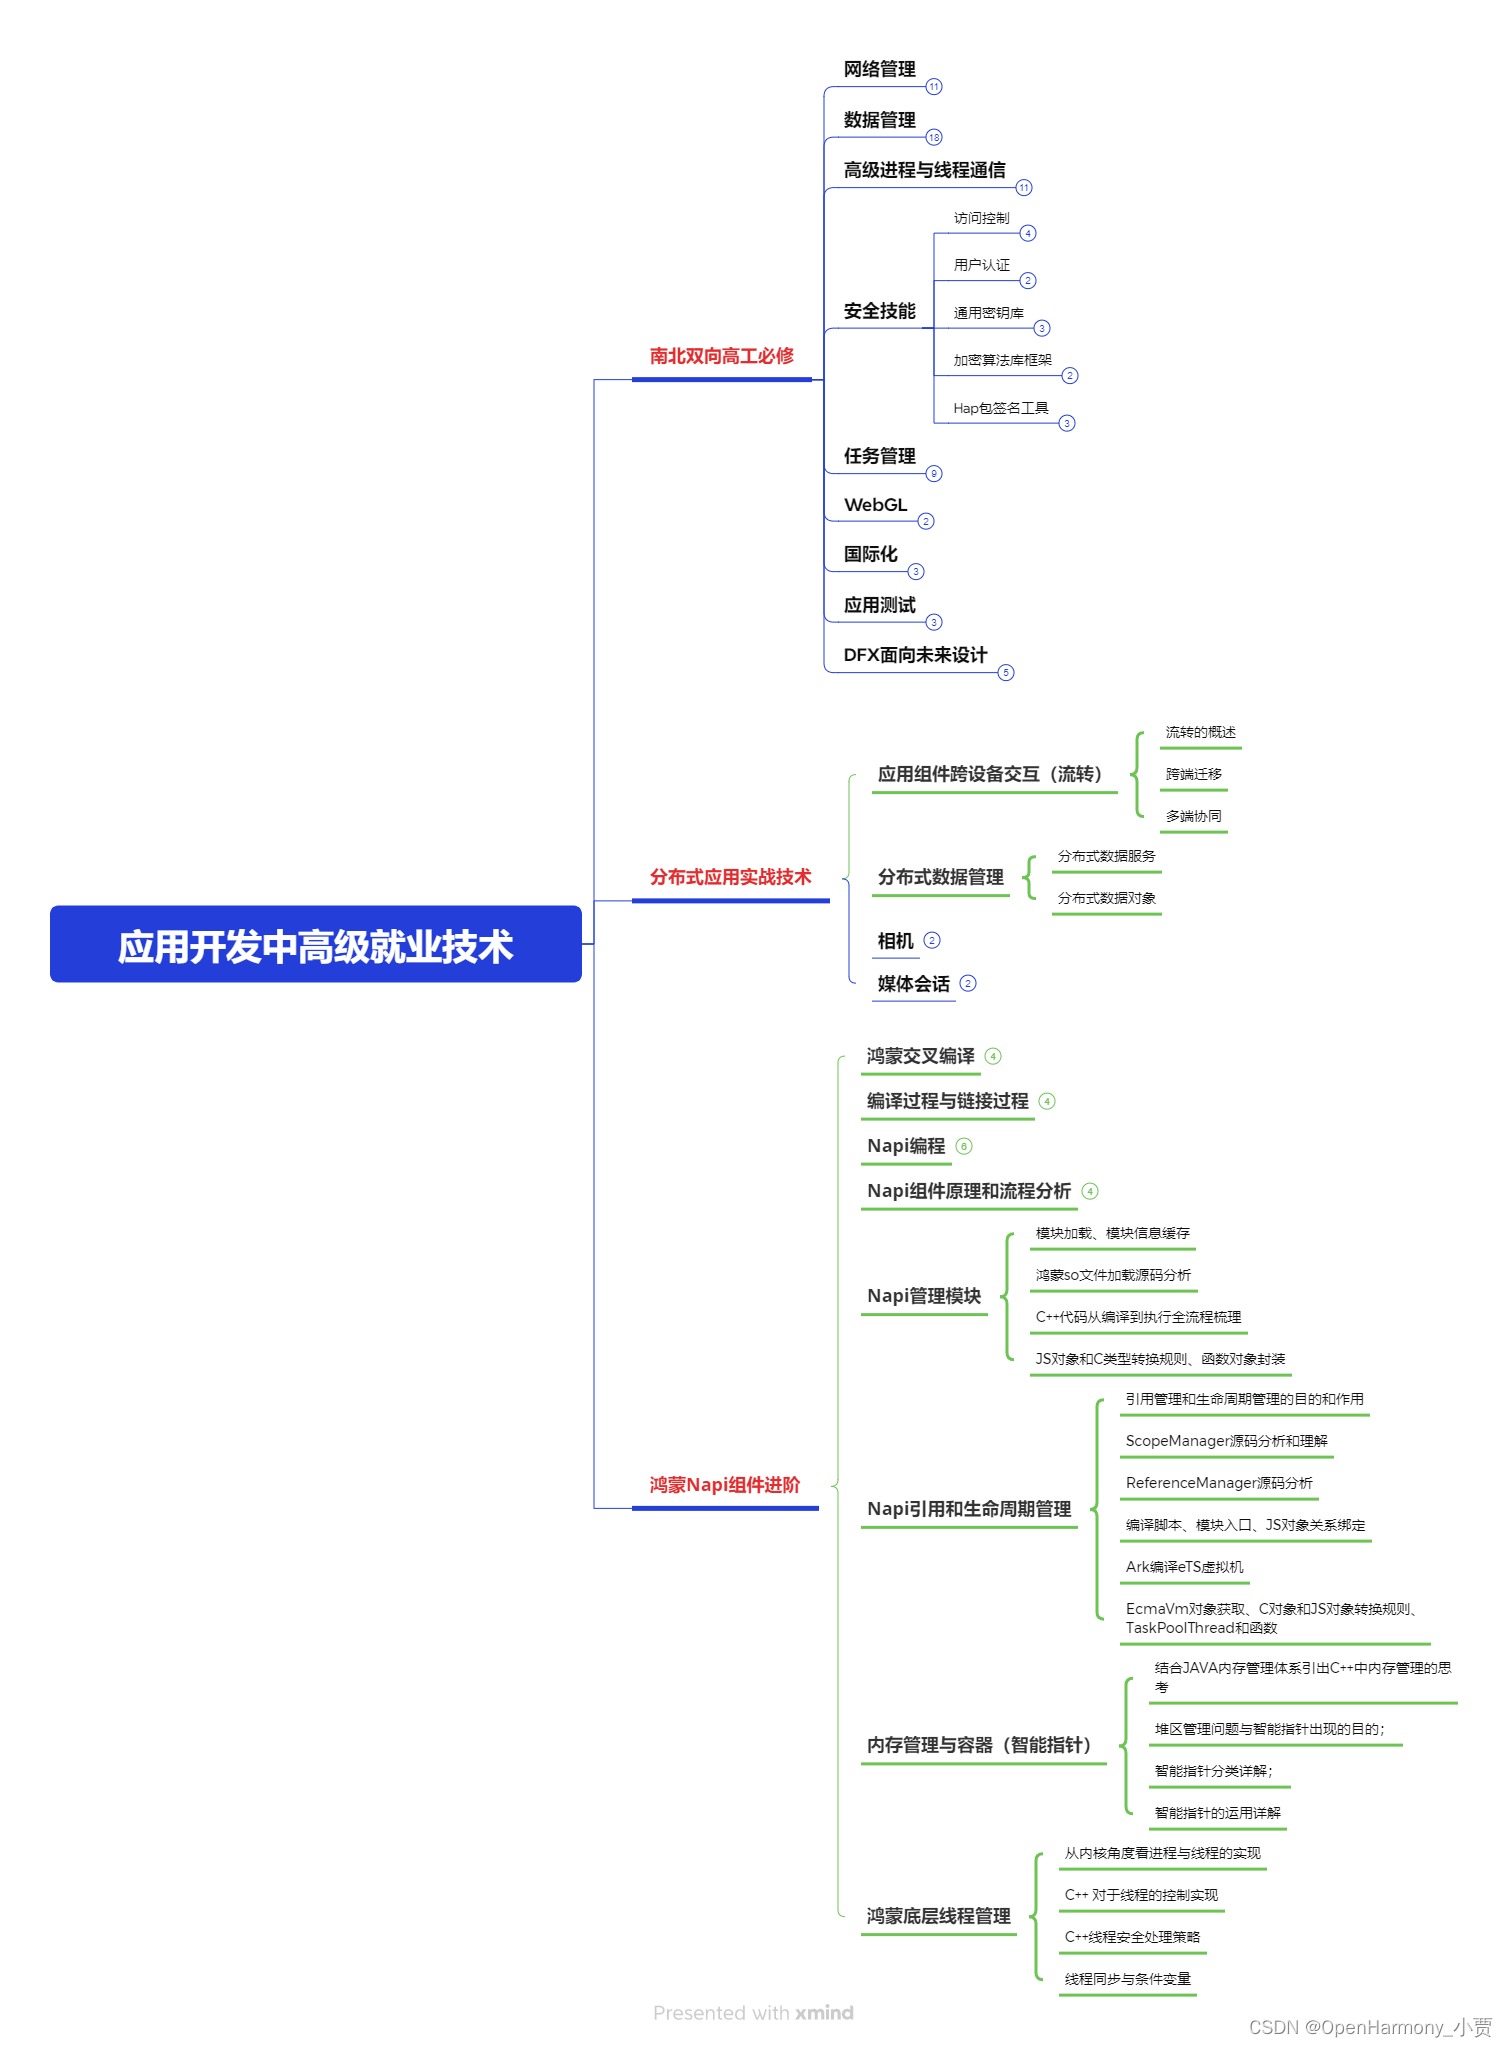
第三阶段:应用开发中高级就业技术
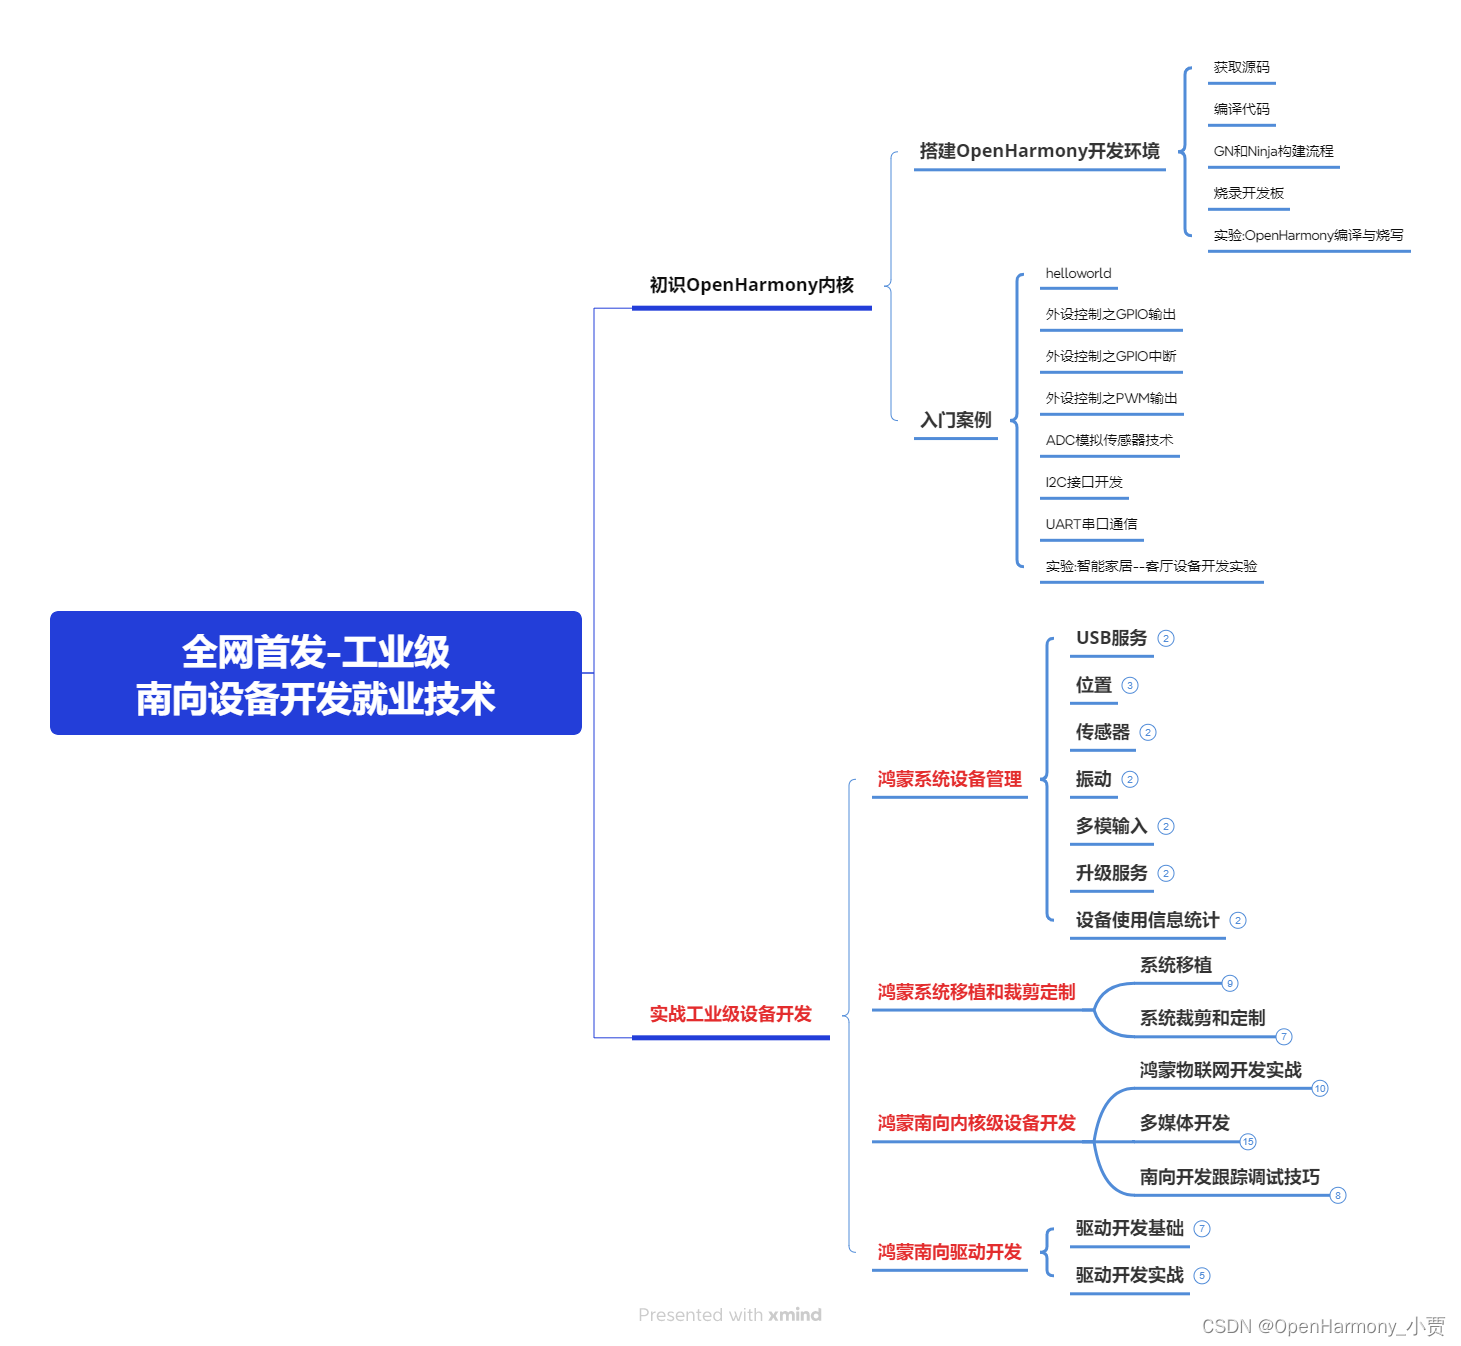
第四阶段:全网首发-工业级南向设备开发就业技术:gitee.com/MNxiaona/733GH
《鸿蒙 (Harmony OS)开发学习手册》(共计892页)
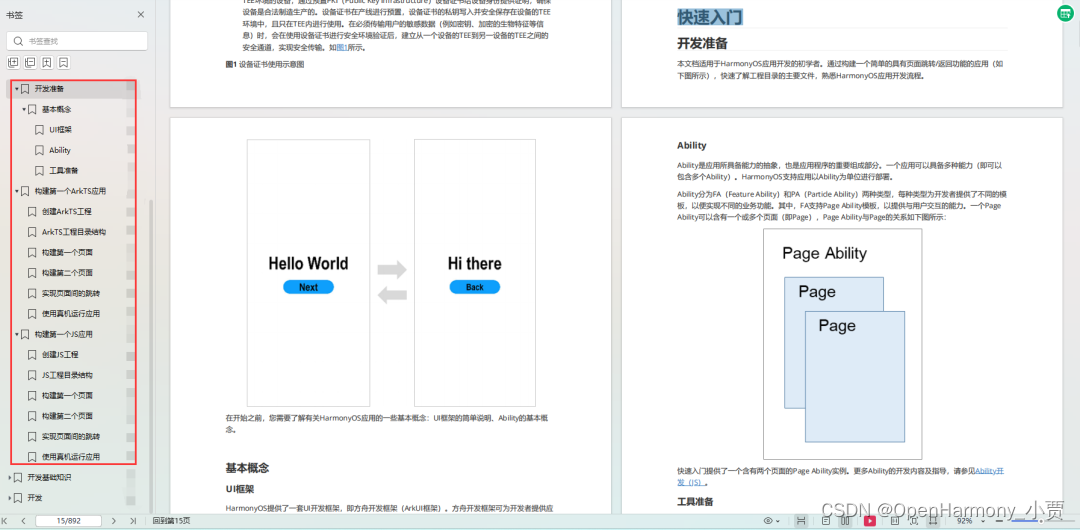
如何快速入门?
1.基本概念
2.构建第一个ArkTS应用
3.……
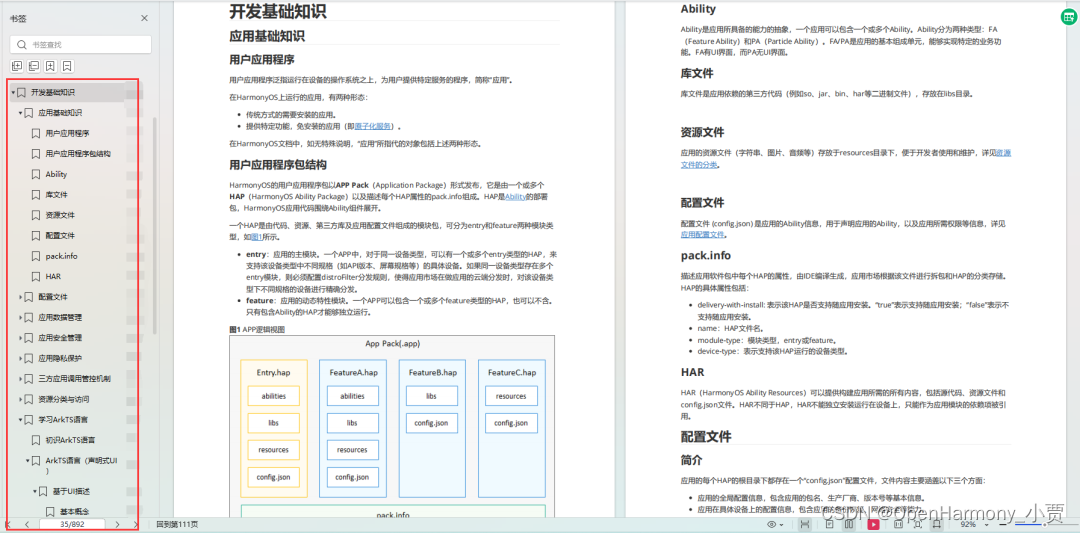
开发基础知识:gitee.com/MNxiaona/733GH
1.应用基础知识
2.配置文件
3.应用数据管理
4.应用安全管理
5.应用隐私保护
6.三方应用调用管控机制
7.资源分类与访问
8.学习ArkTS语言
9.……
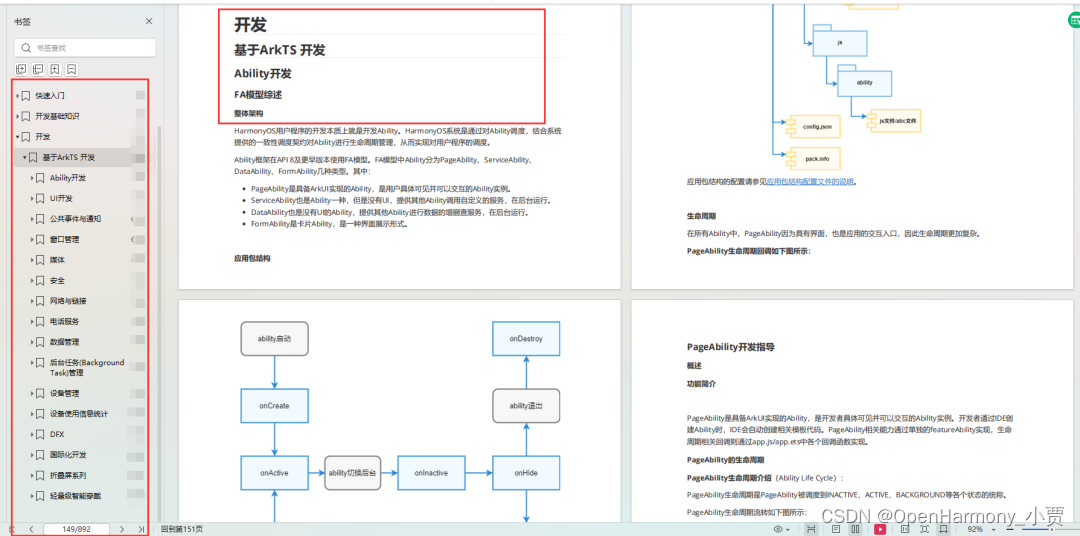
基于ArkTS 开发
1.Ability开发
2.UI开发
3.公共事件与通知
4.窗口管理
5.媒体
6.安全
7.网络与链接
8.电话服务
9.数据管理
10.后台任务(Background Task)管理
11.设备管理
12.设备使用信息统计
13.DFX
14.国际化开发
15.折叠屏系列
16.……
鸿蒙开发面试真题(含参考答案):gitee.com/MNxiaona/733GH
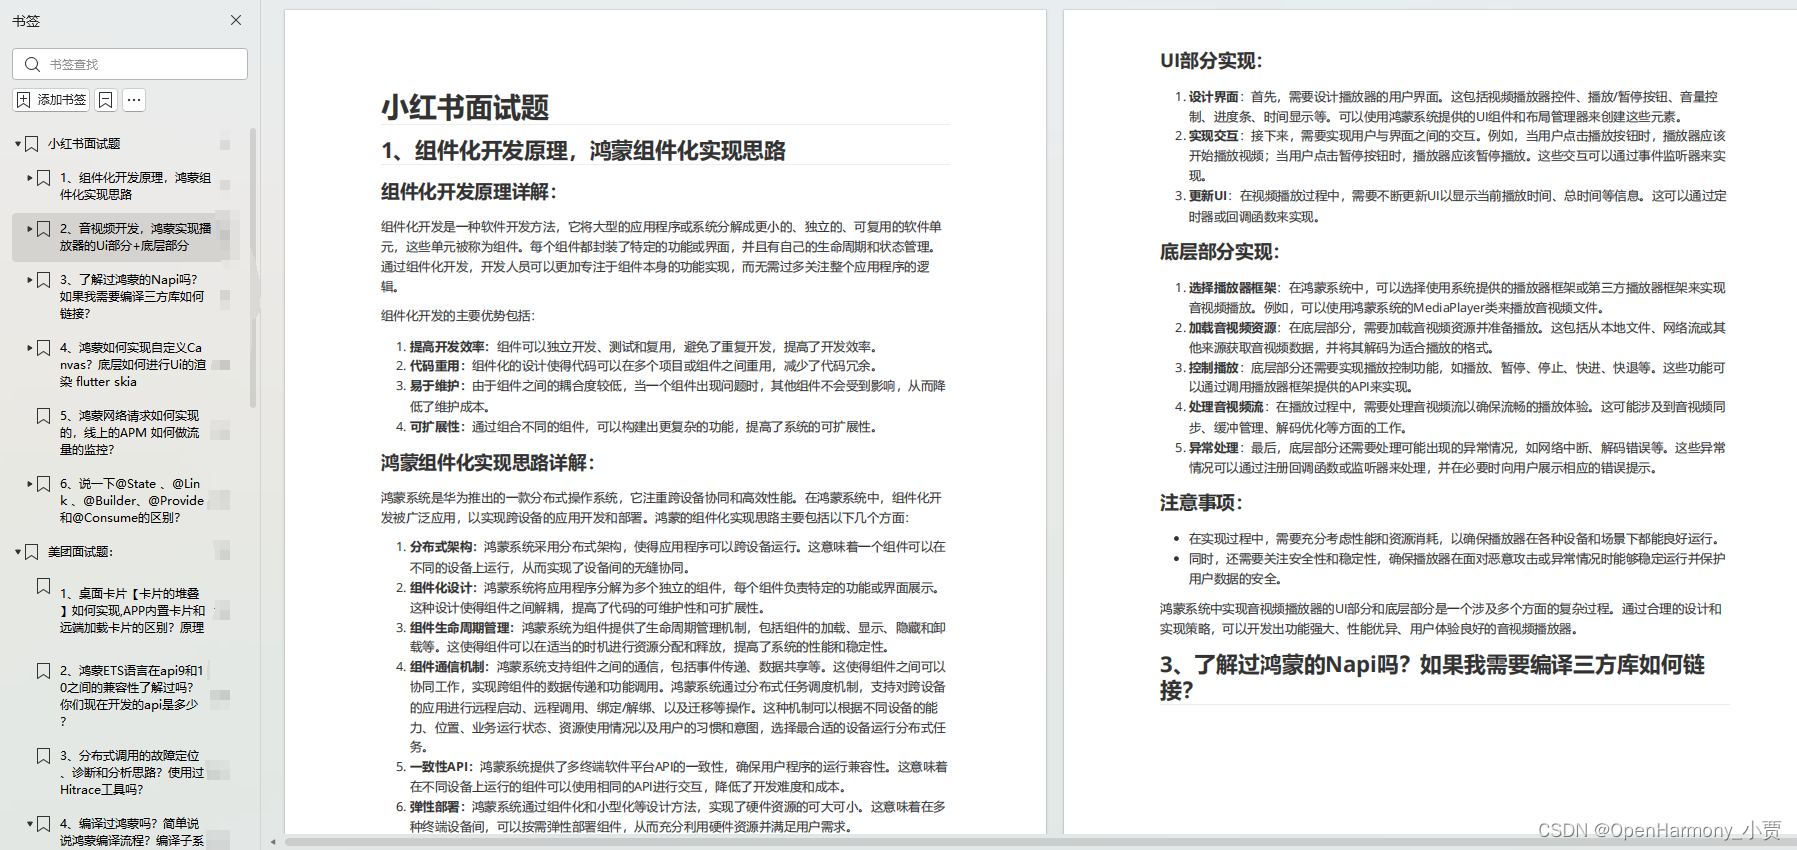
鸿蒙入门教学视频:
美团APP实战开发教学:gitee.com/MNxiaona/733GH

写在最后
- 如果你觉得这篇内容对你还蛮有帮助,我想邀请你帮我三个小忙:
- 点赞,转发,有你们的 『点赞和评论』,才是我创造的动力。
- 关注小编,同时可以期待后续文章ing?,不定期分享原创知识。
- 想要获取更多完整鸿蒙最新学习资源,请移步前往小编:
gitee.com/MNxiaona/733GH


 微信名片
微信名片

评论记录:
回复评论: