
一、引言
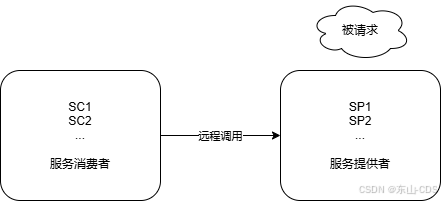
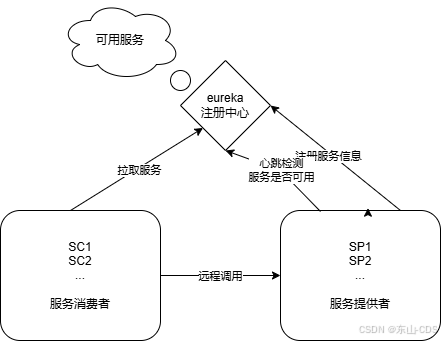
在正式开始学习之前我们需要先掌握两个微服务中的概念,服务提供者(Service Provider)和服务消费者(Service Consumer),我们知道在微服项目中,由于服务的职责单一性,数据的独立性,我们需要其他数据库数据时,需要发送HTTP请求跨服务读取另一数据库的内容。此时被请求的一方即提供者,请求方为消费者。
而面对大量的跨服务请求我们如果手动在各个服务里硬编码HTTP请求路径将非常不利于集群的开发和维护,我们今天将使用Eureka解决这一问题。
二、Eureka简介
Spring Cloud Eureka 是 Netflix 开源的一个服务发现框架,它被集成到了 Spring Cloud 中,提供了服务注册与发现的功能。在微服务架构中,服务实例可能会动态地增加或减少,服务发现机制允许各个服务实例能够互相感知对方的存在。Spring Cloud Eureka 提供了一个简单而强大的服务注册与发现机制,使得在微服务架构中管理和调用服务变得更加容易。
三、入门项目
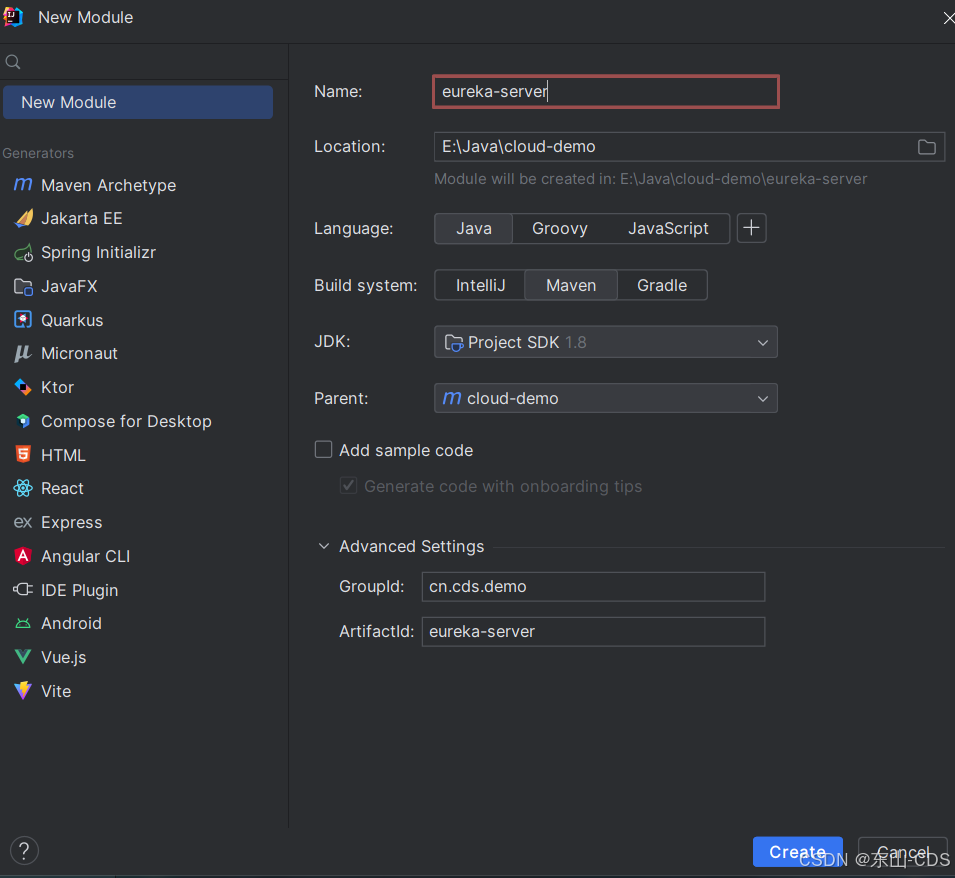
1.创建Eureka服务端:
-
创建一个Maven工程,用于搭建Eureka服务端。
-
在
pom.xml文件中导入Eureka Server的依赖。
- <dependencies>
-
- <dependency>
- <groupId>org.springframework.cloudgroupId>
- <artifactId>spring-cloud-starter-netflix-eureka-serverartifactId>
- dependency>
- dependencies>
-
在
application.yml文件中配置Eureka Server的相关信息。
- server:
- port: 7071
- # 注册eureka服务
- spring:
- application:
- name: eurekaserver #eureka的服务器名称
- eureka:
- client:
- service-url: #eureka的地址信息
- defaultZone: http://localhost:10086/eureka
- register-with-eureka: false # 不向注册中心注册自己
- fetch-registry: false # 不从注册中心抓取服务
-
创建主启动类,并在主启动类上添加
@EnableEurekaServer注解,以启动Eureka Server。- @EnableEurekaServer
- @SpringBootApplication
- public class EurekaServerApplication {
- public static void main(String[] args) {
- SpringApplication.run(EurekaServerApplication.class, args);
- }
- }
-
启动Eureka注册中心。然后,可以通过浏览器访问
http://localhost:7001/来查看Eureka注册中心的界面。

2.搭建服务提供者:
-
创建一个新的Maven工程,用于搭建服务提供者。

-
在
pom.xml文件中,导入Eureka Client的依赖和Spring Boot的启动依赖等。- <dependency>
- <groupId>org.springframework.bootgroupId>
- <artifactId>spring-boot-starter-webartifactId>
- dependency>
- <dependency>
- <groupId>mysqlgroupId>
- <artifactId>mysql-connector-javaartifactId>
- dependency>
- <dependency>
- <groupId>org.mybatis.spring.bootgroupId>
- <artifactId>mybatis-spring-boot-starterartifactId>
- dependency>
- <dependency>
- <groupId>org.springframework.cloudgroupId>
- <artifactId>spring-cloud-starter-netflix-eureka-clientartifactId>
- dependency>

-
在
application.yml文件中,配置服务提供者的相关信息(主要配置为spring.application.name和eureka)。- server:
- port: 8081
- spring:
- datasource:
- url:
- username:
- password:
- driver-class-name: com.mysql.jdbc.Driver
- application:
- name: userservice
- mybatis:
- type-aliases-package: cn.cds.user.pojo
- configuration:
- map-underscore-to-camel-case: true
- logging:
- level:
- cn.itcast: debug
- pattern:
- dateformat: MM-dd HH:mm:ss:SSS
- eureka:
- client:
- service-url: #eureka的地址信息
- defaultZone: http://localhost:7071/eureka
-
创建Controller,用于对外提供服务。
- import cn.cds.user.pojo.User;
- import cn.cds.user.service.UserService;
- import lombok.extern.slf4j.Slf4j;
- import org.springframework.beans.factory.annotation.Autowired;
- import org.springframework.web.bind.annotation.*;
- @Slf4j
- @RestController
- @RequestMapping("/user")
- public class UserController {
- @Autowired
- private UserService userService;
- /**
- * @param id 用户id
- * @return 用户
- */
- @GetMapping("/{id}")
- public User queryById(@PathVariable("id") Long id) {
- return userService.queryById(id);
- }
- }
-
在主启动类上添加
@EnableEurekaClient注解,以启用Eureka Client。- import org.springframework.boot.SpringApplication;
- import org.springframework.boot.autoconfigure.SpringBootApplication;
- import org.mybatis.spring.annotation.MapperScan;
- import org.springframework.cloud.netflix.eureka.EnableEurekaClient;
- @MapperScan("cn.cds.user.mapper")
- @SpringBootApplication
- @EnableEurekaClient
- public class UserApplication {
- public static void main(String[] args) {
- SpringApplication.run(UserApplication.class, args);
- }
- }
3.创建服务消费者:
重复服务提供者搭建的所有操作,做一个用于请求服务提供者的接口,不同的是,为了模拟实际业务场景,我们所配置的数据库和端口皆不同于已创建的其他服务。
- import cn.cds.order.pojo.Order;
- import cn.cds.order.service.OrderService;
- import org.springframework.beans.factory.annotation.Autowired;
- import org.springframework.web.bind.annotation.GetMapping;
- import org.springframework.web.bind.annotation.PathVariable;
- import org.springframework.web.bind.annotation.RequestMapping;
- import org.springframework.web.bind.annotation.RestController;
-
- @RestController
- @RequestMapping("order")
- public class OrderController {
-
- @Autowired
- private OrderService orderService;
-
- @GetMapping("{orderId}")
- public Order queryOrderByUserId(@PathVariable("orderId") Long orderId) {
- // 根据id查询订单并返回
- return orderService.queryOrderById(orderId);
- }
- }
并且在Service层不再需要硬编码请求地址,改为注册中心中的服务器名即可
- import cn.cds.order.mapper.OrderMapper;
- import cn.cds.order.pojo.Order;
- import cn.cds.order.pojo.User;
- import org.springframework.beans.factory.annotation.Autowired;
- import org.springframework.stereotype.Service;
- import org.springframework.web.client.RestTemplate;
-
- @Service
- public class OrderService {
-
- @Autowired
- private OrderMapper orderMapper;
- @Autowired
- private RestTemplate restTemplate;
-
- public Order queryOrderById(Long orderId) {
- // 1.查询订单
- Order order = orderMapper.findById(orderId);
- //2.利用RestTemplate发起http请求,查询用户
- //注意此处url
- String url="http://userservice/user/"+order.getUserId();
- User user = restTemplate.getForObject(url, User.class);
- //3.封装user到Order
- order.setUser(user);
- // 4.返回
- return order;
- }
- }
此时我们再通过浏览器访问 http://localhost:7001/ 来查看Eureka注册中心的界面,userservice和orderservice均以注册。

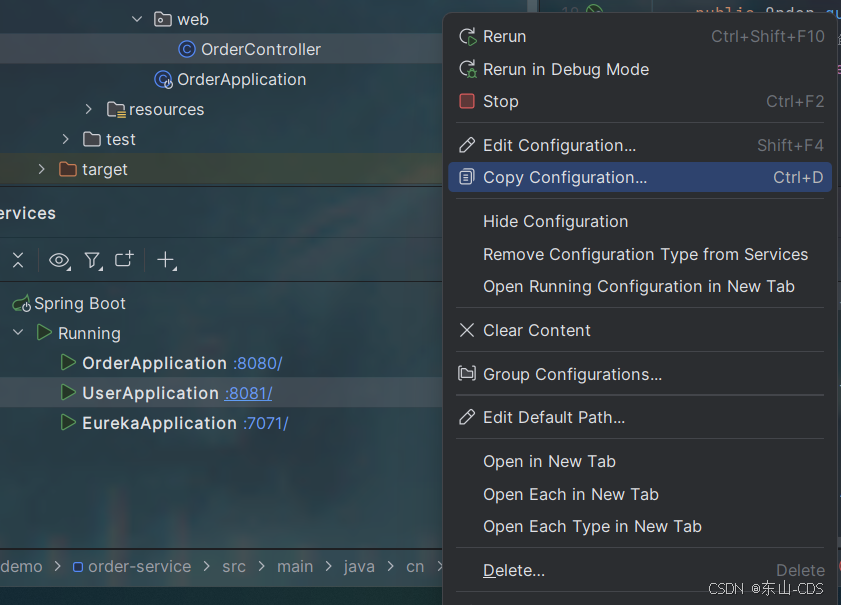
4.Ribbon负载均衡测试
另外我们再扩展一小部分,我们知道,在真实的业务场景中一个服务可能对应多个实例或服务器,在微服务架构中,负载均衡通常用于服务网关,以分发进入的API请求到后端的微服务实例。
-
我们再复制一个userservice
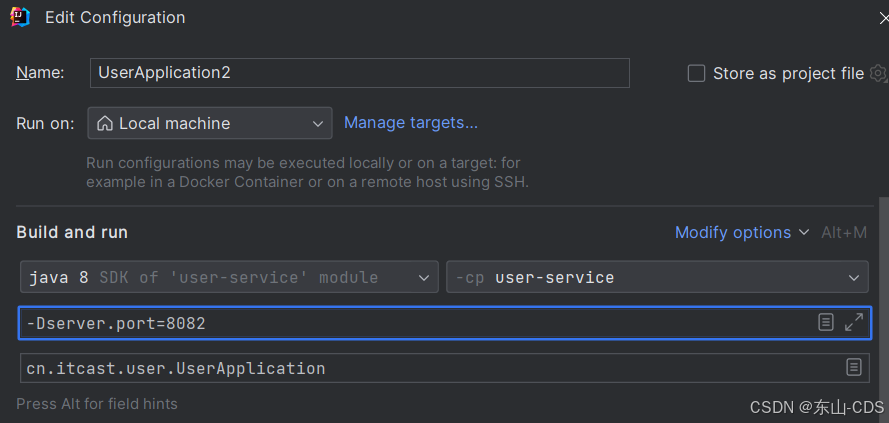
-
启动UserApplication2再去浏览器的注册中心查看,此时列表中有两个userservice

-
在服务消费者的配置类中为RestTemplate添加@LoadBalanced注解,使拦截器对其拦截并进行IRule规则的负载均衡
- /**
- * 创建RestTemplate并注入IOC容器,发送http请求
- */
- @LoadBalanced
- @Bean
- public RestTemplate restTemplate(){
- return new RestTemplate();
- }
-
负载均衡测试
我们两次调用服物消费者所在接口,可以看到两次请求分别根据负载均衡规则请求到了8082和8081端口


评论记录:
回复评论: