
零基础学习Spring AI Java AI SpringBoot AI调用大模型OpenAi Ollama集成大模型
环境准备
-
jdk17+ 这里自行安装,我安装的jdk21
-
idea
-
Ollama安装,请参考下面链接:
创建项目
maven的pom.xml配置
<project xmlns="http://maven.apache.org/POM/4.0.0" xmlns:xsi="http://www.w3.org/2001/XMLSchema-instance"
         xsi:schemaLocation="http://maven.apache.org/POM/4.0.0 https://maven.apache.org/xsd/maven-4.0.0.xsd">
    <modelVersion>4.0.0modelVersion>
    <parent>
        <groupId>org.springframework.bootgroupId>
        <artifactId>spring-boot-starter-parentartifactId>
        <version>3.3.5version>
        <relativePath/>
    parent>
    <groupId>com.examplegroupId>
    <artifactId>springaiartifactId>
    <version>0.0.1-SNAPSHOTversion>
    <name>springainame>
    <description>springaidescription>

    <properties>
        <java.version>23java.version>
    properties>

    <dependencyManagement>
        <dependencies>
            <dependency>
                <groupId>org.springframework.aigroupId>
                <artifactId>spring-ai-bomartifactId>
                <version>1.0.0-SNAPSHOTversion>
                <type>pomtype>
                <scope>importscope>
            dependency>
        dependencies>
    dependencyManagement>

    <dependencies>
        <dependency>
            <groupId>org.springframework.bootgroupId>
            <artifactId>spring-boot-starter-webartifactId>
        dependency>

        <dependency>
            <groupId>org.springframework.bootgroupId>
            <artifactId>spring-boot-starter-actuatorartifactId>
        dependency>


        <dependency>
            <groupId>org.springframework.aigroupId>
            <artifactId>spring-ai-ollama-spring-boot-starterartifactId>
        dependency>

        <dependency>
            <groupId>org.springframework.bootgroupId>
            <artifactId>spring-boot-starter-testartifactId>
            <scope>testscope>
        dependency>
    dependencies>


    <build>
        <plugins>
            <plugin>
                <groupId>org.springframework.bootgroupId>
                <artifactId>spring-boot-maven-pluginartifactId>
            plugin>
        plugins>
    build>

    <repositories>
        <repository>
            <id>spring-milestonesid>
            <name>Spring Milestonesname>
            <url>https://repo.spring.io/milestoneurl>
            <snapshots>
                <enabled>falseenabled>
            snapshots>
        repository>
        <repository>
            <id>spring-snapshotsid>
            <name>Spring Snapshotsname>
            <url>https://repo.spring.io/snapshoturl>
            <releases>
                <enabled>falseenabled>
            releases>
        repository>
    repositories>

project>
- 1
- 2
- 3
- 4
- 5
- 6
- 7
- 8
- 9
- 10
- 11
- 12
- 13
- 14
- 15
- 16
- 17
- 18
- 19
- 20
- 21
- 22
- 23
- 24
- 25
- 26
- 27
- 28
- 29
- 30
- 31
- 32
- 33
- 34
- 35
- 36
- 37
- 38
- 39
- 40
- 41
- 42
- 43
- 44
- 45
- 46
- 47
- 48
- 49
- 50
- 51
- 52
- 53
- 54
- 55
- 56
- 57
- 58
- 59
- 60
- 61
- 62
- 63
- 64
- 65
- 66
- 67
- 68
- 69
- 70
- 71
- 72
- 73
- 74
- 75
- 76
- 77
- 78
- 79
- 80
- 81
- 82
- 83
- 84
- 85
- 86
- 87
- 88
- 89
- 90
- 91
配置ollama大模型调用api地址
其他配置请看官网说明:https://docs.spring.io/spring-ai/reference/api/chat/ollama-chat.html
spring.application.name=springai

#如果是调用chatGPT的接口,这里配置openai的key,并把maven的配置放开
spring.ai.openai.api-key=34223242432424324

#ollama配置地址
spring.ai.ollama.base-url=http://192.168.1.59:11434
spring.ai.ollama.init.pull-model-strategy=never
spring.ai.ollama.init.timeout=60s
spring.ai.ollama.init.max-retries=1

#ollama配置使用的本地大模型:llama3.1:latest
spring.ai.ollama.chat.options.model=llama3.1:latest
spring.ai.ollama.chat.options.temperature=0.7

spring.ai.ollama.embedding.enabled=true
spring.ai.ollama.embedding.options.model=llama3.1-instruct:latest
- 1
- 2
- 3
- 4
- 5
- 6
- 7
- 8
- 9
- 10
- 11
- 12
- 13
- 14
- 15
- 16
- 17
使用流式的方式调用时可能会超时报错:Resolved [org.springframework.web.context.request.async.AsyncRequestTimeoutException]
设置超时时间为300秒
package com.example.springai.config;

import org.springframework.context.annotation.Configuration;
import org.springframework.web.servlet.config.annotation.AsyncSupportConfigurer;
import org.springframework.web.servlet.config.annotation.WebMvcConfigurer;

@Configuration
public class WebConfig implements WebMvcConfigurer {

    @Override
    public void configureAsyncSupport(AsyncSupportConfigurer configurer) {
        //报错:Resolved [org.springframework.web.context.request.async.AsyncRequestTimeoutException]
        configurer.setDefaultTimeout(300000); // 设置超时时间为300秒
    }
}
- 1
- 2
- 3
- 4
- 5
- 6
- 7
- 8
- 9
- 10
- 11
- 12
- 13
- 14
- 15
调用Ollama的API对话
package com.example.springai.controller;

import org.springframework.ai.chat.messages.UserMessage;
import org.springframework.ai.chat.model.ChatResponse;
import org.springframework.ai.chat.prompt.Prompt;
import org.springframework.ai.ollama.OllamaChatModel;
import org.springframework.beans.factory.annotation.Autowired;
import org.springframework.web.bind.annotation.GetMapping;
import org.springframework.web.bind.annotation.RequestParam;
import org.springframework.web.bind.annotation.RestController;
import reactor.core.publisher.Flux;

import java.util.Map;

@RestController
public class OllamaController {
    private final OllamaChatModel chatModel;

    @Autowired
    public OllamaController(OllamaChatModel chatModel) {
        this.chatModel = chatModel;
    }

    @GetMapping("/ai/generate")
    public Map<String,String> generate(@RequestParam(value = "message", defaultValue = "Tell me a joke") String message) {
        return Map.of("generation", this.chatModel.call(message));
    }

    //流式返回
    @GetMapping("/ai/generateStream")
    public Flux<ChatResponse> generateStream(@RequestParam(value = "message", defaultValue = "Tell me a joke") String message) {
        Prompt prompt = new Prompt(new UserMessage(message));
        return this.chatModel.stream(prompt);
    }

}
- 1
- 2
- 3
- 4
- 5
- 6
- 7
- 8
- 9
- 10
- 11
- 12
- 13
- 14
- 15
- 16
- 17
- 18
- 19
- 20
- 21
- 22
- 23
- 24
- 25
- 26
- 27
- 28
- 29
- 30
- 31
- 32
- 33
- 34
- 35
- 36
- 37
一次性调用返回效果:


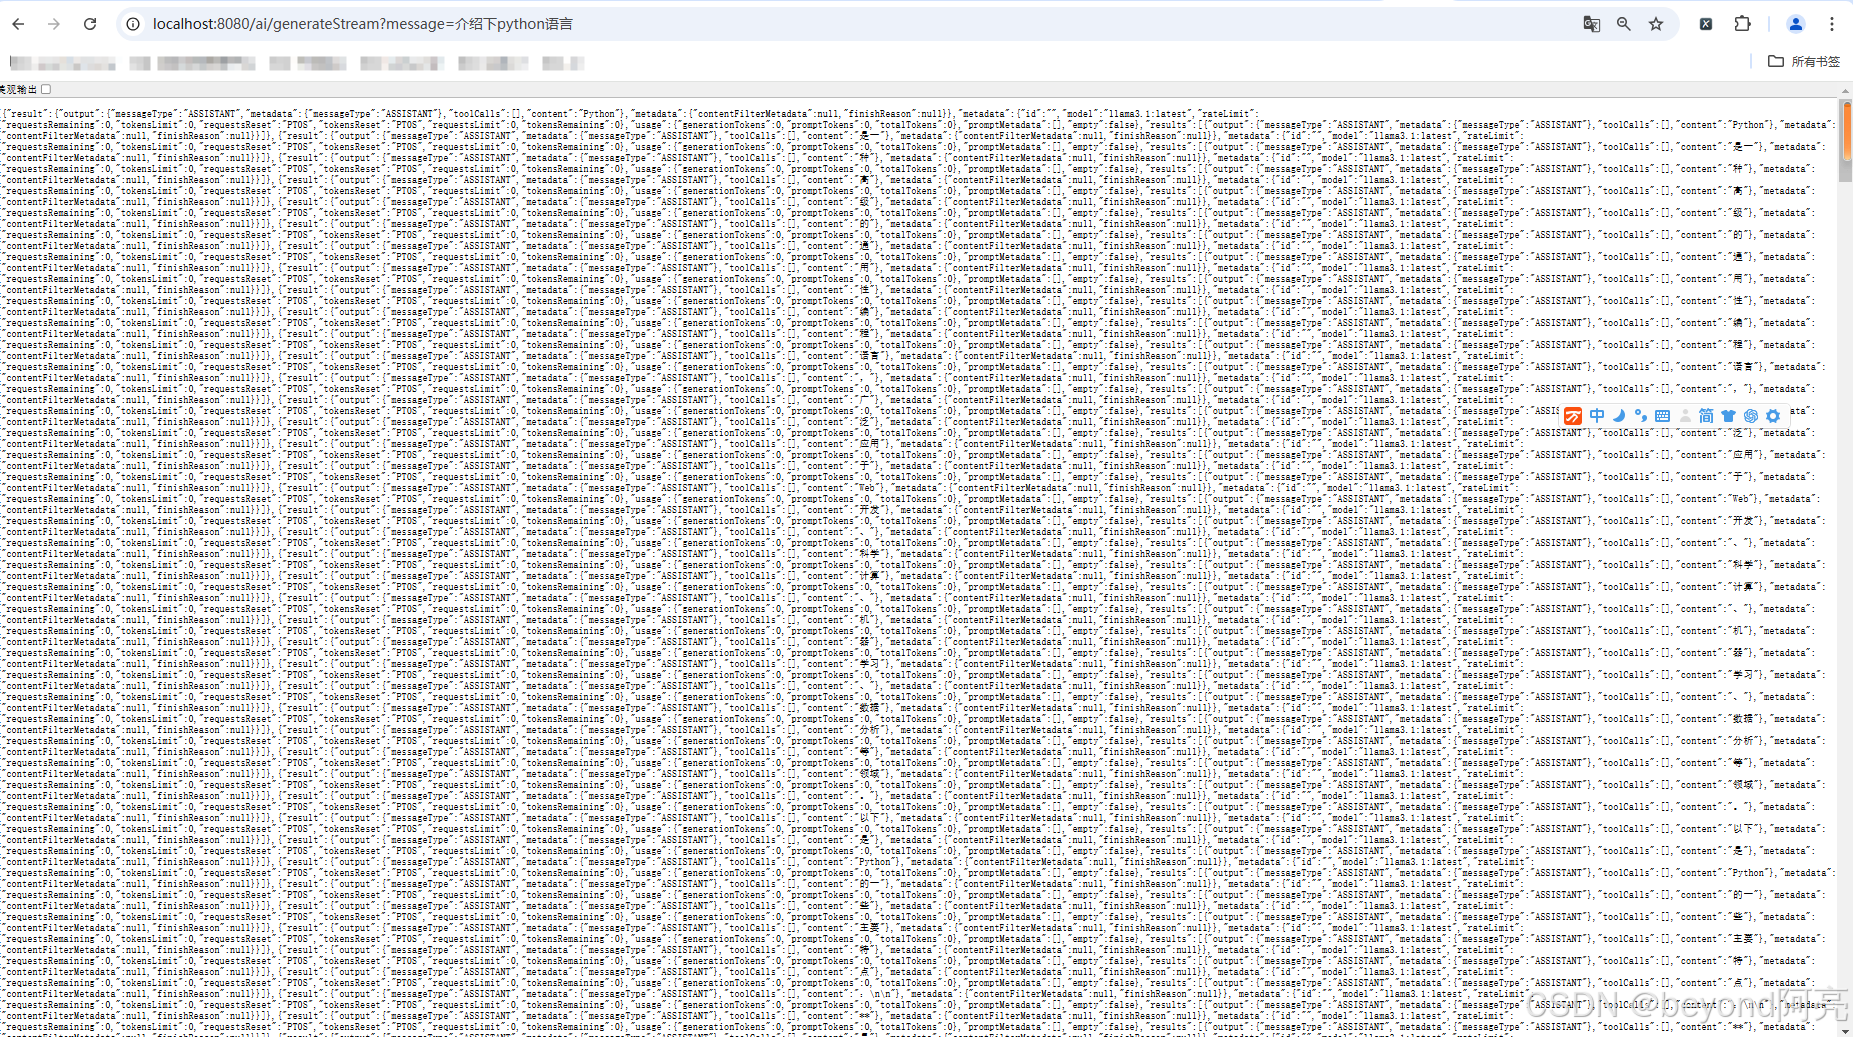
流式调用效果:

阿亮说技术
 微信公众号
微信公众号

记录程序开发过程中的点点滴滴, 涉及:java
微信公众号
评论记录:
回复评论: