
系列文章目录
1、.Net Core微服务入门系列(一)——项目搭建
2、.Net Core微服务入门全纪录(二)——Consul-服务注册与发现(上)
3、.Net Core微服务入门全纪录(三)——Consul-服务注册与发现(下)
4、.Net Core微服务入门全纪录(四)——Ocelot-API网关(上)
5、.Net Core微服务入门全纪录(五)——Ocelot-API网关(下)
6、.Net Core微服务入门全纪录(六)——EventBus-事件总线
7、.Net Core微服务入门全纪录(七)——IdentityServer4-授权认证
8、.Net Core微服务入门全纪录(八)——Docker Compose与容器网络
前言?
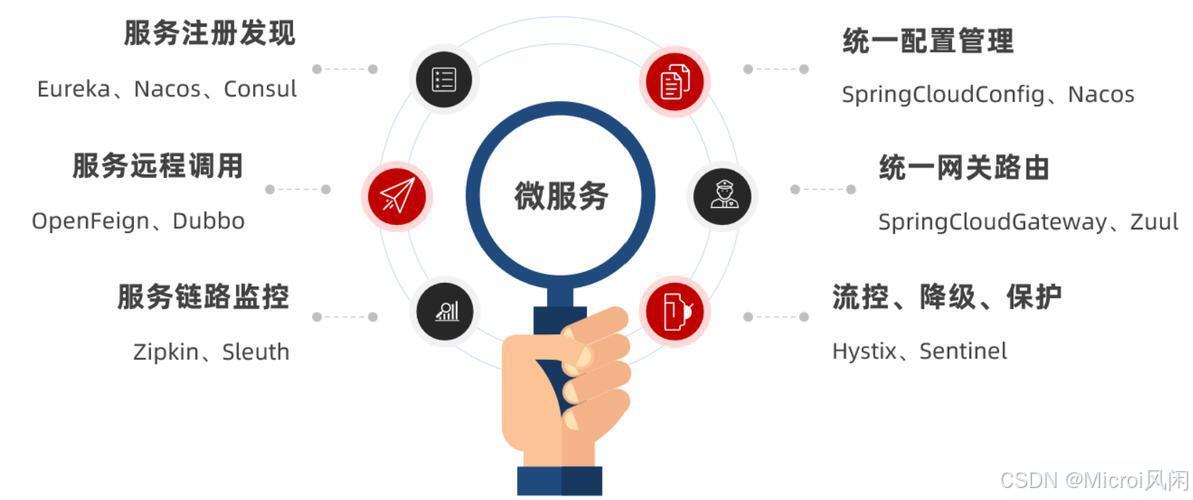
关于 微服务 的概念解释网上有很多, 个人理解微服务是一种系统架构模式,它和语言无关,和框架无关,和工具无关,和服务器环境无关。
微服务思想 是将传统的单体系统按照业务拆分成多个职责单一、且可独立运行的接口服务。至于服务如何拆分,没有明确的定义。几乎任何后端语言都能做微服务开发。微服务也并不是完美无缺的,微服务架构会带来更多的问题,增加系统的复杂度,引入更多的技术栈。
上一篇【.Net Core微服务入门全纪录(六)——EventBus-事件总线】中使用CAP完成了一个简单的Eventbus,实现了服务之间的解耦和异步调用,并且做到数据的最终一致性。这一篇将使用IdentityServer4来搭建一个鉴权中心,来完成授权认证相关的功能。
IdentityServer4官方文档:https://identityserver4.readthedocs.io/
一、鉴权中心
1.1 创建ids4项目
关于 IdentityServer4 的基本介绍和模板安装可以看一下我的另一篇博客【IdentityServer4 4.x版本 配置Scope的正确姿势】,下面直接从创建项目开始。
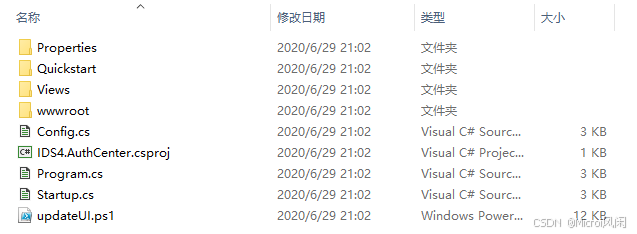
来到我的项目目录下执行:
dotnet new is4inmem --name IDS4.AuthCenter
- 1

执行完成后会生成以下文件:
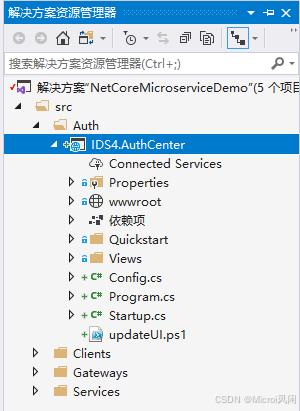
用 vs2019 打开之前的解决方案,把刚刚创建的ids项目添加进来:
将此项目设为启动项,先运行看一下效果:
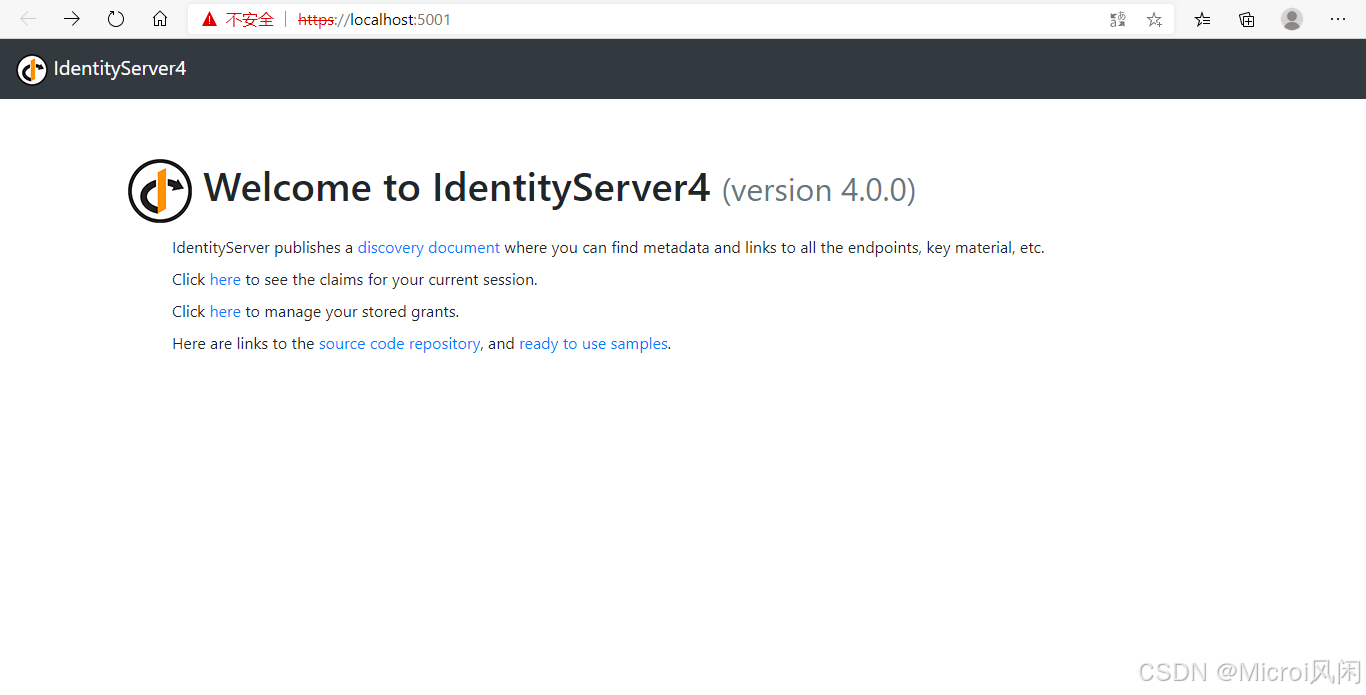

项目正常运行,下面需要结合我们的业务稍微修改一下默认代码。
1.2 鉴权中心配置
修改 Startup 的 ConfigureServices 方法:
// in-memory, code config
builder.AddInMemoryIdentityResources(Config.IdentityResources);
builder.AddInMemoryApiScopes(Config.ApiScopes);
builder.AddInMemoryApiResources(Config.ApiResources);
builder.AddInMemoryClients(Config.Clients);
- 1
- 2
- 3
- 4
- 5
- 6
Config 类:
public static class Config
{
    public static IEnumerable<IdentityResource> IdentityResources =>
        new IdentityResource[]
        {
            new IdentityResources.OpenId(),
            new IdentityResources.Profile(),
        };

    public static IEnumerable<ApiResource> ApiResources =>
        new ApiResource[]
        {
            new ApiResource("orderApi","订单服务")
            {
                ApiSecrets ={ new Secret("orderApi secret".Sha256()) },
                Scopes = { "orderApiScope" }
            },
            new ApiResource("productApi","产品服务")
            {
                ApiSecrets ={ new Secret("productApi secret".Sha256()) },
                Scopes = { "productApiScope" }
            }
        };

    public static IEnumerable<ApiScope> ApiScopes =>
        new ApiScope[]
        {
            new ApiScope("orderApiScope"),
            new ApiScope("productApiScope"),
        };

    public static IEnumerable<Client> Clients =>
        new Client[]
        {
            new Client
            {
                ClientId = "web client",
                ClientName = "Web Client",

                AllowedGrantTypes = GrantTypes.Code,
                ClientSecrets = { new Secret("web client secret".Sha256()) },

                RedirectUris = { "http://localhost:5000/signin-oidc" },
                FrontChannelLogoutUri = "http://localhost:5000/signout-oidc",
                PostLogoutRedirectUris = { "http://localhost:5000/signout-callback-oidc" },

                AllowedScopes = new [] {
                    IdentityServerConstants.StandardScopes.OpenId,
                    IdentityServerConstants.StandardScopes.Profile,
                    "orderApiScope", "productApiScope"
                },
                AllowAccessTokensViaBrowser = true,

                RequireConsent = true,//是否显示同意界面
                AllowRememberConsent = false,//是否记住同意选项
            }
        };
}
- 1
- 2
- 3
- 4
- 5
- 6
- 7
- 8
- 9
- 10
- 11
- 12
- 13
- 14
- 15
- 16
- 17
- 18
- 19
- 20
- 21
- 22
- 23
- 24
- 25
- 26
- 27
- 28
- 29
- 30
- 31
- 32
- 33
- 34
- 35
- 36
- 37
- 38
- 39
- 40
- 41
- 42
- 43
- 44
- 45
- 46
- 47
- 48
- 49
- 50
- 51
- 52
- 53
- 54
- 55
- 56
- 57
- 58
- 59
Config 中定义了2个api资源:orderApi,productApi。2个Scope:orderApiScope,productApiScope。1个客户端:web client,使用Code授权码模式,拥有openid,profile,orderApiScope,productApiScope 4个scope。
TestUsers 类:
public class TestUsers
{
    public static List<TestUser> Users
    {
        get
        {
            var address = new
            {
                street_address = "One Hacker Way",
                locality = "Heidelberg",
                postal_code = 69118,
                country = "Germany"
            };

            return new List<TestUser>
            {
                new TestUser
                {
                    SubjectId = "818727",
                    Username = "alice",
                    Password = "alice",
                    Claims =
                    {
                        new Claim(JwtClaimTypes.Name, "Alice Smith"),
                        new Claim(JwtClaimTypes.GivenName, "Alice"),
                        new Claim(JwtClaimTypes.FamilyName, "Smith"),
                        new Claim(JwtClaimTypes.Email, "[email protected]"),
                        new Claim(JwtClaimTypes.EmailVerified, "true", ClaimValueTypes.Boolean),
                        new Claim(JwtClaimTypes.WebSite, "http://alice.com"),
                        new Claim(JwtClaimTypes.Address, JsonSerializer.Serialize(address), IdentityServerConstants.ClaimValueTypes.Json)
                    }
                },
                new TestUser
                {
                    SubjectId = "88421113",
                    Username = "bob",
                    Password = "bob",
                    Claims =
                    {
                        new Claim(JwtClaimTypes.Name, "Bob Smith"),
                        new Claim(JwtClaimTypes.GivenName, "Bob"),
                        new Claim(JwtClaimTypes.FamilyName, "Smith"),
                        new Claim(JwtClaimTypes.Email, "[email protected]"),
                        new Claim(JwtClaimTypes.EmailVerified, "true", ClaimValueTypes.Boolean),
                        new Claim(JwtClaimTypes.WebSite, "http://bob.com"),
                        new Claim(JwtClaimTypes.Address, JsonSerializer.Serialize(address), IdentityServerConstants.ClaimValueTypes.Json)
                    }
                }
            };
        }
    }
}
- 1
- 2
- 3
- 4
- 5
- 6
- 7
- 8
- 9
- 10
- 11
- 12
- 13
- 14
- 15
- 16
- 17
- 18
- 19
- 20
- 21
- 22
- 23
- 24
- 25
- 26
- 27
- 28
- 29
- 30
- 31
- 32
- 33
- 34
- 35
- 36
- 37
- 38
- 39
- 40
- 41
- 42
- 43
- 44
- 45
- 46
- 47
- 48
- 49
- 50
- 51
- 52
- 53
TestUsers 没有做修改,用项目模板默认生成的就行。这里定义了2个用户 alice,bob,密码与用户名相同。
至此,鉴权中心的代码修改就差不多了。这个项目也不放 docker 了,直接用 vs 来启动,让他运行在9080端口。/Properties/launchSettings.json 修改一下:
"applicationUrl": "http://localhost:9080"
- 1
二、Ocelot集成ids4
2.1 Ocelot保护api资源
鉴权中心搭建完成,下面整合到之前的 Ocelot.APIGateway 网关项目中。
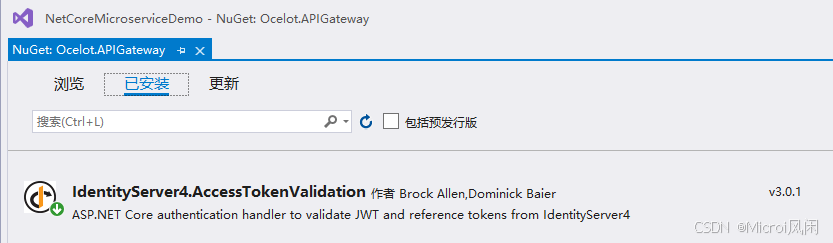
首先NuGet安装 IdentityServer4.AccessTokenValidation
修改Startup:
public void ConfigureServices(IServiceCollection services)
{
    services.AddAuthentication(IdentityServerAuthenticationDefaults.AuthenticationScheme)
        .AddIdentityServerAuthentication("orderService", options =>
        {
            options.Authority = "http://localhost:9080";//鉴权中心地址
            options.ApiName = "orderApi";
            options.SupportedTokens = SupportedTokens.Both;
            options.ApiSecret = "orderApi secret";
            options.RequireHttpsMetadata = false;
        })
        .AddIdentityServerAuthentication("productService", options =>
        {
            options.Authority = "http://localhost:9080";//鉴权中心地址
            options.ApiName = "productApi";
            options.SupportedTokens = SupportedTokens.Both;
            options.ApiSecret = "productApi secret";
            options.RequireHttpsMetadata = false;
        });

    //添加ocelot服务
    services.AddOcelot()
        //添加consul支持
        .AddConsul()
        //添加缓存
        .AddCacheManager(x =>
        {
            x.WithDictionaryHandle();
        })
        //添加Polly
        .AddPolly();
}
- 1
- 2
- 3
- 4
- 5
- 6
- 7
- 8
- 9
- 10
- 11
- 12
- 13
- 14
- 15
- 16
- 17
- 18
- 19
- 20
- 21
- 22
- 23
- 24
- 25
- 26
- 27
- 28
- 29
- 30
- 31
- 32
- 33
修改 ocelot.json 配置文件:
{
  "DownstreamPathTemplate": "/products",
  "DownstreamScheme": "http",
  "UpstreamPathTemplate": "/products",
  "UpstreamHttpMethod": [ "Get" ],
  "ServiceName": "ProductService",
  ......
  "AuthenticationOptions": {
    "AuthenticationProviderKey": "productService",
    "AllowScopes": []
  }
},
{
  "DownstreamPathTemplate": "/orders",
  "DownstreamScheme": "http",
  "UpstreamPathTemplate": "/orders",
  "UpstreamHttpMethod": [ "Get" ],
  "ServiceName": "OrderService",
  ......
  "AuthenticationOptions": {
    "AuthenticationProviderKey": "orderService",
    "AllowScopes": []
  }
}
- 1
- 2
- 3
- 4
- 5
- 6
- 7
- 8
- 9
- 10
- 11
- 12
- 13
- 14
- 15
- 16
- 17
- 18
- 19
- 20
- 21
- 22
- 23
- 24
- 25
添加了 AuthenticationOptions 节点,AuthenticationProviderKey 对应的是上面 Startup 中的定义。
2.2 Ocelot代理ids4
既然网关是客户端访问 api 的统一入口,那么同样可以作为鉴权中心的入口。使用 Ocelot 来做代理,这样客户端也无需知道鉴权中心的地址,同样修改 ocelot.json :
{
  "DownstreamPathTemplate": "/{url}",
  "DownstreamScheme": "http",
  "DownstreamHostAndPorts": [
    {
      "Host": "localhost",
      "Port": 9080
    }
  ],
  "UpstreamPathTemplate": "/auth/{url}",
  "UpstreamHttpMethod": [
    "Get",
    "Post"
  ],
  "LoadBalancerOptions": {
    "Type": "RoundRobin"
  }
}
- 1
- 2
- 3
- 4
- 5
- 6
- 7
- 8
- 9
- 10
- 11
- 12
- 13
- 14
- 15
- 16
- 17
- 18
- 19
添加一个鉴权中心的路由,实际中鉴权中心也可以部署多个实例,也可以集成 Consul 服务发现,实现方式跟前面章节讲的差不多,这里就不再赘述。
让网关服务运行在9070端口,/Properties/launchSettings.json 修改一下:
"applicationUrl": "http://localhost:9070"
- 1
三、客户端集成
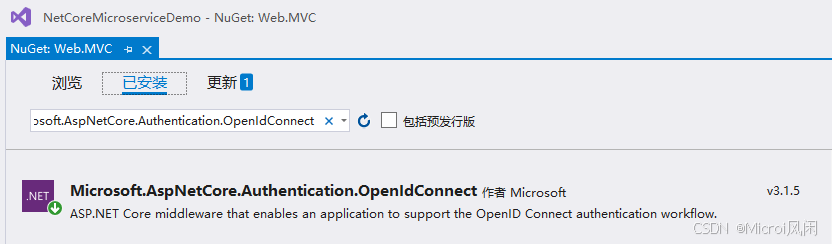
首先NuGet安装 Microsoft.AspNetCore.Authentication.OpenIdConnect
修改 Startup:
public void ConfigureServices(IServiceCollection services)
{
    services.AddAuthentication(options =>
        {
            options.DefaultScheme = "Cookies";
            options.DefaultChallengeScheme = "oidc";
        })
        .AddCookie("Cookies")
        .AddOpenIdConnect("oidc", options =>
        {
            options.Authority = "http://localhost:9070/auth";//通过网关访问鉴权中心
            //options.Authority = "http://localhost:9080";

            options.ClientId = "web client";
            options.ClientSecret = "web client secret";
            options.ResponseType = "code";

            options.RequireHttpsMetadata = false;

            options.SaveTokens = true;

            options.Scope.Add("orderApiScope");
            options.Scope.Add("productApiScope");
        });

    services.AddControllersWithViews();

    //注入IServiceHelper
    //services.AddSingleton();

    //注入IServiceHelper
    services.AddSingleton<IServiceHelper, GatewayServiceHelper>();
}

// This method gets called by the runtime. Use this method to configure the HTTP request pipeline.
public void Configure(IApplicationBuilder app, IWebHostEnvironment env, IServiceHelper serviceHelper)
{
    if (env.IsDevelopment())
    {
        app.UseDeveloperExceptionPage();
    }
    else
    {
        app.UseExceptionHandler("/Home/Error");
    }
    app.UseStaticFiles();

    app.UseRouting();

    app.UseAuthentication();

    app.UseAuthorization();

    app.UseEndpoints(endpoints =>
    {
        endpoints.MapControllerRoute(
            name: "default",
            pattern: "{controller=Home}/{action=Index}/{id?}");
    });

    //程序启动时 获取服务列表
    //serviceHelper.GetServices();
}
- 1
- 2
- 3
- 4
- 5
- 6
- 7
- 8
- 9
- 10
- 11
- 12
- 13
- 14
- 15
- 16
- 17
- 18
- 19
- 20
- 21
- 22
- 23
- 24
- 25
- 26
- 27
- 28
- 29
- 30
- 31
- 32
- 33
- 34
- 35
- 36
- 37
- 38
- 39
- 40
- 41
- 42
- 43
- 44
- 45
- 46
- 47
- 48
- 49
- 50
- 51
- 52
- 53
- 54
- 55
- 56
- 57
- 58
- 59
- 60
- 61
- 62
- 63
- 64
修改 /Helper/IServiceHelper,方法定义增加 accessToken 参数:
/// - 1
- 2
- 3
- 4
- 5
- 6
- 7
- 8
- 9
- 10
- 11
- 12
- 13
- 14
修改 /Helper/GatewayServiceHelper,访问接口时增加 Authorization 参数,传入 accessToken:
public async Task<string> GetOrder(string accessToken)
{
    var Client = new RestClient("http://localhost:9070");
    var request = new RestRequest("/orders", Method.GET);
    request.AddHeader("Authorization", "Bearer " + accessToken);

    var response = await Client.ExecuteAsync(request);
    if (response.StatusCode != HttpStatusCode.OK)
    {
        return response.StatusCode + " " + response.Content;
    }
    return response.Content;
}

public async Task<string> GetProduct(string accessToken)
{
    var Client = new RestClient("http://localhost:9070");
    var request = new RestRequest("/products", Method.GET);
    request.AddHeader("Authorization", "Bearer " + accessToken);

    var response = await Client.ExecuteAsync(request);
    if (response.StatusCode != HttpStatusCode.OK)
    {
        return response.StatusCode + " " + response.Content;
    }
    return response.Content;
}
- 1
- 2
- 3
- 4
- 5
- 6
- 7
- 8
- 9
- 10
- 11
- 12
- 13
- 14
- 15
- 16
- 17
- 18
- 19
- 20
- 21
- 22
- 23
- 24
- 25
- 26
- 27
- 28
最后是 /Controllers/HomeController 的修改。添加 Authorize 标记:
[Authorize]
public class HomeController : Controller
- 1
- 2
修改 Index action,获取 accessToken 并传入:
public async Task<IActionResult> Index()
{
    var accessToken = await HttpContext.GetTokenAsync("access_token");

    ViewBag.OrderData = await _serviceHelper.GetOrder(accessToken);
    ViewBag.ProductData = await _serviceHelper.GetProduct(accessToken);

    return View();
}
- 1
- 2
- 3
- 4
- 5
- 6
- 7
- 8
- 9
- 10
至此,客户端集成也已完成。
四、测试
为了方便,鉴权中心、网关、web客户端这3个项目都使用vs来启动,他们的端口分别是9080,9070,5000。之前的 OrderAPI 和 ProductAPI 还是在 docker 中不变。
为了让vs能同时启动多个项目,需要设置一下,解决方案右键属性:
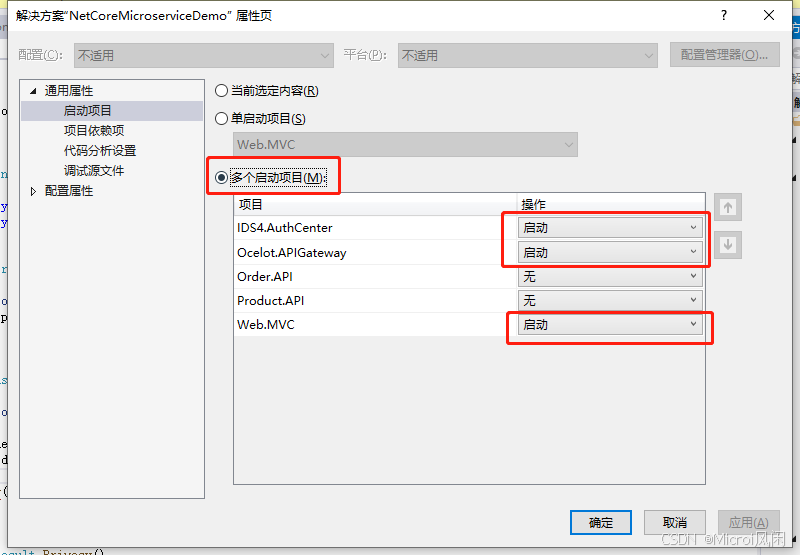
Ctor+F5启动项目。
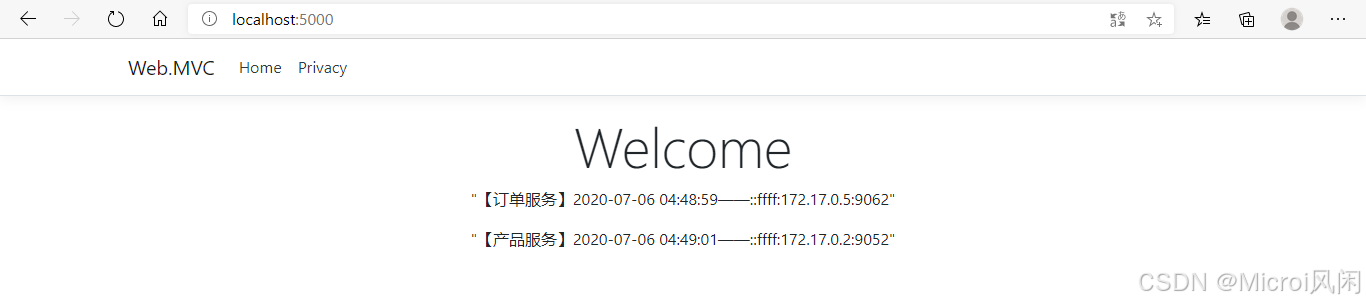
3个项目都启动完成后,浏览器访问 web 客户端:http://localhost:5000/
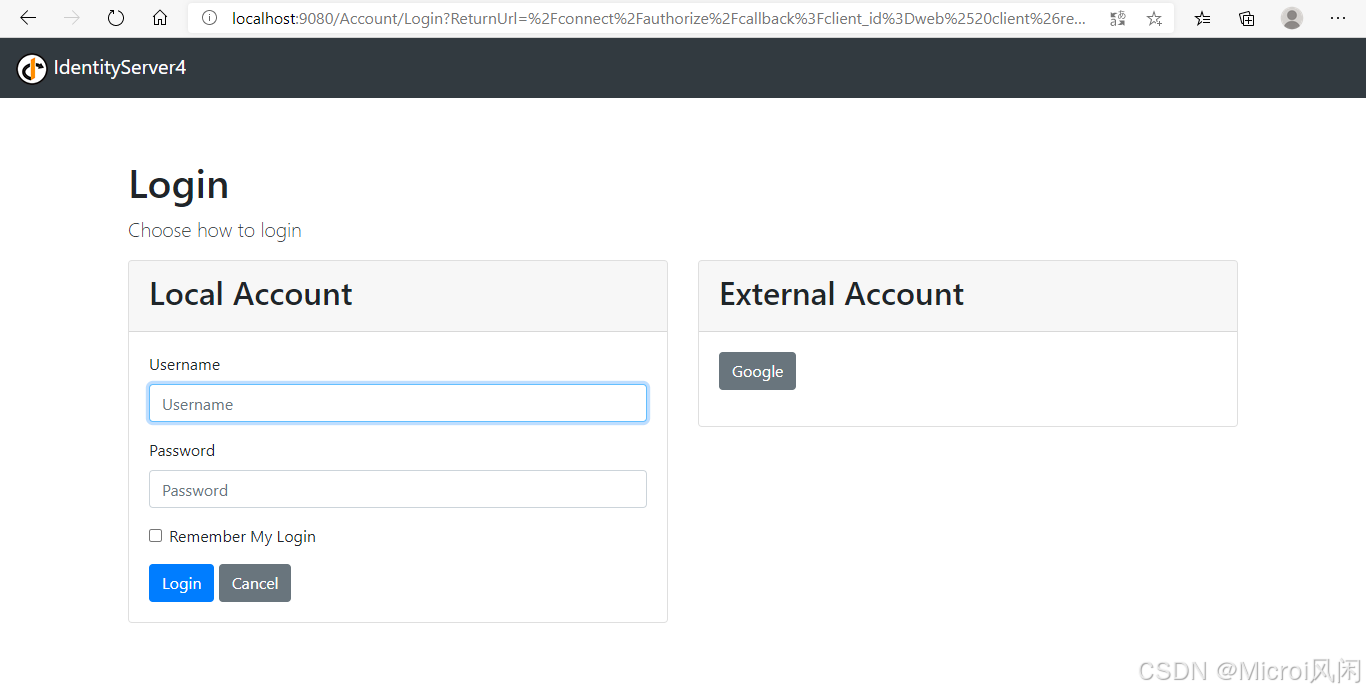
因为我还没登录,所以请求直接被重定向到了鉴权中心的登录界面。使用 alice/alice 这个账户登录系统。
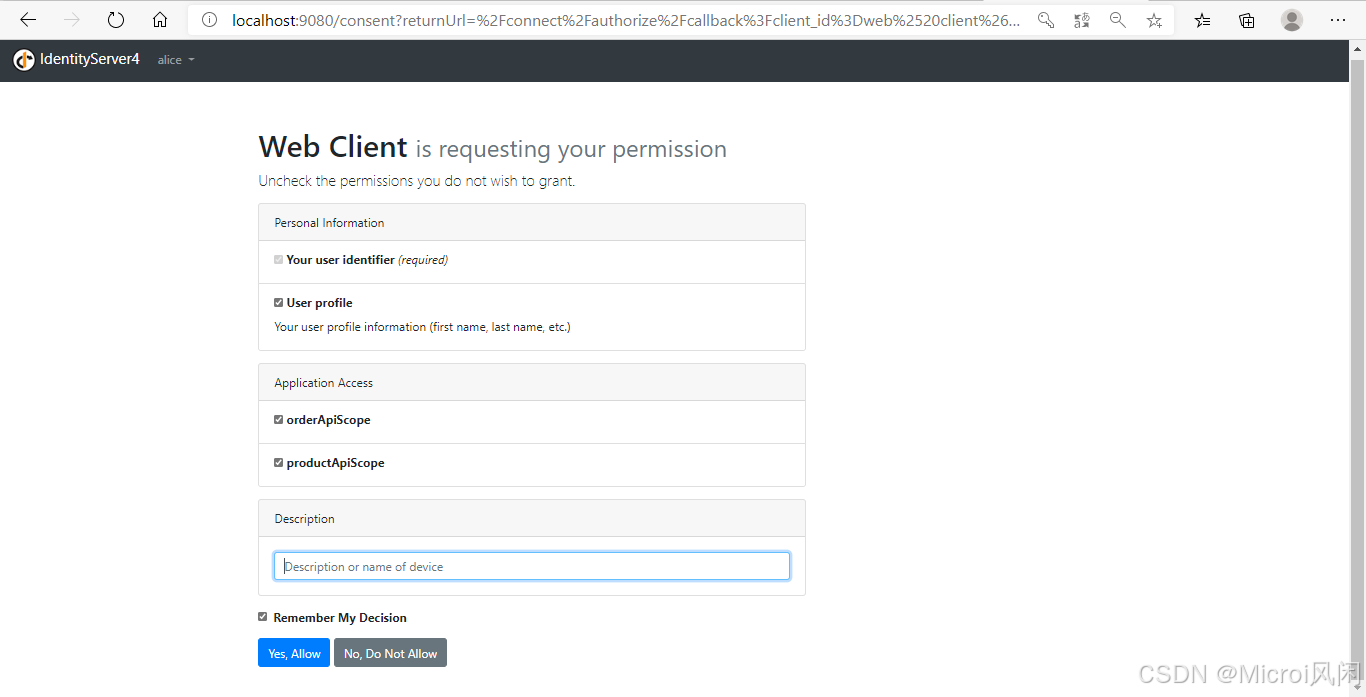
登录成功后,进入授权同意界面,你可以同意或者拒绝,还可以选择勾选 scope 权限。点击 Yes,Allow 按钮同意授权:
清除 Cookie 后,刷新页面又会转到 ids4 的登录界面,这次使用 bob/bob 登录:

这次只勾选 orderApiScope,点击Yes,Allow:
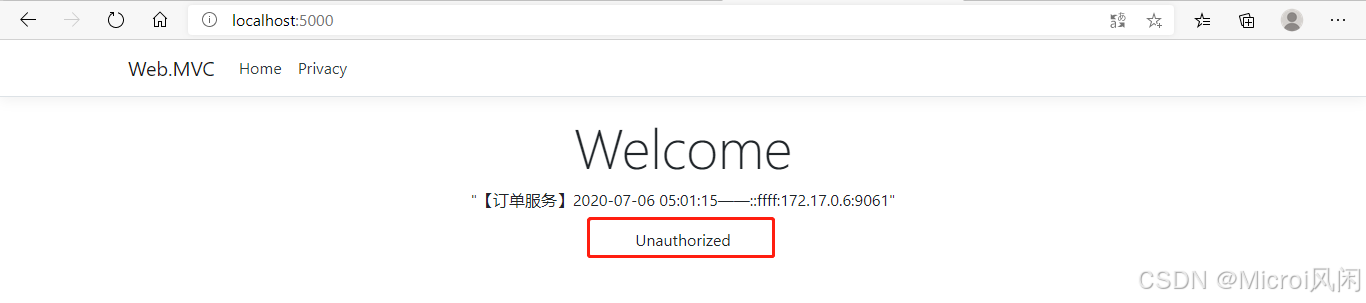
这次客户端就只能访问订单服务了。当然也可以在鉴权中心去限制客户端的api权限,也可以在网关层面ocelot.json中限制,相信你已经知道该怎么做了。
五、总结
本文主要完成了 IdentityServer4 鉴权中心、Ocelot 网关、web 客户端之间的整合,实现了系统的统一授权认证。授权认证是几乎每个系统必备的功能,而 IdentityServer4 是 .Net Core 下优秀的授权认证方案。
再次推荐一下B站@solenovex 杨老师的视频,地址:https://www.bilibili.com/video/BV16b411k7yM ,虽然视频有点老了,但还是非常受用。
需要代码的点这里:https://github.com/xiajingren/NetCoreMicroserviceDemo

评论记录:
回复评论: