安装环境:CentOS-7、JDK1.8、hadoop3.1.3、hive3.1.2
软件版本:zeppelin-0.10.1-bin-all
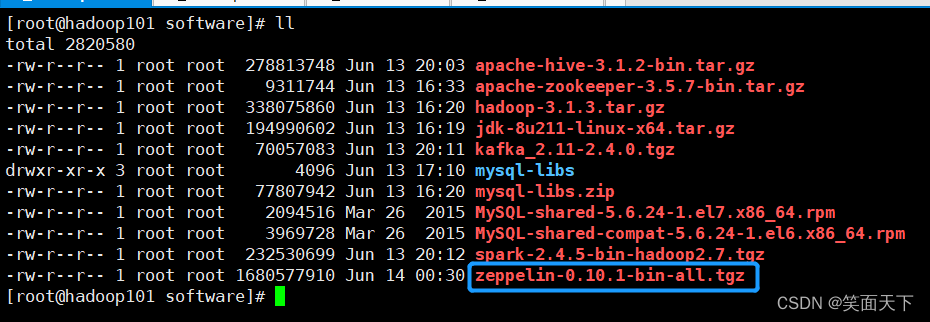
1、将软件安装包移动至 /opt/software 目录下,这里我用的是Xftp软件
2、解压安装包,命令:
tar -zxvf /opt/zeppelin-0.10.1-bin-all.tgz -C /opt/module/
创建快捷方式,方便后期修改
ln -s /opt/module/zeppelin-0.10.1-bin-all.tgz zeppelin
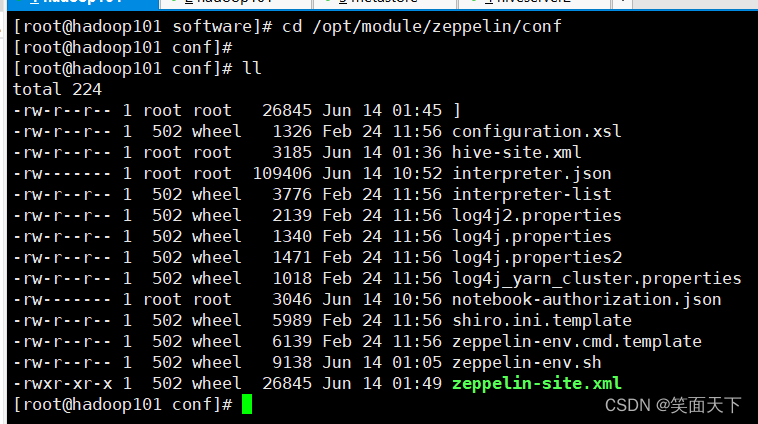
解压完后进入 conf 目录,命令:
cd /opt/module/zeppelin/conf/
4、创建修改配置文件
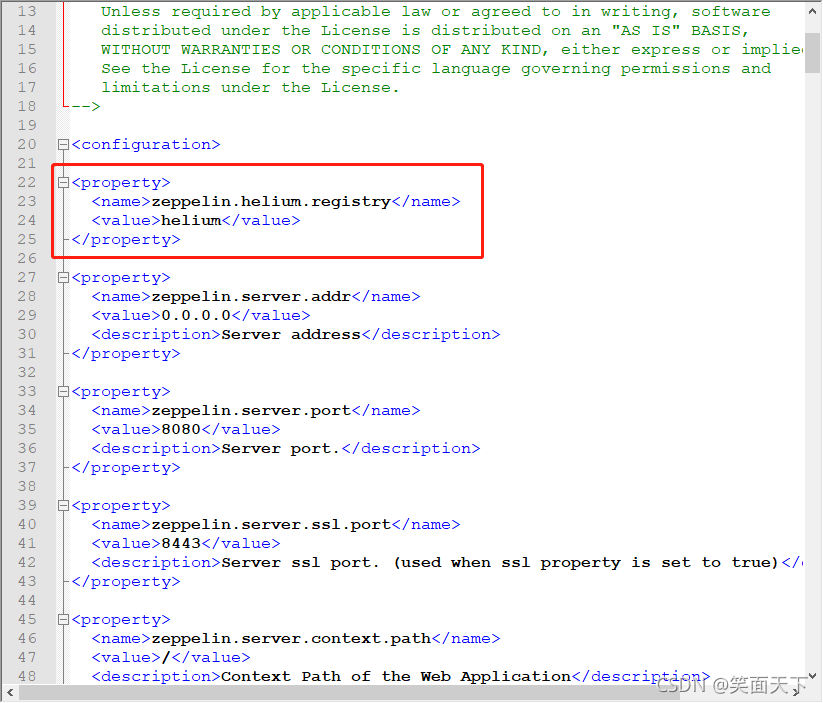
cp zeppelin-site.xml.template zeppelin-site.xml
vim zeppelin-site.xml
编辑内容如下:
5、继续创建修改配置文件
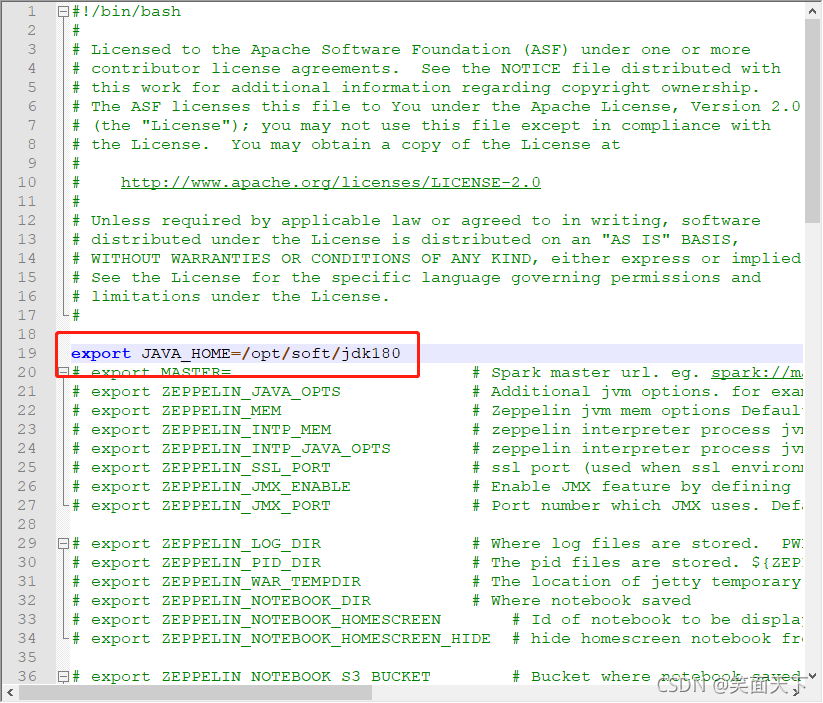
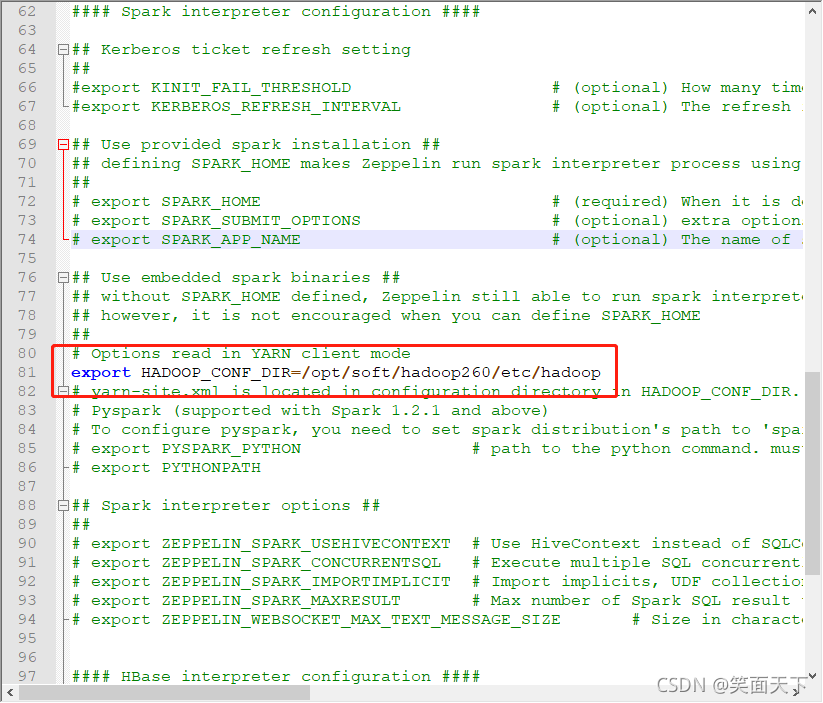
cp zeppelin-env.sh.template zeppelin-env.sh
vim zeppelin-env.sh
编辑内容如下:
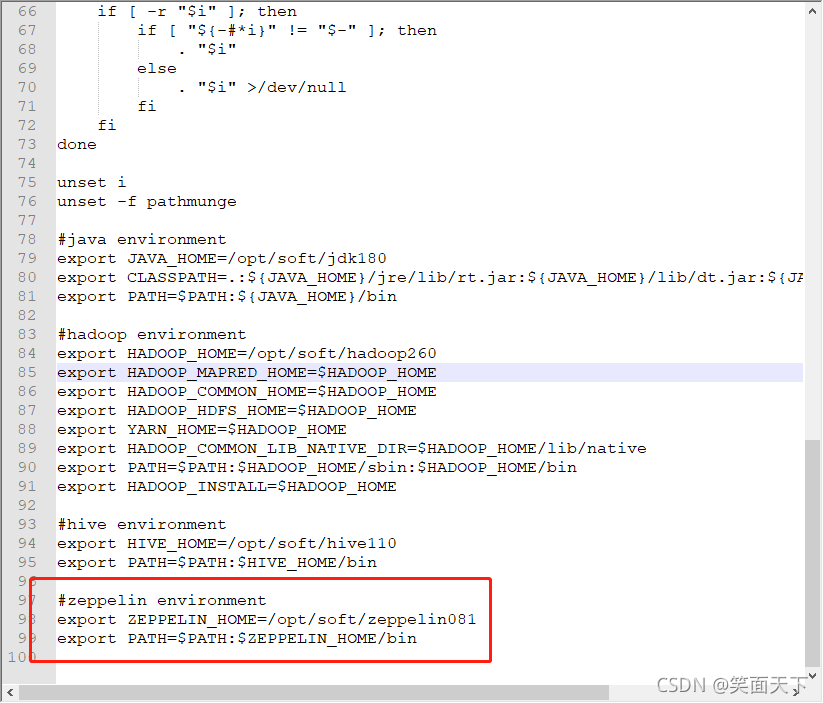
6、修改 /etc/profile文件,命令 vim /etc/profile
在文件最后加入下面内容:
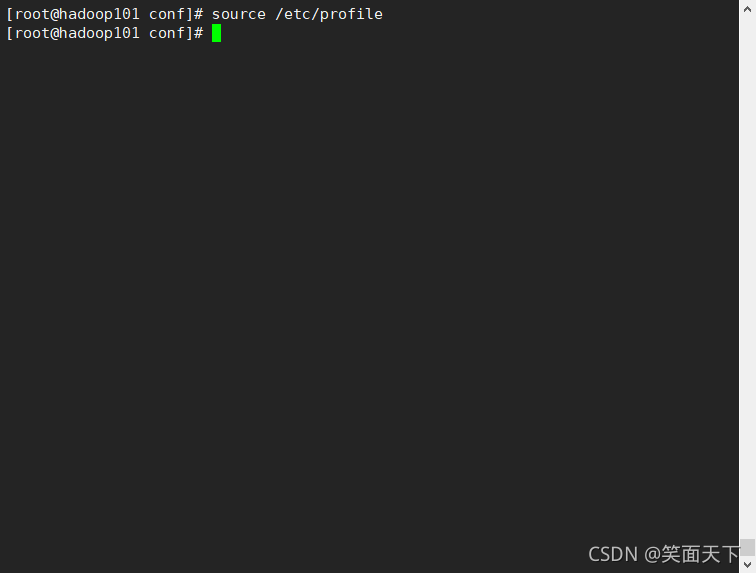
7、编译 /etc/profile 文件,命令 source /etc/profile
8、拷贝 hive 的配置文件 hive-site.xml 到 zeppelin081/conf 下,命令:
cp /opt/module/hive/conf/hive-site.xml /opt/module/zeppelin/conf
拷贝下面的jar包到zeppelin安装目录下interperter中,命令:
cd /opt/module/zeppelin/interpreter/jdbc/
cp /opt/module/hadoop/share/hadoop/common/hadoop-common-3.1.3.jar ./
cp /opt/module/hive/lib/curator-client-2.12.0.jar ./
cp /opt/module/hive/lib/guava-27.0-jre.jar ./
cp /opt/module/hive/lib/hive-jdbc-3.1.2.jar ./
cp /opt/module/hive/lib/hive-common-3.1.2.jar ./
cp /opt/module/hive/lib/hive-serde-3.1.2.jar ./
cp /opt/module/hive/lib/hive-service-3.1.2.jar ./
cp /opt/module/hive/lib/hive-service-rpc-3.1.2.jar ./
cp /opt/module/hive/lib/libthrift-0.9.3.jar ./
cp /opt/module/hive/lib/protobuf-java-2.5.0.jar ./还有三个外部依赖:
commons-lang-2.6.jar
httpclient-4.5.jar
httpcore-4.4.1.jar
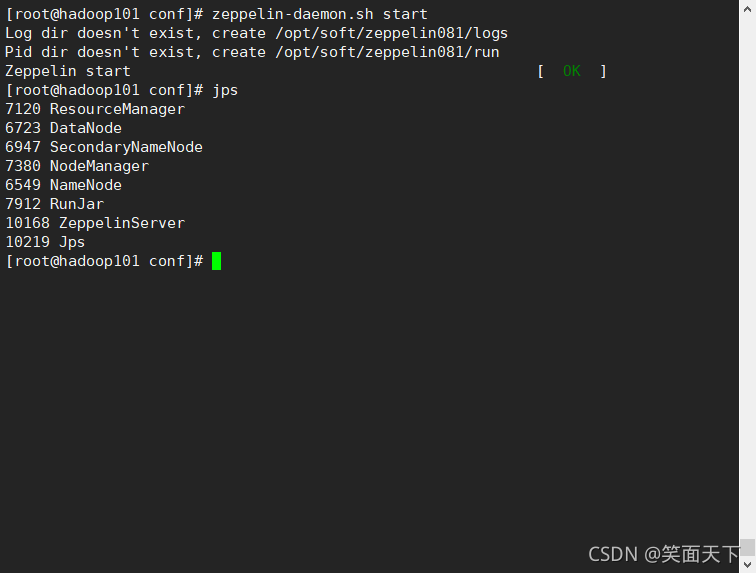
9、启动zeepelin,命令:zeppelin-daemon.sh start
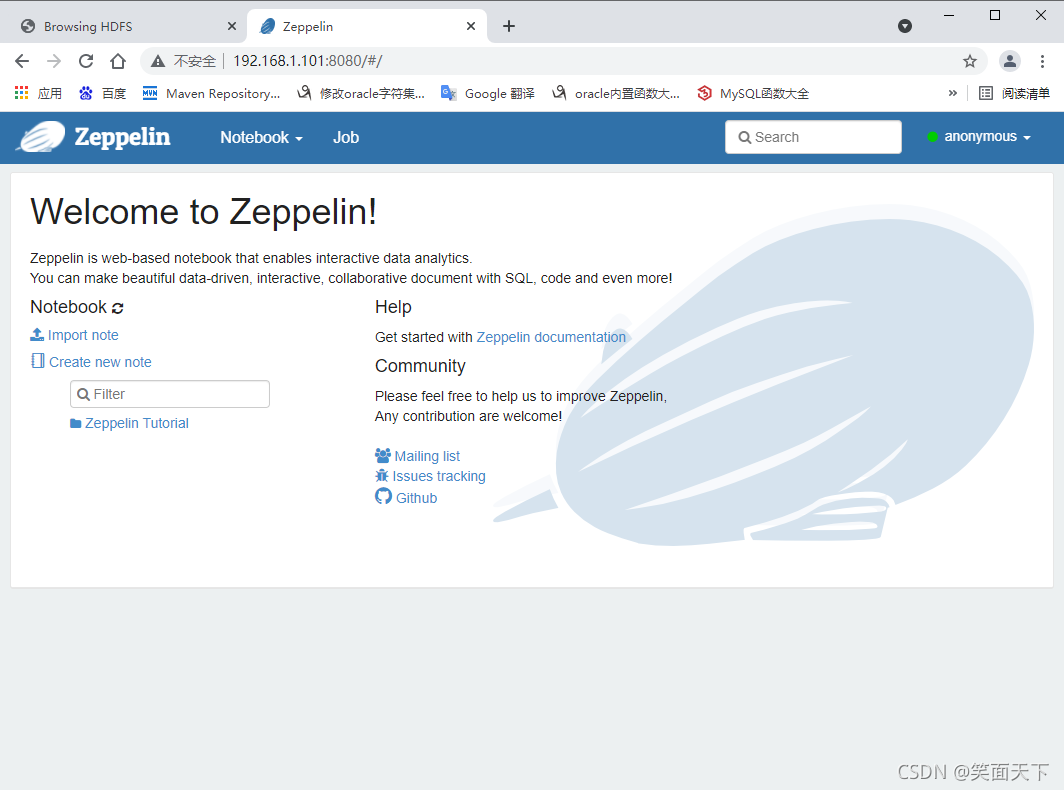
10、打开 zeepelin 的web界面
输入网址 192.168.1.101:8080
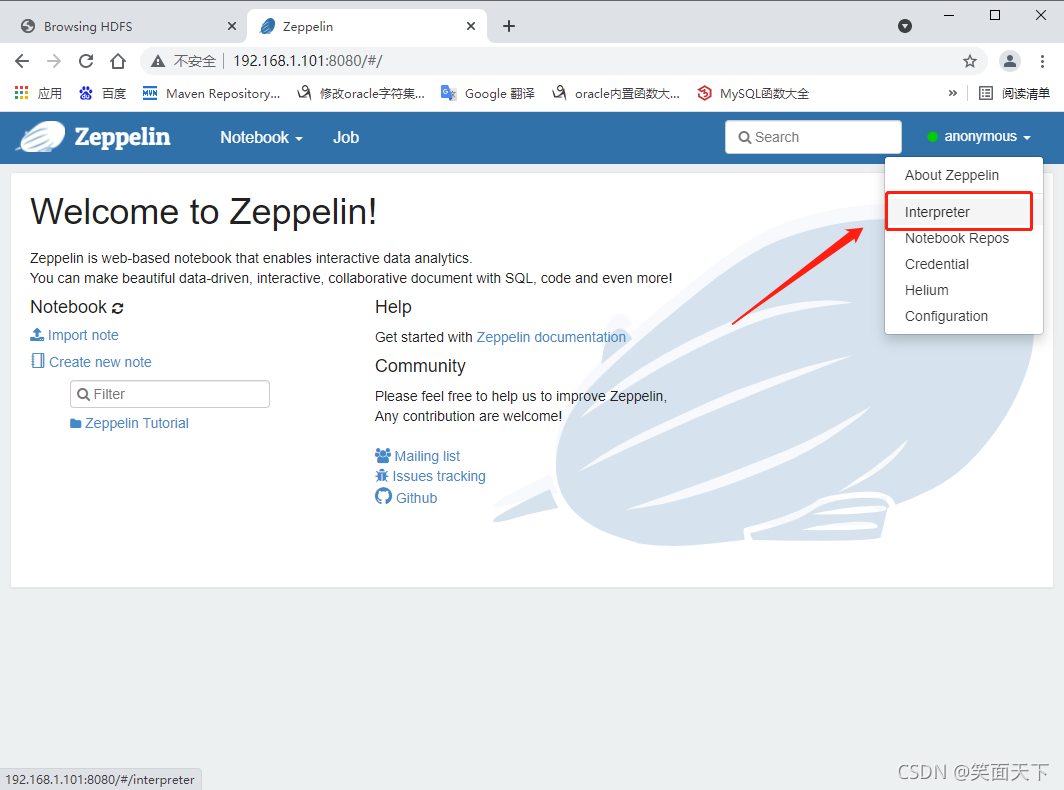
11、在web界面配置集成hive
先点击 interpreter
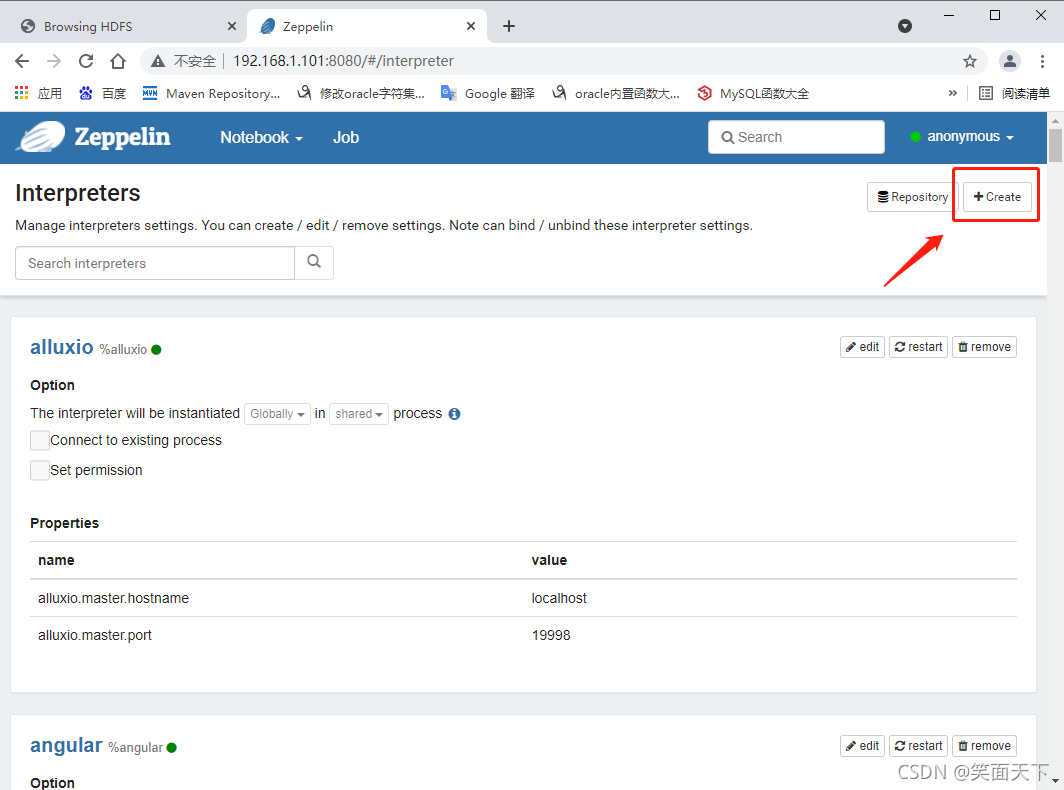
再点击create
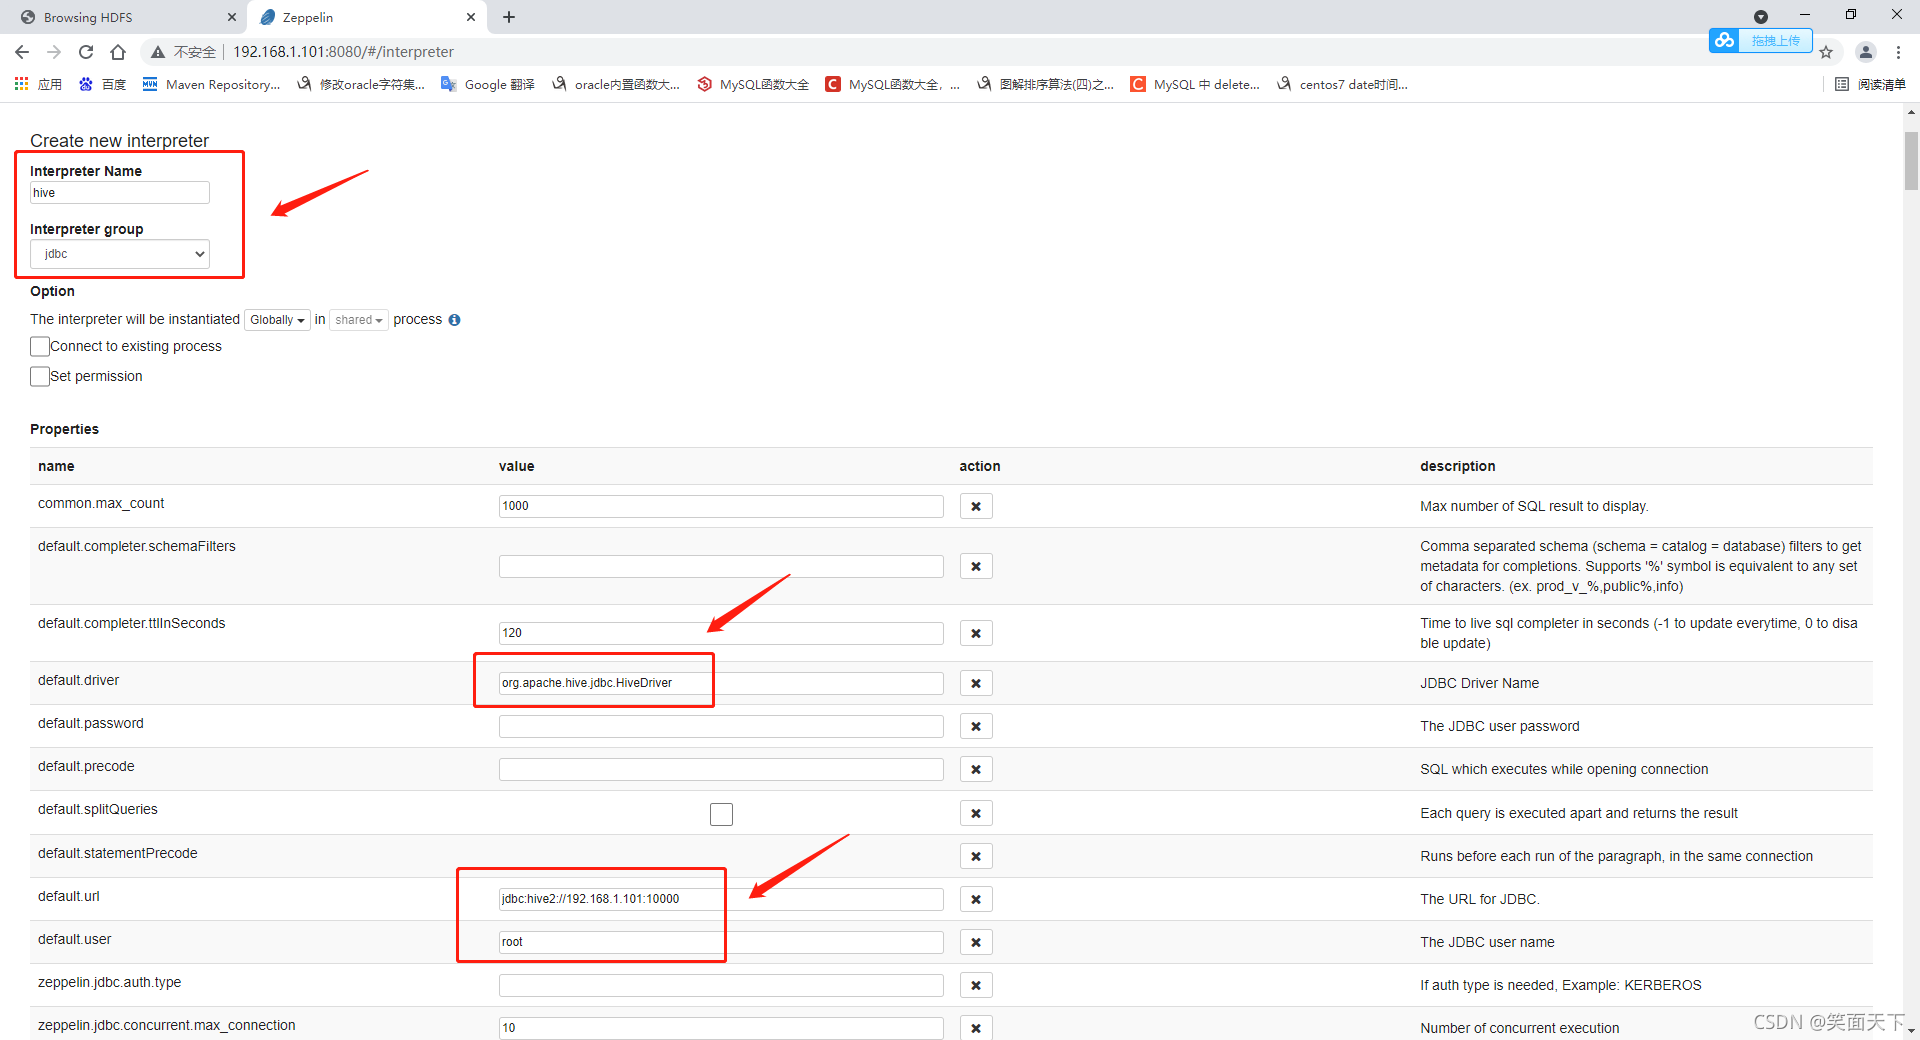
填入如下信息:
hive
jdbc
org.apache.hive.jdbc.HiveDriver
jdbc:hive2://192.168.1.101:10000
root
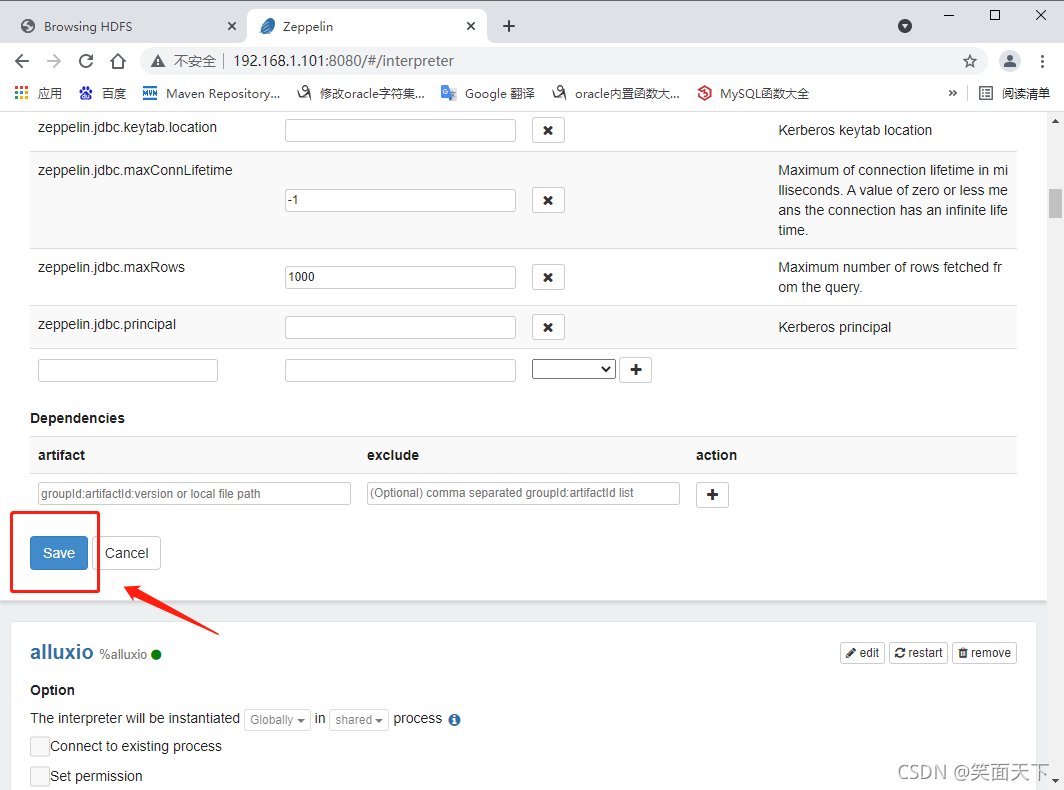
往下拉,点击save保存
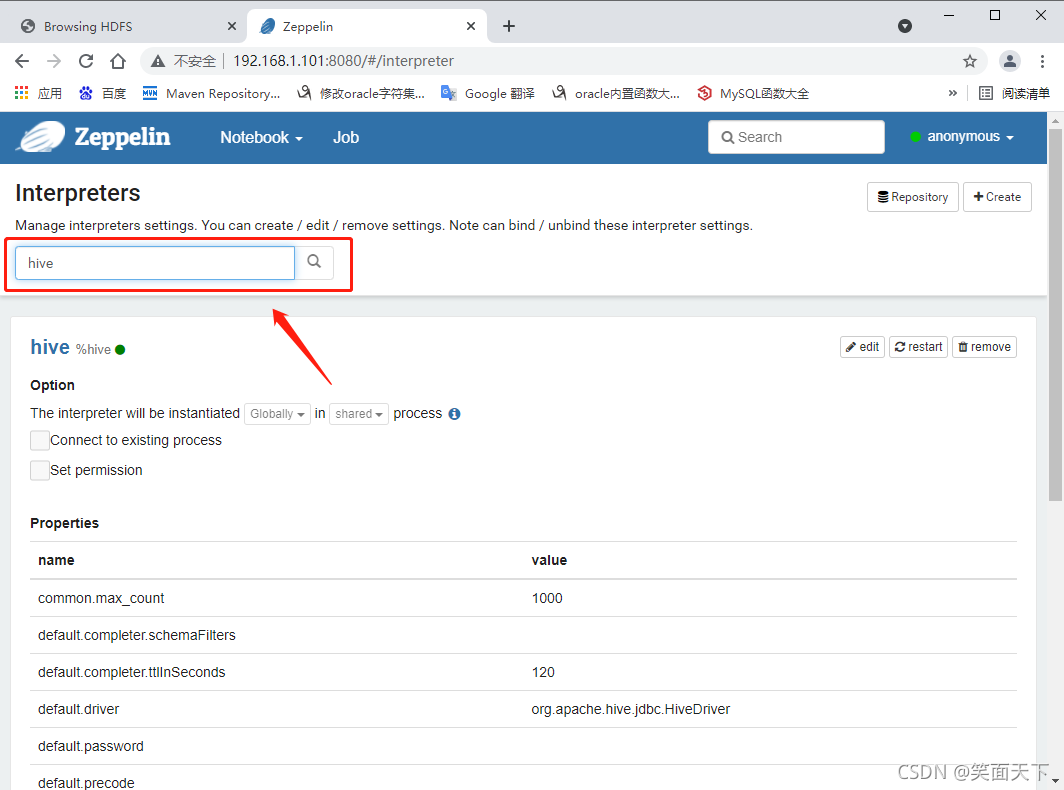
在搜索栏搜索 hive
12、使用Zepplin的hive解释器
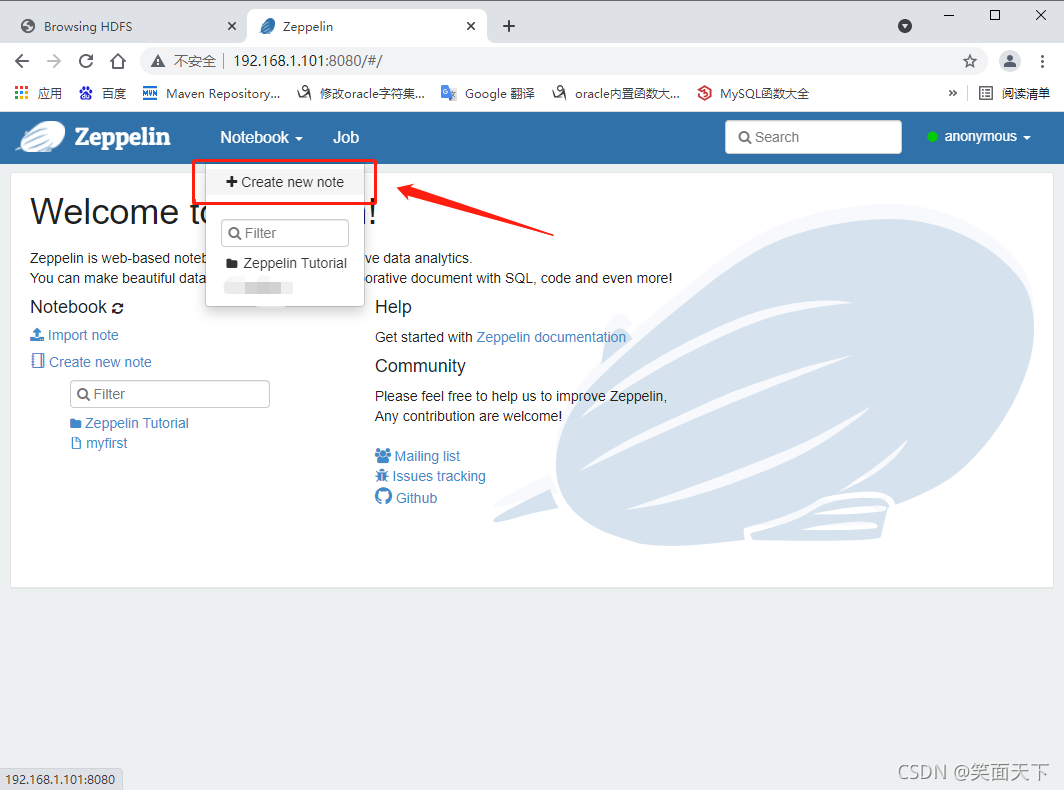
点击notebook,通过create new note创建一个notebook
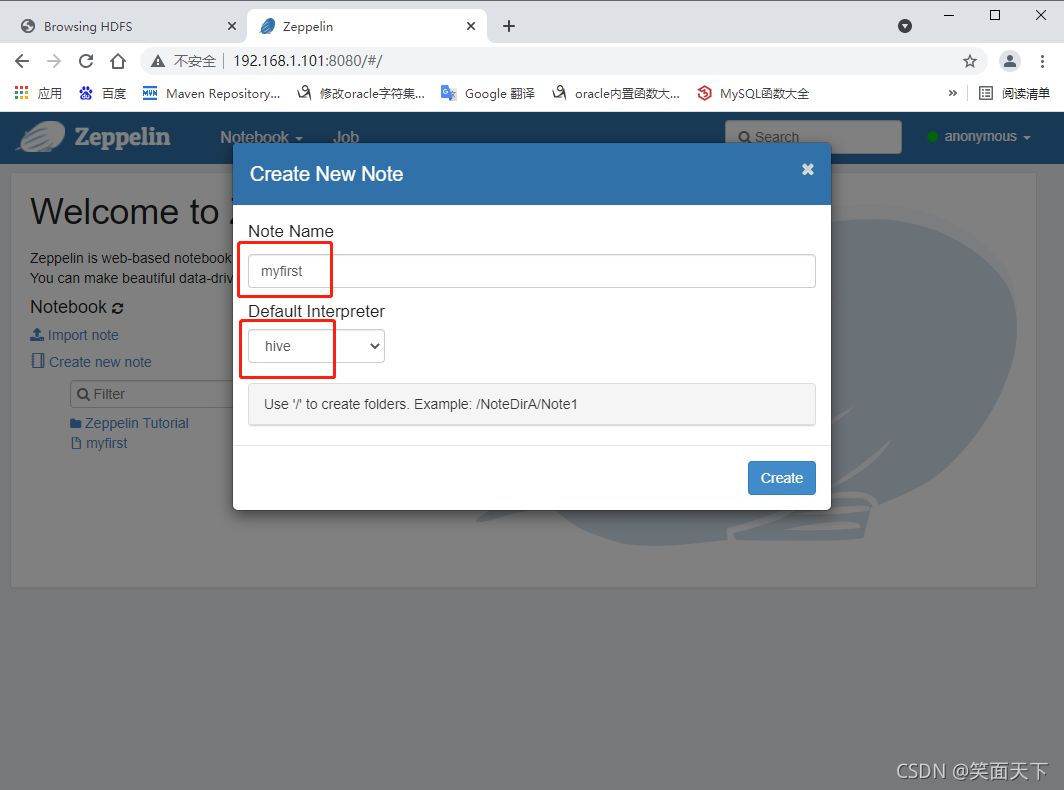
13、填入下列信息:
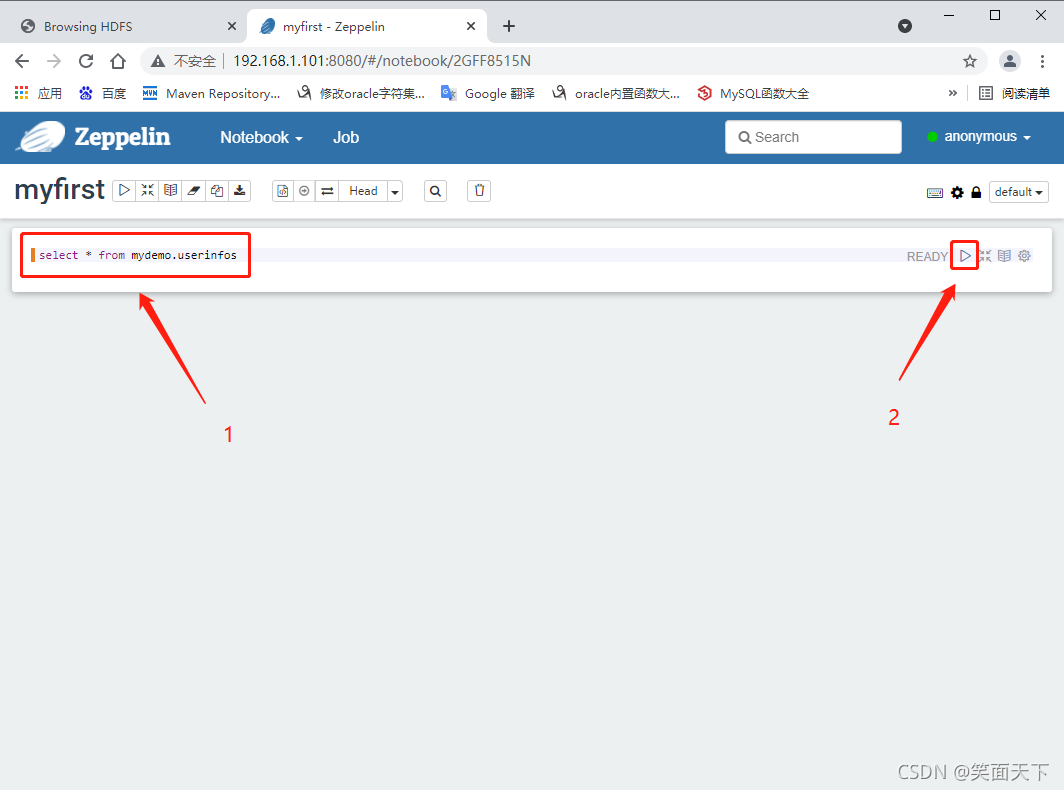
14、测试命令,输入 select *from mydemo.userinfos,再点击右上角的小三角形执行命令
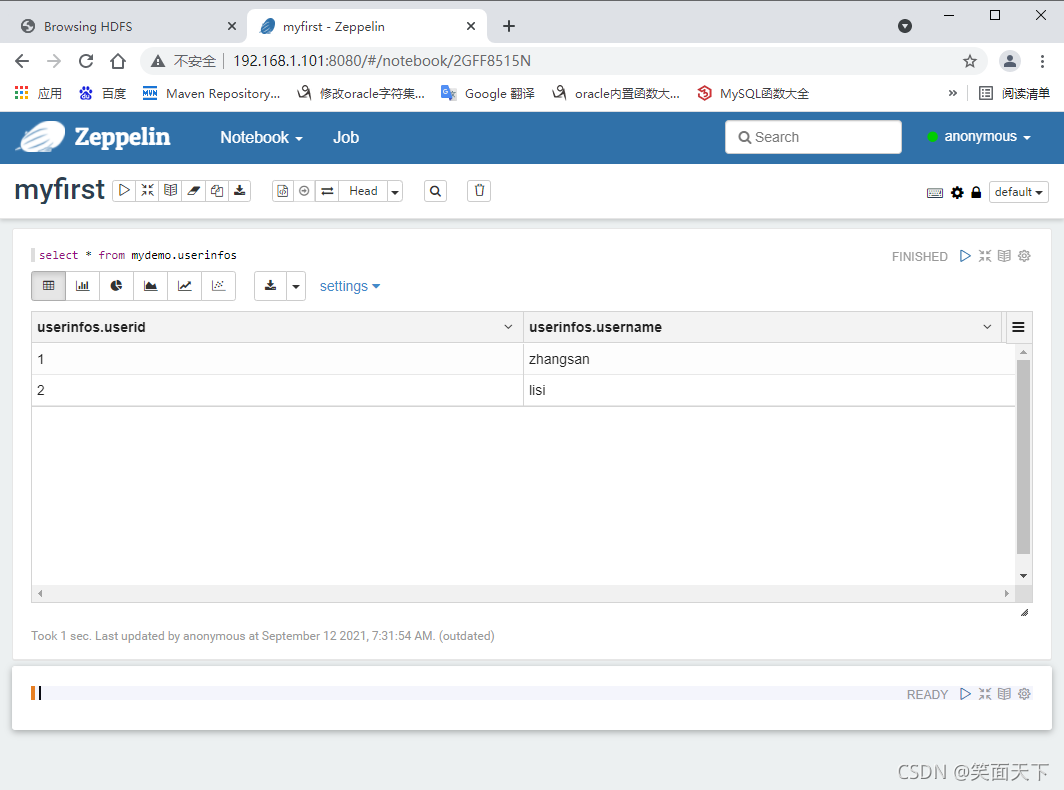
执行结果:
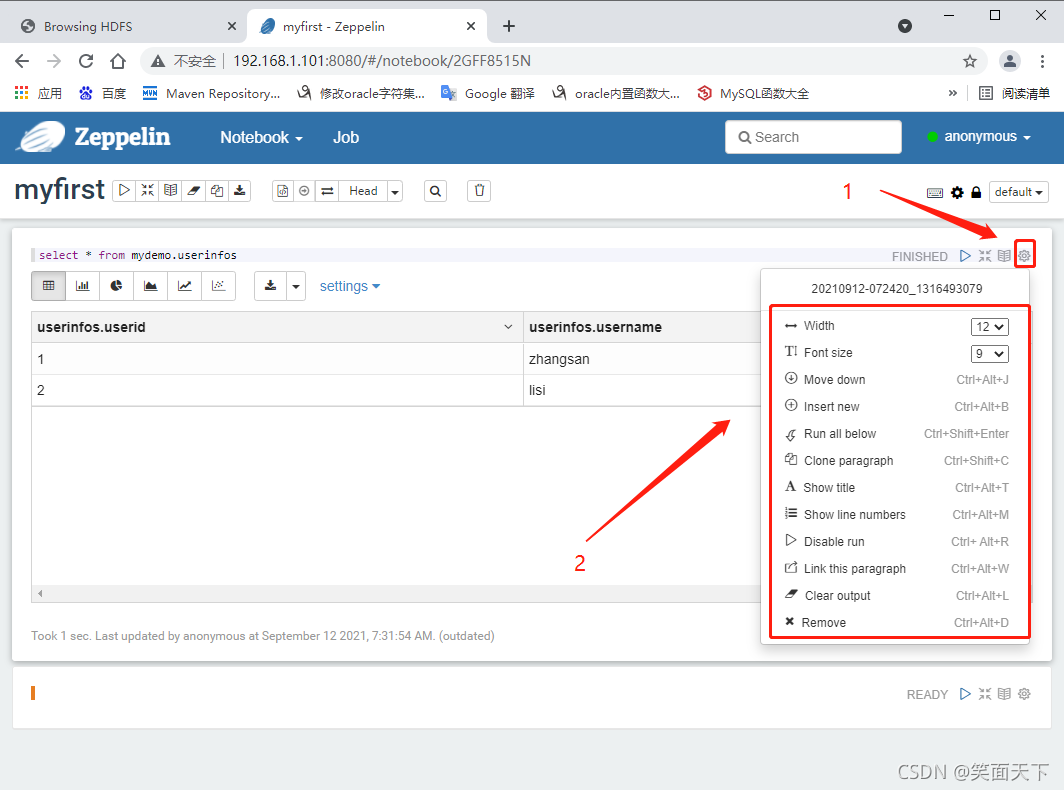
15、点击右上角设置符号可以进行窗口的调整
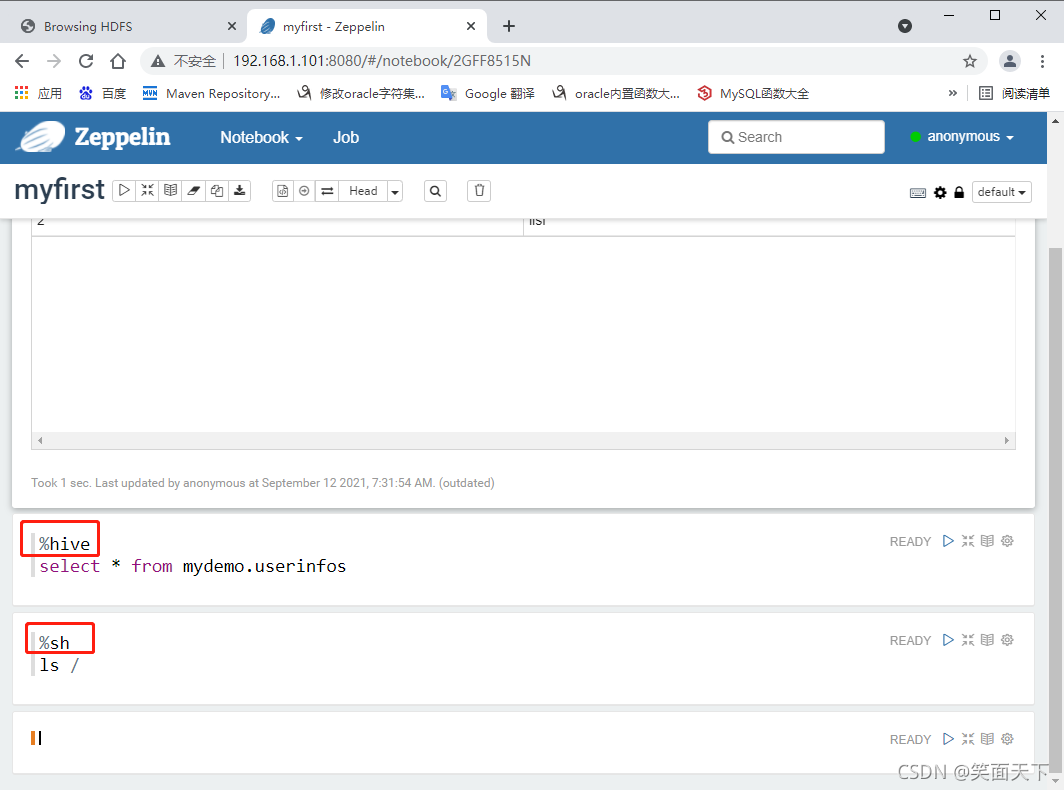
16、这里的 %hive 表示hive解释器,%sh 表示linux解释器

评论记录:
回复评论: