
最近在使用 Electron 做一个手写字体生成图片的工具。 不可避免的,遇到了通过Electron 往本地存文件的问题。
在Electron 中,存取本地文件,有很多种办法。本文介绍最常用的一种办法。 通过 Electron 框架提供的能力,和 Node.js 的 fs 文件管理模块实现本地文件的存取。
使用 app.getPath 和 fs 模块存储文件
首先,我们可以通过 app.getPath 来获取当前用户的 data 存放目录。
app.getPath(’userData’) 返回一个字符串,该字符串表示应用程序的用户数据目录的路径。这个目录通常是用来存储用户相关的数据,例如配置文件、缓存等。具体路径会根据操作系统而变化。
-
windows 系统中, 会返回类似(
C:\Users\)这样的结果。\AppData\Roaming\ -
Mac 系统中,会返回(
/Users/) 这种结果。/Library/Application Support/ -
linux 系统中 则会返回 (
/home/) 这种结果。/.config/
我们通过 node.js 的path 模块, 使用 path.join(app.getPath('userData'), 'myFile.txt') 就能得到一个完整的文件路径。 接着使用 fs 模块的 来写入内容即可。
示例代码如下:
jsx复制代码
const {
   app
} = require('electron');
const fs = require('fs');
const path = require('path');
const filePath = path.join(app.getPath('userData'),'/myfile.txt'); // Example file path
try {
   fs.writeFileSync(filePath, 'hello world', 'utf-8');
} catch (e) {
   console.error('Failed to save the file!');
}
这种做法,有一个问题。那就是,用户不能在保存的时候,主动选择文件存放目录。
使用 Dialog API 和 fs 模块配合
Electron 提供了一个 Dialog API 来处理文件对话框。您可以专门调用一个保存对话框,让用户选择保存文件的位置。
下面是一个简单的,示例代码:
jsx复制代码const {
   dialog
} = require('electron').remote;
const fs = require('fs');

const options = {
   title: 'Save file',
   defaultPath: 'my_filename',
   buttonLabel: 'Save',
   filters: [{
         name: 'txt',
         extensions: ['txt']
      },
      {
         name: 'All Files',
         extensions: ['*']
      },
   ],
};


dialog.showSaveDialog(null, options).then(({
   filePath
}) => {
   if (filePath) {
      fs.writeFileSync(filePath, 'hello world', 'utf-8');
   }
});
需要注意的点:
因为 fs 模块 和 Dialog 只能在,主进程中被调用。 但是我们的应用程序交互逻辑是在渲染进程,所以这段示例代码,只是演示了,如何去调用 Dialog 并手动选择文件存储位置。 并没有实际应用场景的参考意义。
实际应用场景封装 调整
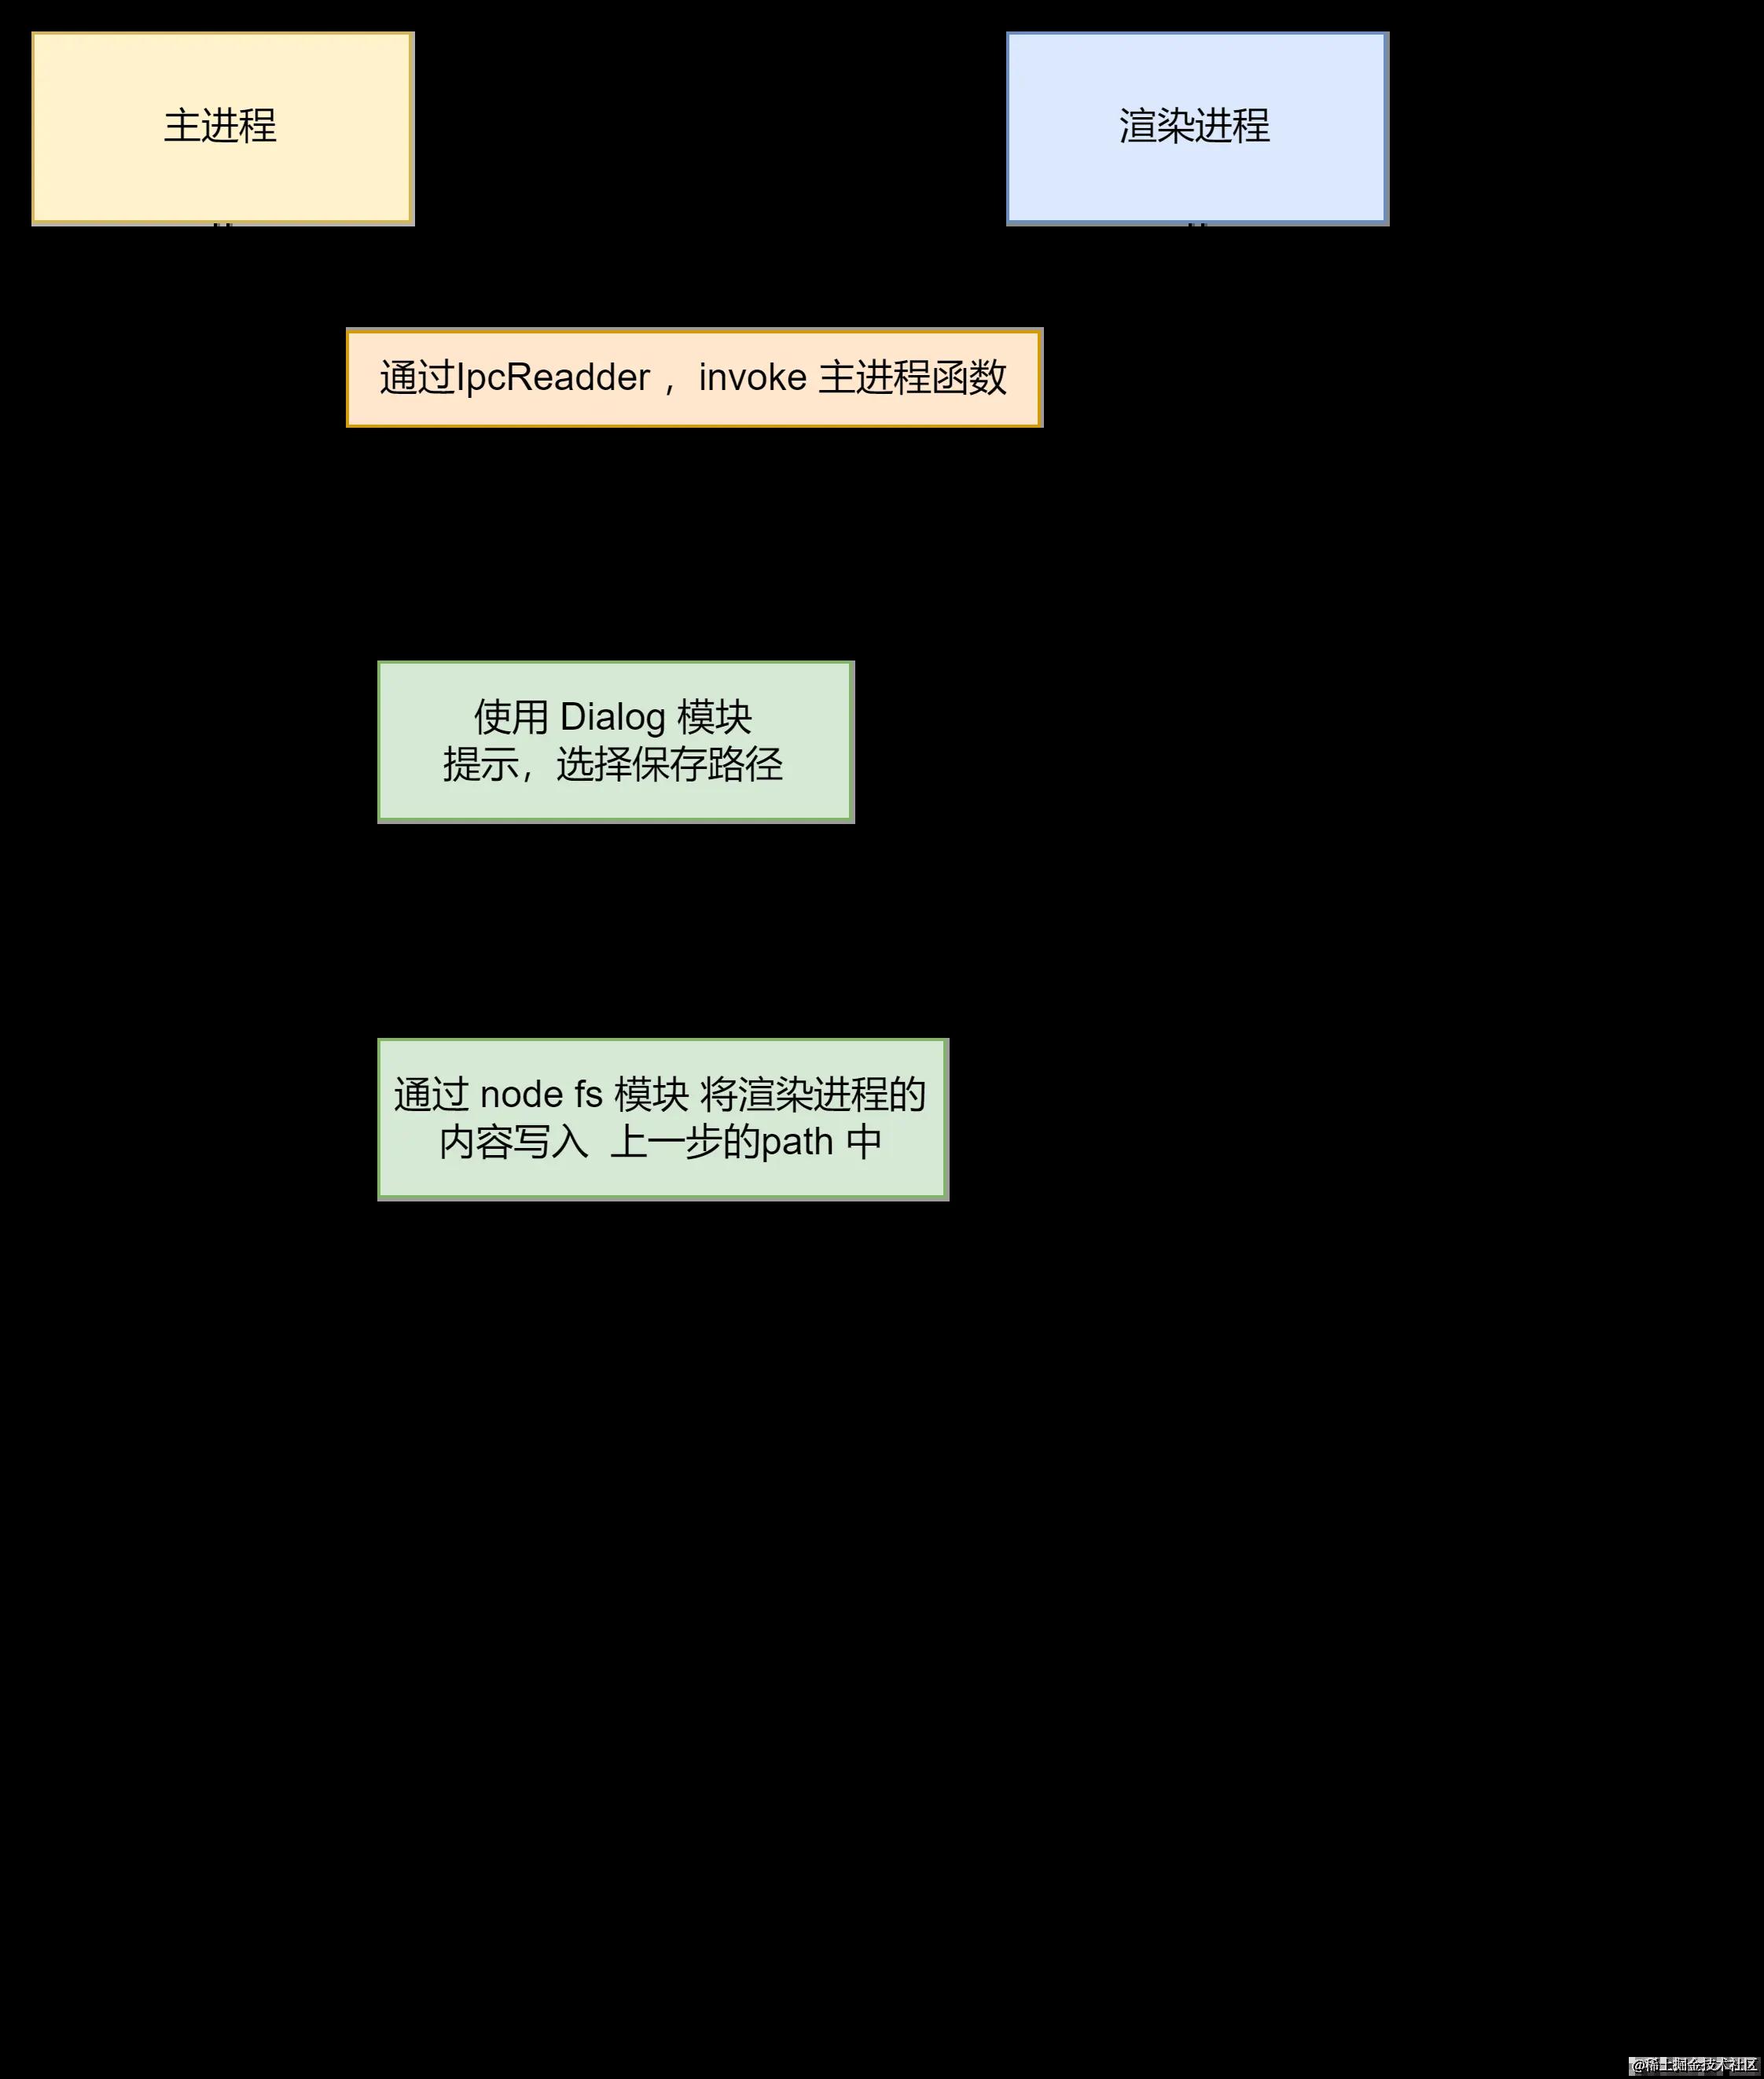
对存取图片的封装想法跟之前的采集桌面思路基本一致(如果,没看过可以翻一下以前的文章)。 我们利用 Electron 的 ipcmain 模块在主进程中注册方法。 然后,在渲染进程去调用。 整理实现流程大概如下图所示。
实例代码:
jsx复制代码
// 主进程 ->  main.js

// .... ohter code
// ... 在主进程注册我们封装后的 SaveFile 方法

const { app, BrowserWindow, ipcMain, dialog} = require("electron");
const path = require("path");
const fs = require('fs');

/**

 * @param options: { title:  String, defaultPath: String, buttonLabel: String, filters: area}

 * @param content: String

 * @returns Promise

 */

ipcMain.handle('saveFile', async (event, content, options) => {
  let path;
  try {
  const { filePath } =  await dialog.showSaveDialog(null, options);
    path = filePath;
  } catch(e) {
    return Promise.reject({error: e, success: false});
  }

  if(path) {
    try {
      fs.writeFileSync(path, content, 'utf-8');
      return Promise.resolve({error: null, success: true});
    } catch(e) {
      return Promise.reject({error: e, success: false});
    }
  }
    return Promise.reject({error: e, success: false, canceled: true});
});


// 其他代码 ....
jsx复制代码
// Vue 文件、
// 在我们,的Vue 业务中。直接通过 ipc 调用
<template>
<a-config-provider :csp="{ nonce: 'YourNonceCode' }">
<a-button type="primary" @click="exportImg">导出a-button>
a-config-provider>
template>
总结
在Electron 中,向本地存储和读取文件(文本或者是图片), 都离不开 node.js 的 fs 模块, 这个是文件系统处理的核心模块。
然后,我们搭配, path 模块。 dialog 模块,可以实现,用户主动选择存放位置。 或者 直接存到默认软件系统的 data 目录中。
当然,这些模块都只能在主进程中使用。 所以,我们不可避免的用到了, 之前的老朋友, ipc 进程间通讯方式。
本文,基于我在做一个手写照片 模拟器中遇到存储问题而来。 软件正在书写中。 后续会开源,并放出使用的视频。
请关注我的后续文章。
前言
在博文 http://iyenn.com/rec/1709265.html 中,我们利用官方提供的BSP(FSL Yocto Project Community BSP)构建了写到SD卡中的完整镜像,然后启动后发现存在不少问题,首要的问题就是u-boot不能识别网卡,在这篇博文中,我们就找到FSL Yocto Project Community BSP用到的u-boot源码,然后进行修改适配。
配置gcc交叉编译器
由于后面我们要自己去对自己修改后的u-boot进行编译,所以需要有gcc交叉编译器。
Buildroot在构建完之后能生成gcc交叉编译器,详情见 http://iyenn.com/rec/1709242.html 【搜索“生成交叉编译工具链”】。
Ycoto在构建时也能生成,但是由于这里在配置时没有配置生成gcc交叉编译器,所以这里就只有自己去手动操作了。
为了减少这篇博文的长度,所以具体的gcc交叉编译器的下载和配置见下面博文:http://iyenn.com/rec/1709243.html
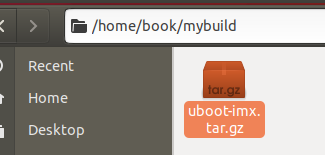
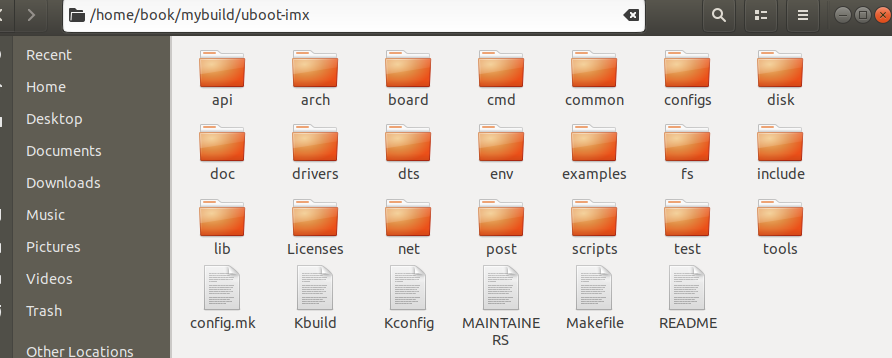
找到u-boot源码
从博文http://iyenn.com/rec/1709265.html构建的完整的SD卡镜像的运行情况来看,公板MCIMX6ULL-EVK(imx6ull14x14evk)的u-boot是不适应百问网的板子,主要就是网卡有问题,我们需要进行修改…
我们需要在FSL Yocto Project Community BSP中找到u-boot源码…
我们需要在在FSL Yocto Project Community BSP中找到对应的仓库地址,然后拉取到本地。
具体方法如下:
由于我们之前的镜像选择的是imx-image-multimedia,Yocto对应的层如下面这个列表:
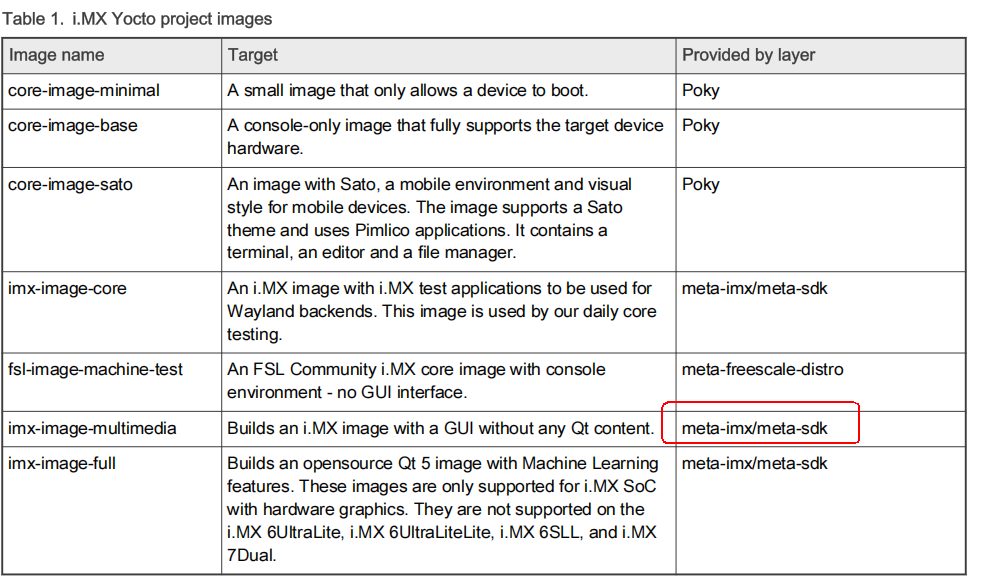
所以我们需要在目录/imx-yocto-bsp/sources/meta-imx/中去找其对应的仓库地址信息。打开下面这个文件:
/imx-yocto-bsp/sources/meta-imx/meta-bsp/recipes-kernel/linux/linux-imx_5.4.bb
 class="hljs-button signin active" data-title="登录复制" data-report-click="{"spm":"1001.2101.3001.4334"}">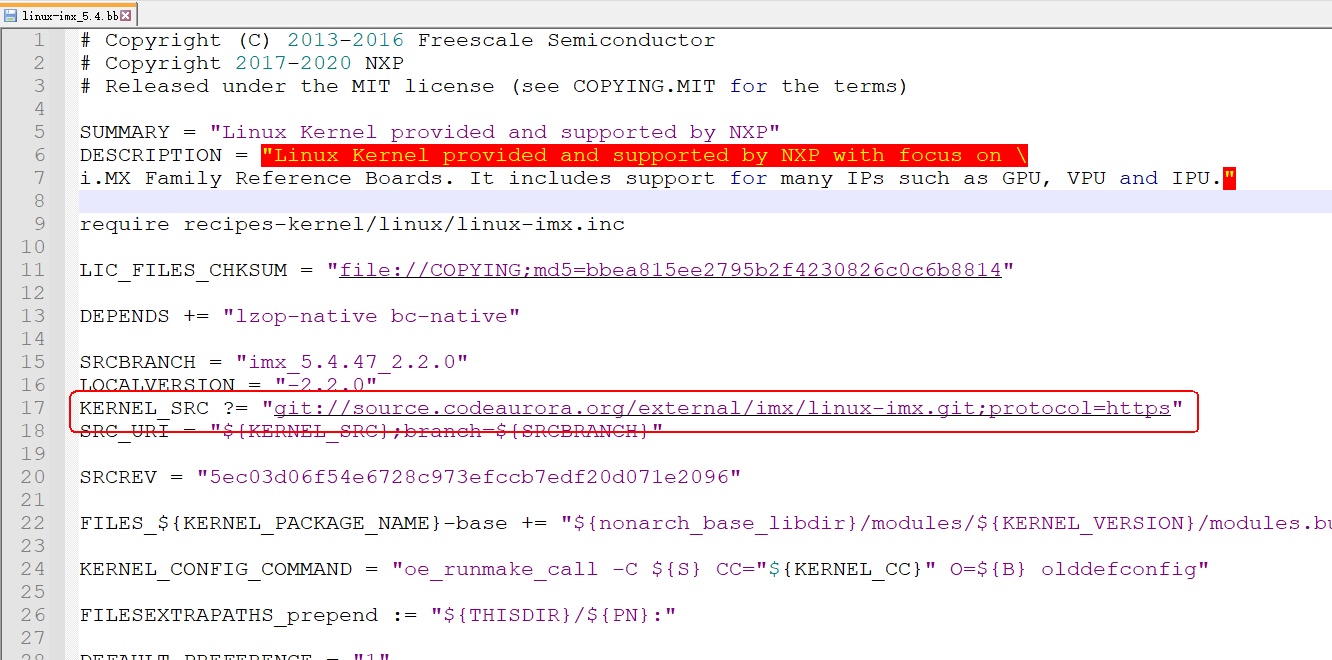


 class="blog_extension_card_cont">


评论记录:
回复评论: