
能力说明针
对动态卡片,ArkTS卡片中提供了 postCardAction 接口用于卡片内部和提供方应用间的交互,当前支持router、message和call三种类型的事件,仅在卡片中可以调用。
针对静态卡片,ArkTS卡片提供了 FormLink 用于卡片内部和提供方应用间的交互。
动态卡片事件能力说明

动态卡片事件的主要使用场景如下:
- router事件:可以使用router事件跳转到指定UIAbility,并通过router事件刷新卡片内容。
- call事件:可以使用call事件拉起指定UIAbility到后台,并通过call事件刷新卡片内容。
- message事件:可以使用message拉起FormExtensionAbility,并通过FormExtensionAbility刷新卡片内容。
静态卡片事件能力说明
请参见FormLink
使用router事件跳转到指定UIAbility
在卡片中使用 postCardAction 接口的router能力,能够快速拉起卡片提供方应用的指定UIAbility,因此UIAbility较多的应用往往会通过卡片提供不同的跳转按钮,实现一键直达的效果。例如相机卡片,卡片上提供拍照、录像等按钮,点击不同按钮将拉起相机应用的不同UIAbility,从而提高用户的体验。

说明
本文主要介绍动态卡片的事件开发。对于静态卡片,请参见FormLink 。
通常使用按钮控件来实现页面拉起,示例代码如下:
- 在卡片页面中布局两个按钮,点击其中一个按钮时调用postCardAction向指定UIAbility发送router事件,并在事件内定义需要传递的内容。
@Entry
@Component
struct WidgetEventRouterCard {
  build() {
    Column() {
      Text($r('app.string.JumpLabel'))
        .fontColor('#FFFFFF')
        .opacity(0.9)
        .fontSize(14)
        .margin({ top: '8%', left: '10%' })
      Row() {
        Column() {
          Button() {
            Text($r('app.string.ButtonA_label'))
              .fontColor('#45A6F4')
              .fontSize(12)
          }
          .width(120)
          .height(32)
          .margin({ top: '20%' })
          .backgroundColor('#FFFFFF')
          .borderRadius(16)
          .onClick(() => {
            postCardAction(this, {
              action: 'router',
              abilityName: 'EntryAbility',
              params: { targetPage: 'funA' }
            });
          })

          Button() {
            Text($r('app.string.ButtonB_label'))
              .fontColor('#45A6F4')
              .fontSize(12)
          }
          .width(120)
          .height(32)
          .margin({ top: '8%', bottom: '15vp' })
          .backgroundColor('#FFFFFF')
          .borderRadius(16)
          .onClick(() => {
            postCardAction(this, {
              action: 'router',
              abilityName: 'EntryAbility',
              params: { targetPage: 'funB' }
            });
          })
        }
      }.width('100%').height('80%')
      .justifyContent(FlexAlign.Center)
    }
    .width('100%')
    .height('100%')
    .alignItems(HorizontalAlign.Start)
    .backgroundImage($r('app.media.CardEvent'))
    .backgroundImageSize(ImageSize.Cover)
  }
}

- 1
- 2
- 3
- 4
- 5
- 6
- 7
- 8
- 9
- 10
- 11
- 12
- 13
- 14
- 15
- 16
- 17
- 18
- 19
- 20
- 21
- 22
- 23
- 24
- 25
- 26
- 27
- 28
- 29
- 30
- 31
- 32
- 33
- 34
- 35
- 36
- 37
- 38
- 39
- 40
- 41
- 42
- 43
- 44
- 45
- 46
- 47
- 48
- 49
- 50
- 51
- 52
- 53
- 54
- 55
- 56
- 57
- 58
- 在UIAbility中接收router事件并获取参数,根据传递的params不同,选择拉起不同的页面。
import { AbilityConstant, UIAbility, Want } from '@kit.AbilityKit';
import { window } from '@kit.ArkUI';
import { hilog } from '@kit.PerformanceAnalysisKit';

const TAG: string = 'EntryAbility';
const DOMAIN_NUMBER: number = 0xFF00;

export default class EntryAbility extends UIAbility {
  private selectPage: string = '';
  private currentWindowStage: window.WindowStage | null = null;

  onCreate(want: Want, launchParam: AbilityConstant.LaunchParam): void {
    // 获取router事件中传递的targetPage参数
    hilog.info(DOMAIN_NUMBER, TAG, `Ability onCreate, ${JSON.stringify(want)}`);
    if (want.parameters !== undefined) {
      let params: Record = JSON.parse(JSON.stringify(want.parameters));
      this.selectPage = params.targetPage;
    }
  }

  // 如果UIAbility已在后台运行,在收到Router事件后会触发onNewWant生命周期回调
  onNewWant(want: Want, launchParam: AbilityConstant.LaunchParam): void {
    hilog.info(DOMAIN_NUMBER, TAG, `onNewWant Want: ${JSON.stringify(want)}`);
    if (want.parameters?.params !== undefined) {
      let params: Record = JSON.parse(JSON.stringify(want.parameters));
      this.selectPage = params.targetPage;
    }
    if (this.currentWindowStage !== null) {
      this.onWindowStageCreate(this.currentWindowStage);
    }
  }

  onWindowStageCreate(windowStage: window.WindowStage): void {
    // Main window is created, set main page for this ability
    let targetPage: string;
    // 根据传递的targetPage不同,选择拉起不同的页面
    switch (this.selectPage) {
      case 'funA':
        targetPage = 'pages/FunA';
        break;
      case 'funB':
        targetPage = 'pages/FunB';
        break;
      default:
        targetPage = 'pages/Index';
    }
    if (this.currentWindowStage === null) {
      this.currentWindowStage = windowStage;
    }
    windowStage.loadContent(targetPage, (err, data) => {
      if (err.code) {
        hilog.error(DOMAIN_NUMBER, TAG, 'Failed to load the content. Cause: %{public}s', JSON.stringify(err) ?? '');
        return;
      }
      hilog.info(DOMAIN_NUMBER, TAG, 'Succeeded in loading the content. Data: %{public}s', JSON.stringify(data) ?? '');
    });
  }
}
- 1
- 2
- 3
- 4
- 5
- 6
- 7
- 8
- 9
- 10
- 11
- 12
- 13
- 14
- 15
- 16
- 17
- 18
- 19
- 20
- 21
- 22
- 23
- 24
- 25
- 26
- 27
- 28
- 29
- 30
- 31
- 32
- 33
- 34
- 35
- 36
- 37
- 38
- 39
- 40
- 41
- 42
- 43
- 44
- 45
- 46
- 47
- 48
- 49
- 50
- 51
- 52
- 53
- 54
- 55
- 56
- 57
- 58
使用call事件拉起指定UIAbility到后台
许多应用希望借助卡片的能力,实现和应用在前台时相同的功能。例如音乐卡片,卡片上提供播放、暂停等按钮,点击不同按钮将触发音乐应用的不同功能,进而提高用户的体验。在卡片中使用postCardAction接口的call能力,能够将卡片提供方应用的指定的UIAbility拉到后台。同时,call能力提供了调用应用指定方法、传递数据的功能,使应用在后台运行时可以通过卡片上的按钮执行不同的功能。
说明
本文主要介绍动态卡片的事件开发。对于静态卡片,请参见 FormLink。
约束限制
提供方应用需要具备后台运行权限(ohos.permission.KEEP_BACKGROUND_RUNNING)。
开发步骤
通常使用按钮控件来触发call事件,示例代码如下:
- 在卡片页面中布局两个按钮,点击其中一个按钮时调用postCardAction向指定UIAbility发送call事件,并在事件内定义需要调用的方法和传递的数据。需要注意的是,method参数为必选参数,且类型需要为string类型,用于触发UIAbility中对应的方法。
@Entry
@Component
struct WidgetEventCallCard {
  @LocalStorageProp('formId') formId: string = '12400633174999288';

  build() {
    Column() {
      //...
      Row() {
        Column() {
          Button() {
          //...
          }
          //...
          .onClick(() => {
            postCardAction(this, {
              action: 'call',
              abilityName: 'WidgetEventCallEntryAbility', // 只能跳转到当前应用下的UIAbility
              params: {
                formId: this.formId,
                method: 'funA' // 在EntryAbility中调用的方法名
              }
            });
          })

          Button() {
          //...
          }
          //...
          .onClick(() => {
            postCardAction(this, {
              action: 'call',
              abilityName: 'WidgetEventCallEntryAbility', // 只能跳转到当前应用下的UIAbility
              params: {
                formId: this.formId,
                method: 'funB', // 在EntryAbility中调用的方法名
                num: 1 // 需要传递的其他参数
              }
            });
          })
        }
      }.width('100%').height('80%')
      .justifyContent(FlexAlign.Center)
    }
    .width('100%')
    .height('100%')
    .alignItems(HorizontalAlign.Center)
  }
}
- 1
- 2
- 3
- 4
- 5
- 6
- 7
- 8
- 9
- 10
- 11
- 12
- 13
- 14
- 15
- 16
- 17
- 18
- 19
- 20
- 21
- 22
- 23
- 24
- 25
- 26
- 27
- 28
- 29
- 30
- 31
- 32
- 33
- 34
- 35
- 36
- 37
- 38
- 39
- 40
- 41
- 42
- 43
- 44
- 45
- 46
- 47
- 48
- 49
- 在UIAbility中接收call事件并获取参数,根据传递的method不同,执行不同的方法。其余数据可以通过 readString 方法获取。需要注意的是,UIAbility需要onCreate生命周期中监听所需的方法。
@Entry
@Component
struct WidgetEventCallCard {
  @LocalStorageProp('formId') formId: string = '12400633174999288';

  build() {
    Column() {
      //...
      Row() {
        Column() {
          Button() {
          //...
          }
          //...
          .onClick(() => {
            postCardAction(this, {
              action: 'call',
              abilityName: 'WidgetEventCallEntryAbility', // 只能跳转到当前应用下的UIAbility
              params: {
                formId: this.formId,
                method: 'funA' // 在EntryAbility中调用的方法名
              }
            });
          })

          Button() {
          //...
          }
          //...
          .onClick(() => {
            postCardAction(this, {
              action: 'call',
              abilityName: 'WidgetEventCallEntryAbility', // 只能跳转到当前应用下的UIAbility
              params: {
                formId: this.formId,
                method: 'funB', // 在EntryAbility中调用的方法名
                num: 1 // 需要传递的其他参数
              }
            });
          })
        }
      }.width('100%').height('80%')
      .justifyContent(FlexAlign.Center)
    }
    .width('100%')
    .height('100%')
    .alignItems(HorizontalAlign.Center)
  }
}
- 1
- 2
- 3
- 4
- 5
- 6
- 7
- 8
- 9
- 10
- 11
- 12
- 13
- 14
- 15
- 16
- 17
- 18
- 19
- 20
- 21
- 22
- 23
- 24
- 25
- 26
- 27
- 28
- 29
- 30
- 31
- 32
- 33
- 34
- 35
- 36
- 37
- 38
- 39
- 40
- 41
- 42
- 43
- 44
- 45
- 46
- 47
- 48
- 49
通过message事件刷新卡片内容
在卡片页面中可以通过 postCardAction 接口触发message事件拉起FormExtensionAbility,然后由FormExtensionAbility刷新卡片内容,下面是这种刷新方式的简单示例。
说明
本文主要介绍动态卡片的事件开发。对于静态卡片,请参见 FormLink。
- 在卡片页面通过注册Button的onClick点击事件回调,并在回调中调用postCardAction接口触发message事件拉起FormExtensionAbility。卡片页面中使用 LocalStorageProp 装饰需要刷新的卡片数据。
let storageUpdateByMsg = new LocalStorage();

@Entry(storageUpdateByMsg)
@Component
struct UpdateByMessageCard {
  @LocalStorageProp('title') title: ResourceStr = $r('app.string.default_title');
  @LocalStorageProp('detail') detail: ResourceStr = $r('app.string.DescriptionDefault');

  build() {
    Column() {
      Column() {
        Text(this.title)
          .fontColor('#FFFFFF')
          .opacity(0.9)
          .fontSize(14)
          .margin({ top: '8%', left: '10%' })
        Text(this.detail)
          .fontColor('#FFFFFF')
          .opacity(0.6)
          .fontSize(12)
          .margin({ top: '5%', left: '10%' })
      }.width('100%').height('50%')
      .alignItems(HorizontalAlign.Start)

      Row() {
        Button() {
          Text($r('app.string.update'))
            .fontColor('#45A6F4')
            .fontSize(12)
        }
        .width(120)
        .height(32)
        .margin({ top: '30%', bottom: '10%' })
        .backgroundColor('#FFFFFF')
        .borderRadius(16)
        .onClick(() => {
          postCardAction(this, {
            action: 'message',
            params: { msgTest: 'messageEvent' }
          });
        })
      }.width('100%').height('40%')
      .justifyContent(FlexAlign.Center)
    }
    .width('100%')
    .height('100%')
    .alignItems(HorizontalAlign.Start)
    .backgroundImage($r('app.media.CardEvent'))
    .backgroundImageSize(ImageSize.Cover)
  }
}
- 1
- 2
- 3
- 4
- 5
- 6
- 7
- 8
- 9
- 10
- 11
- 12
- 13
- 14
- 15
- 16
- 17
- 18
- 19
- 20
- 21
- 22
- 23
- 24
- 25
- 26
- 27
- 28
- 29
- 30
- 31
- 32
- 33
- 34
- 35
- 36
- 37
- 38
- 39
- 40
- 41
- 42
- 43
- 44
- 45
- 46
- 47
- 48
- 49
- 50
- 51
- 在FormExtensionAbility的onFormEvent生命周期中调用 updateForm 接口刷新卡片。
import { BusinessError } from '@kit.BasicServicesKit';
import { formBindingData, FormExtensionAbility, formProvider } from '@kit.FormKit';
import { hilog } from '@kit.PerformanceAnalysisKit';

const TAG: string = 'EntryFormAbility';
const DOMAIN_NUMBER: number = 0xFF00;

export default class EntryFormAbility extends FormExtensionAbility {
  onFormEvent(formId: string, message: string): void {
    // Called when a specified message event defined by the form provider is triggered.
    hilog.info(DOMAIN_NUMBER, TAG, `FormAbility onFormEvent, formId = ${formId}, message: ${JSON.stringify(message)}`);

    class FormDataClass {
      title: string = 'Title Update.'; // 和卡片布局中对应
      detail: string = 'Description update success.'; // 和卡片布局中对应
    }

    let formData = new FormDataClass();
    let formInfo: formBindingData.FormBindingData = formBindingData.createFormBindingData(formData);
    formProvider.updateForm(formId, formInfo).then(() => {
      hilog.info(DOMAIN_NUMBER, TAG, 'FormAbility updateForm success.');
    }).catch((error: BusinessError) => {
      hilog.info(DOMAIN_NUMBER, TAG, `Operation updateForm failed. Cause: ${JSON.stringify(error)}`);
    })
  }
  //...
}
- 1
- 2
- 3
- 4
- 5
- 6
- 7
- 8
- 9
- 10
- 11
- 12
- 13
- 14
- 15
- 16
- 17
- 18
- 19
- 20
- 21
- 22
- 23
- 24
- 25
- 26
- 27
运行效果如下图所示。
初始状态

点击刷新

通过router或call事件刷新卡片内容
在卡片页面中可以通过 postCardAction 接口触发router事件或者call事件拉起UIAbility,然后由UIAbility刷新卡片内容,下面是这种刷新方式的简单示例。
说明
本文主要介绍动态卡片的事件开发。对于静态卡片,请参见 FormLink 。
通过router事件刷新卡片内容
- 在卡片页面通过注册Button的onClick点击事件回调,并在回调中调用postCardAction接口触发router事件拉起UIAbility。
let storageUpdateRouter = new LocalStorage();

@Entry(storageUpdateRouter)
@Component
struct WidgetUpdateRouterCard {
  @LocalStorageProp('routerDetail') routerDetail: ResourceStr = $r('app.string.init');

  build() {
    Column() {
      Column() {
        Text(this.routerDetail)
          .fontColor('#FFFFFF')
          .opacity(0.9)
          .fontSize(14)
          .margin({ top: '8%', left: '10%', right: '10%' })
          .textOverflow({ overflow: TextOverflow.Ellipsis })
          .maxLines(2)
      }.width('100%').height('50%')
      .alignItems(HorizontalAlign.Start)

      Row() {
        Button() {
          Text($r('app.string.JumpLabel'))
            .fontColor('#45A6F4')
            .fontSize(12)
        }
        .width(120)
        .height(32)
        .margin({ top: '30%', bottom: '10%' })
        .backgroundColor('#FFFFFF')
        .borderRadius(16)
        .onClick(() => {
          postCardAction(this, {
            action: 'router',
            abilityName: 'WidgetEventRouterEntryAbility', // 只能跳转到当前应用下的UIAbility
            params: {
              routerDetail: 'RouterFromCard',
            }
          });
        })
      }.width('100%').height('40%')
      .justifyContent(FlexAlign.Center)
    }
    .width('100%')
    .height('100%')
    .alignItems(HorizontalAlign.Start)
    .backgroundImage($r('app.media.CardEvent'))
    .backgroundImageSize(ImageSize.Cover)
  }
}
- 1
- 2
- 3
- 4
- 5
- 6
- 7
- 8
- 9
- 10
- 11
- 12
- 13
- 14
- 15
- 16
- 17
- 18
- 19
- 20
- 21
- 22
- 23
- 24
- 25
- 26
- 27
- 28
- 29
- 30
- 31
- 32
- 33
- 34
- 35
- 36
- 37
- 38
- 39
- 40
- 41
- 42
- 43
- 44
- 45
- 46
- 47
- 48
- 49
- 50
- 在UIAbility的onCreate或者onNewWant生命周期中可以通过入参want获取卡片的formID和传递过来的参数信息,然后调用 updateForm 接口刷新卡片。
import { AbilityConstant, UIAbility, Want } from '@kit.AbilityKit';
import { window } from '@kit.ArkUI';
import { BusinessError } from '@kit.BasicServicesKit';
import { formBindingData, formInfo, formProvider } from '@kit.FormKit';
import { hilog } from '@kit.PerformanceAnalysisKit';

const TAG: string = 'WidgetEventRouterEntryAbility';
const DOMAIN_NUMBER: number = 0xFF00;

export default class WidgetEventRouterEntryAbility extends UIAbility {
  onCreate(want: Want, launchParam: AbilityConstant.LaunchParam): void {
    this.handleFormRouterEvent(want);
  }

  handleFormRouterEvent(want: Want): void {
    hilog.info(DOMAIN_NUMBER, TAG, 'handleFormRouterEvent, Want:', JSON.stringify(want));
    if (want.parameters && want.parameters[formInfo.FormParam.IDENTITY_KEY] !== undefined) {
      let curFormId = JSON.stringify(want.parameters[formInfo.FormParam.IDENTITY_KEY]);
      let message: string = JSON.stringify(want.parameters.routerDetail);
      hilog.info(DOMAIN_NUMBER, TAG, `UpdateForm formId: ${curFormId}, message: ${message}`);
      let formData: Record = {
        'routerDetail': message + 'UIAbility.', // 和卡片布局中对应
      };
      let formMsg = formBindingData.createFormBindingData(formData);
      formProvider.updateForm(want.parameters[formInfo.FormParam.IDENTITY_KEY] + '', formMsg).then((data) => {
        hilog.info(DOMAIN_NUMBER, TAG, 'updateForm success.', JSON.stringify(data));
      }).catch((error: BusinessError) => {
        hilog.info(DOMAIN_NUMBER, TAG, 'updateForm failed.', JSON.stringify(error));
      });
    }
  }

  // 如果UIAbility已在后台运行,在收到Router事件后会触发onNewWant生命周期回调
  onNewWant(want: Want, launchParam: AbilityConstant.LaunchParam): void {
    hilog.info(DOMAIN_NUMBER, TAG, 'onNewWant Want:', JSON.stringify(want));
    if (want.parameters && want.parameters[formInfo.FormParam.IDENTITY_KEY] !== undefined) {
      let curFormId = JSON.stringify(want.parameters[formInfo.FormParam.IDENTITY_KEY]);
      let message: string = JSON.stringify(want.parameters.routerDetail);
      hilog.info(DOMAIN_NUMBER, TAG, `UpdateForm formId: ${curFormId}, message: ${message}`);
      let formData: Record = {
        'routerDetail': message + 'onNewWant UIAbility.', // 和卡片布局中对应
      };
      let formMsg = formBindingData.createFormBindingData(formData);
      formProvider.updateForm(want.parameters[formInfo.FormParam.IDENTITY_KEY] + '', formMsg).then((data) => {
        hilog.info(DOMAIN_NUMBER, TAG, 'updateForm success.', JSON.stringify(data));
      }).catch((error: BusinessError) => {
        hilog.info(DOMAIN_NUMBER, TAG, 'updateForm failed.', JSON.stringify(error));
      });
    }
  }

  onWindowStageCreate(windowStage: window.WindowStage): void {
    // Main window is created, set main page for this ability
    hilog.info(DOMAIN_NUMBER, TAG, '%{public}s', 'Ability onWindowStageCreate');

    windowStage.loadContent('pages/Index', (err, data) => {
      if (err.code) {
        hilog.error(DOMAIN_NUMBER, TAG, 'Failed to load the content. Cause: %{public}s', JSON.stringify(err) ?? '');
        return;
      }
      hilog.info(DOMAIN_NUMBER, TAG, 'Succeeded in loading the content. Data: %{public}s', JSON.stringify(data) ?? '');
    });
  }
  ...
}
- 1
- 2
- 3
- 4
- 5
- 6
- 7
- 8
- 9
- 10
- 11
- 12
- 13
- 14
- 15
- 16
- 17
- 18
- 19
- 20
- 21
- 22
- 23
- 24
- 25
- 26
- 27
- 28
- 29
- 30
- 31
- 32
- 33
- 34
- 35
- 36
- 37
- 38
- 39
- 40
- 41
- 42
- 43
- 44
- 45
- 46
- 47
- 48
- 49
- 50
- 51
- 52
- 53
- 54
- 55
- 56
- 57
- 58
- 59
- 60
- 61
- 62
- 63
- 64
- 65
通过call事件刷新卡片内容
- 在使用postCardAction接口的call事件时,需要在FormExtensionAbility中的onAddForm生命周期回调中更新formId。
import { Want } from '@kit.AbilityKit';
import { formBindingData, FormExtensionAbility } from '@kit.FormKit';

export default class WidgetCalleeFormAbility extends FormExtensionAbility {
  onAddForm(want: Want): formBindingData.FormBindingData {
    class DataObj1 {
      formId: string = '';
    }

    let dataObj1 = new DataObj1();
    if (want.parameters && want.parameters['ohos.extra.param.key.form_identity'] !== undefined) {
      let formId: string = want.parameters['ohos.extra.param.key.form_identity'].toString();
      dataObj1.formId = formId;
    }
    let obj1 = formBindingData.createFormBindingData(dataObj1);
    return obj1;
  }
  ...
}
- 1
- 2
- 3
- 4
- 5
- 6
- 7
- 8
- 9
- 10
- 11
- 12
- 13
- 14
- 15
- 16
- 17
- 18
- 19
- 在卡片页面通过注册Button的onClick点击事件回调,并在回调中调用postCardAction接口触发call事件拉起UIAbility。
let storageUpdateCall = new LocalStorage();

@Entry(storageUpdateCall)
@Component
struct WidgetUpdateCallCard {
  @LocalStorageProp('formId') formId: string = '12400633174999288';
  @LocalStorageProp('calleeDetail') calleeDetail: ResourceStr = $r('app.string.init');

  build() {
    Column() {
      Column() {
          Text(this.calleeDetail)
          .fontColor('#FFFFFF')
          .opacity(0.9)
          .fontSize(14)
          .margin({ top: '8%', left: '10%' })
      }.width('100%').height('50%')
      .alignItems(HorizontalAlign.Start)

      Row() {
        Button() {
          Text($r('app.string.CalleeJumpLabel'))
            .fontColor('#45A6F4')
            .fontSize(12)
        }
        .width(120)
        .height(32)
        .margin({ top: '30%', bottom: '10%' })
        .backgroundColor('#FFFFFF')
        .borderRadius(16)
        .onClick(() => {
          postCardAction(this, {
            action: 'call',
            abilityName: 'WidgetCalleeEntryAbility', // 只能拉起当前应用下的UIAbility
            params: {
              method: 'funA',
              formId: this.formId,
              calleeDetail: 'CallFrom'
            }
          });
        })
      }.width('100%').height('40%')
      .justifyContent(FlexAlign.Center)
    }
    .width('100%')
    .height('100%')
    .alignItems(HorizontalAlign.Start)
    .backgroundImage($r('app.media.CardEvent'))
    .backgroundImageSize(ImageSize.Cover)
  }
}
- 1
- 2
- 3
- 4
- 5
- 6
- 7
- 8
- 9
- 10
- 11
- 12
- 13
- 14
- 15
- 16
- 17
- 18
- 19
- 20
- 21
- 22
- 23
- 24
- 25
- 26
- 27
- 28
- 29
- 30
- 31
- 32
- 33
- 34
- 35
- 36
- 37
- 38
- 39
- 40
- 41
- 42
- 43
- 44
- 45
- 46
- 47
- 48
- 49
- 50
- 51
- 在UIAbility的onCreate生命周期中监听call事件所需的方法,然后在对应方法中调用 updateForm 接口刷新卡片。
import { AbilityConstant, UIAbility, Want } from '@kit.AbilityKit';
import { window } from '@kit.ArkUI';
import { BusinessError } from '@kit.BasicServicesKit';
import { formBindingData, formProvider } from '@kit.FormKit';
import { rpc } from '@kit.IPCKit';
import { hilog } from '@kit.PerformanceAnalysisKit';

const TAG: string = 'WidgetCalleeEntryAbility';
const DOMAIN_NUMBER: number = 0xFF00;
const MSG_SEND_METHOD: string = 'funA';
const CONST_NUMBER_1: number = 1;

class MyParcelable implements rpc.Parcelable {
  num: number;
  str: string;

  constructor(num: number, str: string) {
    this.num = num;
    this.str = str;
  };

  marshalling(messageSequence: rpc.MessageSequence): boolean {
    messageSequence.writeInt(this.num);
    messageSequence.writeString(this.str);
    return true;
  };

  unmarshalling(messageSequence: rpc.MessageSequence): boolean {
    this.num = messageSequence.readInt();
    this.str = messageSequence.readString();
    return true;
  };
}

// 在收到call事件后会触发callee监听的方法
let funACall = (data: rpc.MessageSequence): MyParcelable => {
  // 获取call事件中传递的所有参数
  let params: Record = JSON.parse(data.readString());
  if (params.formId !== undefined) {
    let curFormId: string = params.formId;
    let message: string = params.calleeDetail;
    hilog.info(DOMAIN_NUMBER, TAG, `UpdateForm formId: ${curFormId}, message: ${message}`);
    let formData: Record = {
      'calleeDetail': message
    };
    let formMsg: formBindingData.FormBindingData = formBindingData.createFormBindingData(formData);
    formProvider.updateForm(curFormId, formMsg).then((data) => {
      hilog.info(DOMAIN_NUMBER, TAG, `updateForm success. ${JSON.stringify(data)}`);
    }).catch((error: BusinessError) => {
      hilog.error(DOMAIN_NUMBER, TAG, `updateForm failed: ${JSON.stringify(error)}`);
    });
  }
  return new MyParcelable(CONST_NUMBER_1, 'aaa');
};

export default class WidgetCalleeEntryAbility extends UIAbility {
  onCreate(want: Want, launchParam: AbilityConstant.LaunchParam): void {
    try {
      // 监听call事件所需的方法
      this.callee.on(MSG_SEND_METHOD, funACall);
    } catch (error) {
      hilog.error(DOMAIN_NUMBER, TAG, `${MSG_SEND_METHOD} register failed with error ${JSON.stringify(error)}`);
    }
  }

  onWindowStageCreate(windowStage: window.WindowStage): void {
    // Main window is created, set main page for this ability
    hilog.info(DOMAIN_NUMBER, TAG, '%{public}s', 'Ability onWindowStageCreate');

    windowStage.loadContent('pages/Index', (err, data) => {
      if (err.code) {
        hilog.error(DOMAIN_NUMBER, TAG, 'Failed to load the content. Cause: %{public}s', JSON.stringify(err) ?? '');
        return;
      }
      hilog.info(DOMAIN_NUMBER, TAG, 'Succeeded in loading the content. Data: %{public}s', JSON.stringify(data) ?? '');
    });
  }
}
- 1
- 2
- 3
- 4
- 5
- 6
- 7
- 8
- 9
- 10
- 11
- 12
- 13
- 14
- 15
- 16
- 17
- 18
- 19
- 20
- 21
- 22
- 23
- 24
- 25
- 26
- 27
- 28
- 29
- 30
- 31
- 32
- 33
- 34
- 35
- 36
- 37
- 38
- 39
- 40
- 41
- 42
- 43
- 44
- 45
- 46
- 47
- 48
- 49
- 50
- 51
- 52
- 53
- 54
- 55
- 56
- 57
- 58
- 59
- 60
- 61
- 62
- 63
- 64
- 65
- 66
- 67
- 68
- 69
- 70
- 71
- 72
- 73
- 74
- 75
- 76
- 77
- 78
鸿蒙全栈开发全新学习指南
总有有很多小伙伴反馈说不知道学习哪些鸿蒙开发技术?不知道需要重点掌握哪些鸿蒙应用开发知识点?而且学习时频繁踩坑,最终浪费大量时间。所以要有一份实用的鸿蒙(HarmonyOS NEXT)学习路线与学习文档用来跟着学习是非常有必要的。
针对一些列因素,整理了一套纯血版鸿蒙(HarmonyOS Next)全栈开发技术的学习路线,包含了鸿蒙开发必掌握的核心知识要点,内容有(ArkTS、ArkUI开发组件、Stage模型、多端部署、分布式应用开发、WebGL、元服务、OpenHarmony多媒体技术、Napi组件、OpenHarmony内核、OpenHarmony驱动开发、系统定制移植等等)鸿蒙(HarmonyOS NEXT)技术知识点。
本路线共分为四个阶段:
第一阶段:鸿蒙初中级开发必备技能
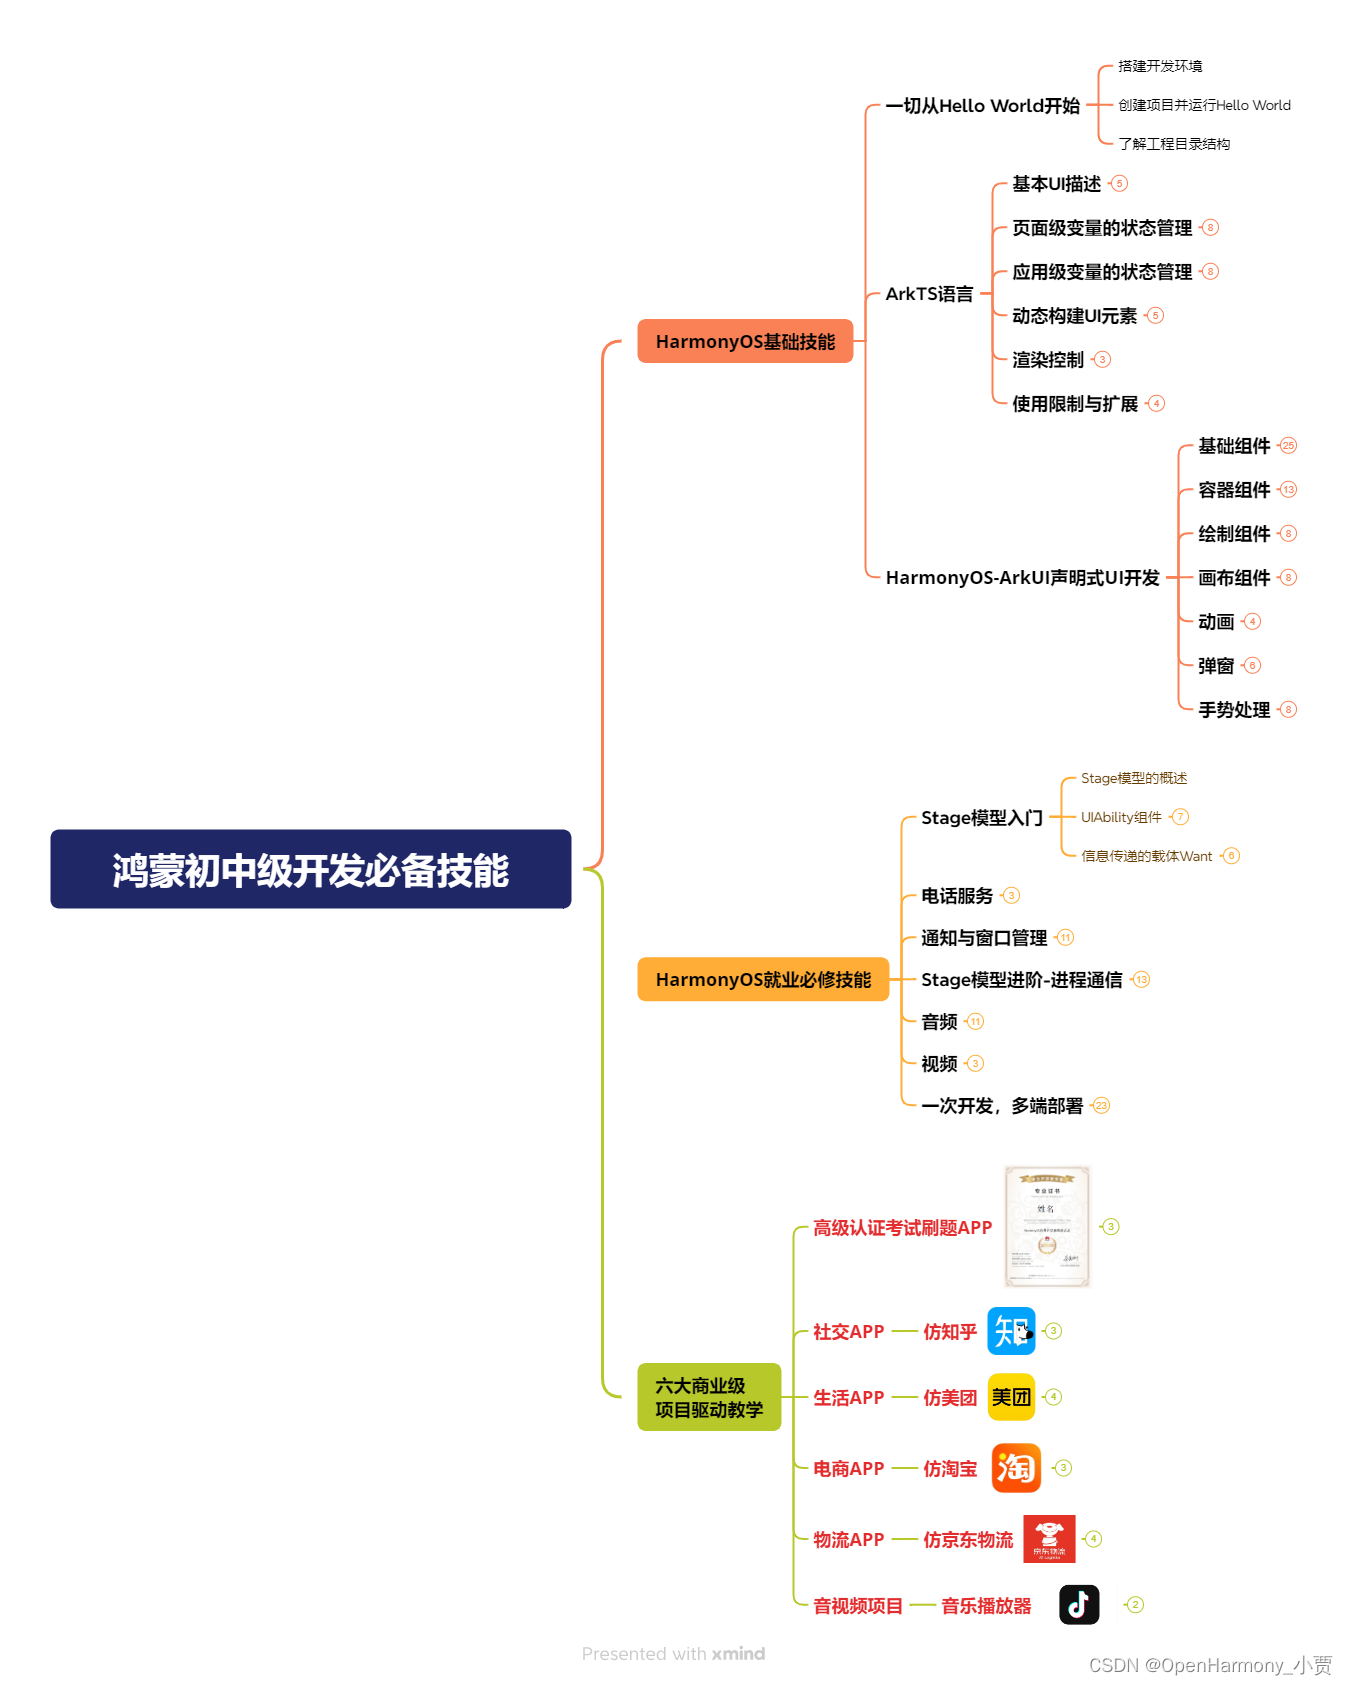
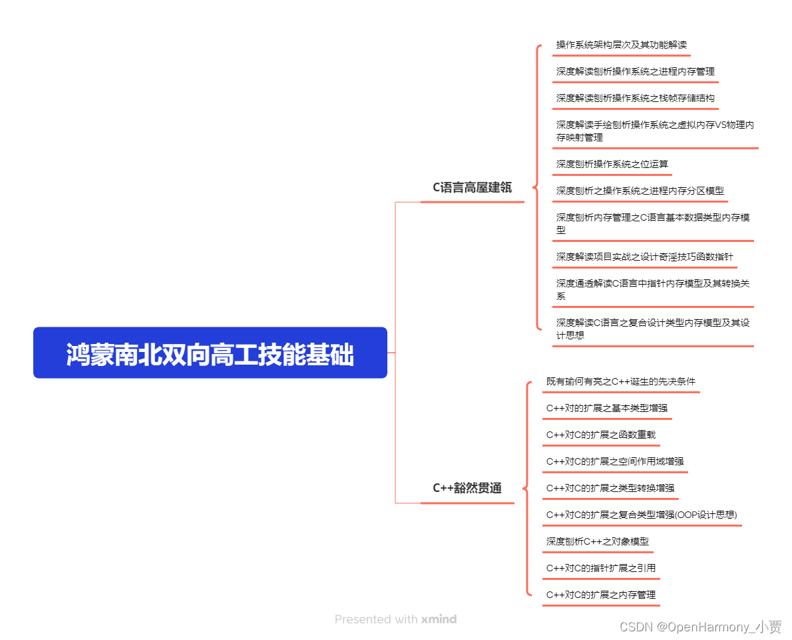
第二阶段:鸿蒙南北双向高工技能基础:gitee.com/MNxiaona/733GH
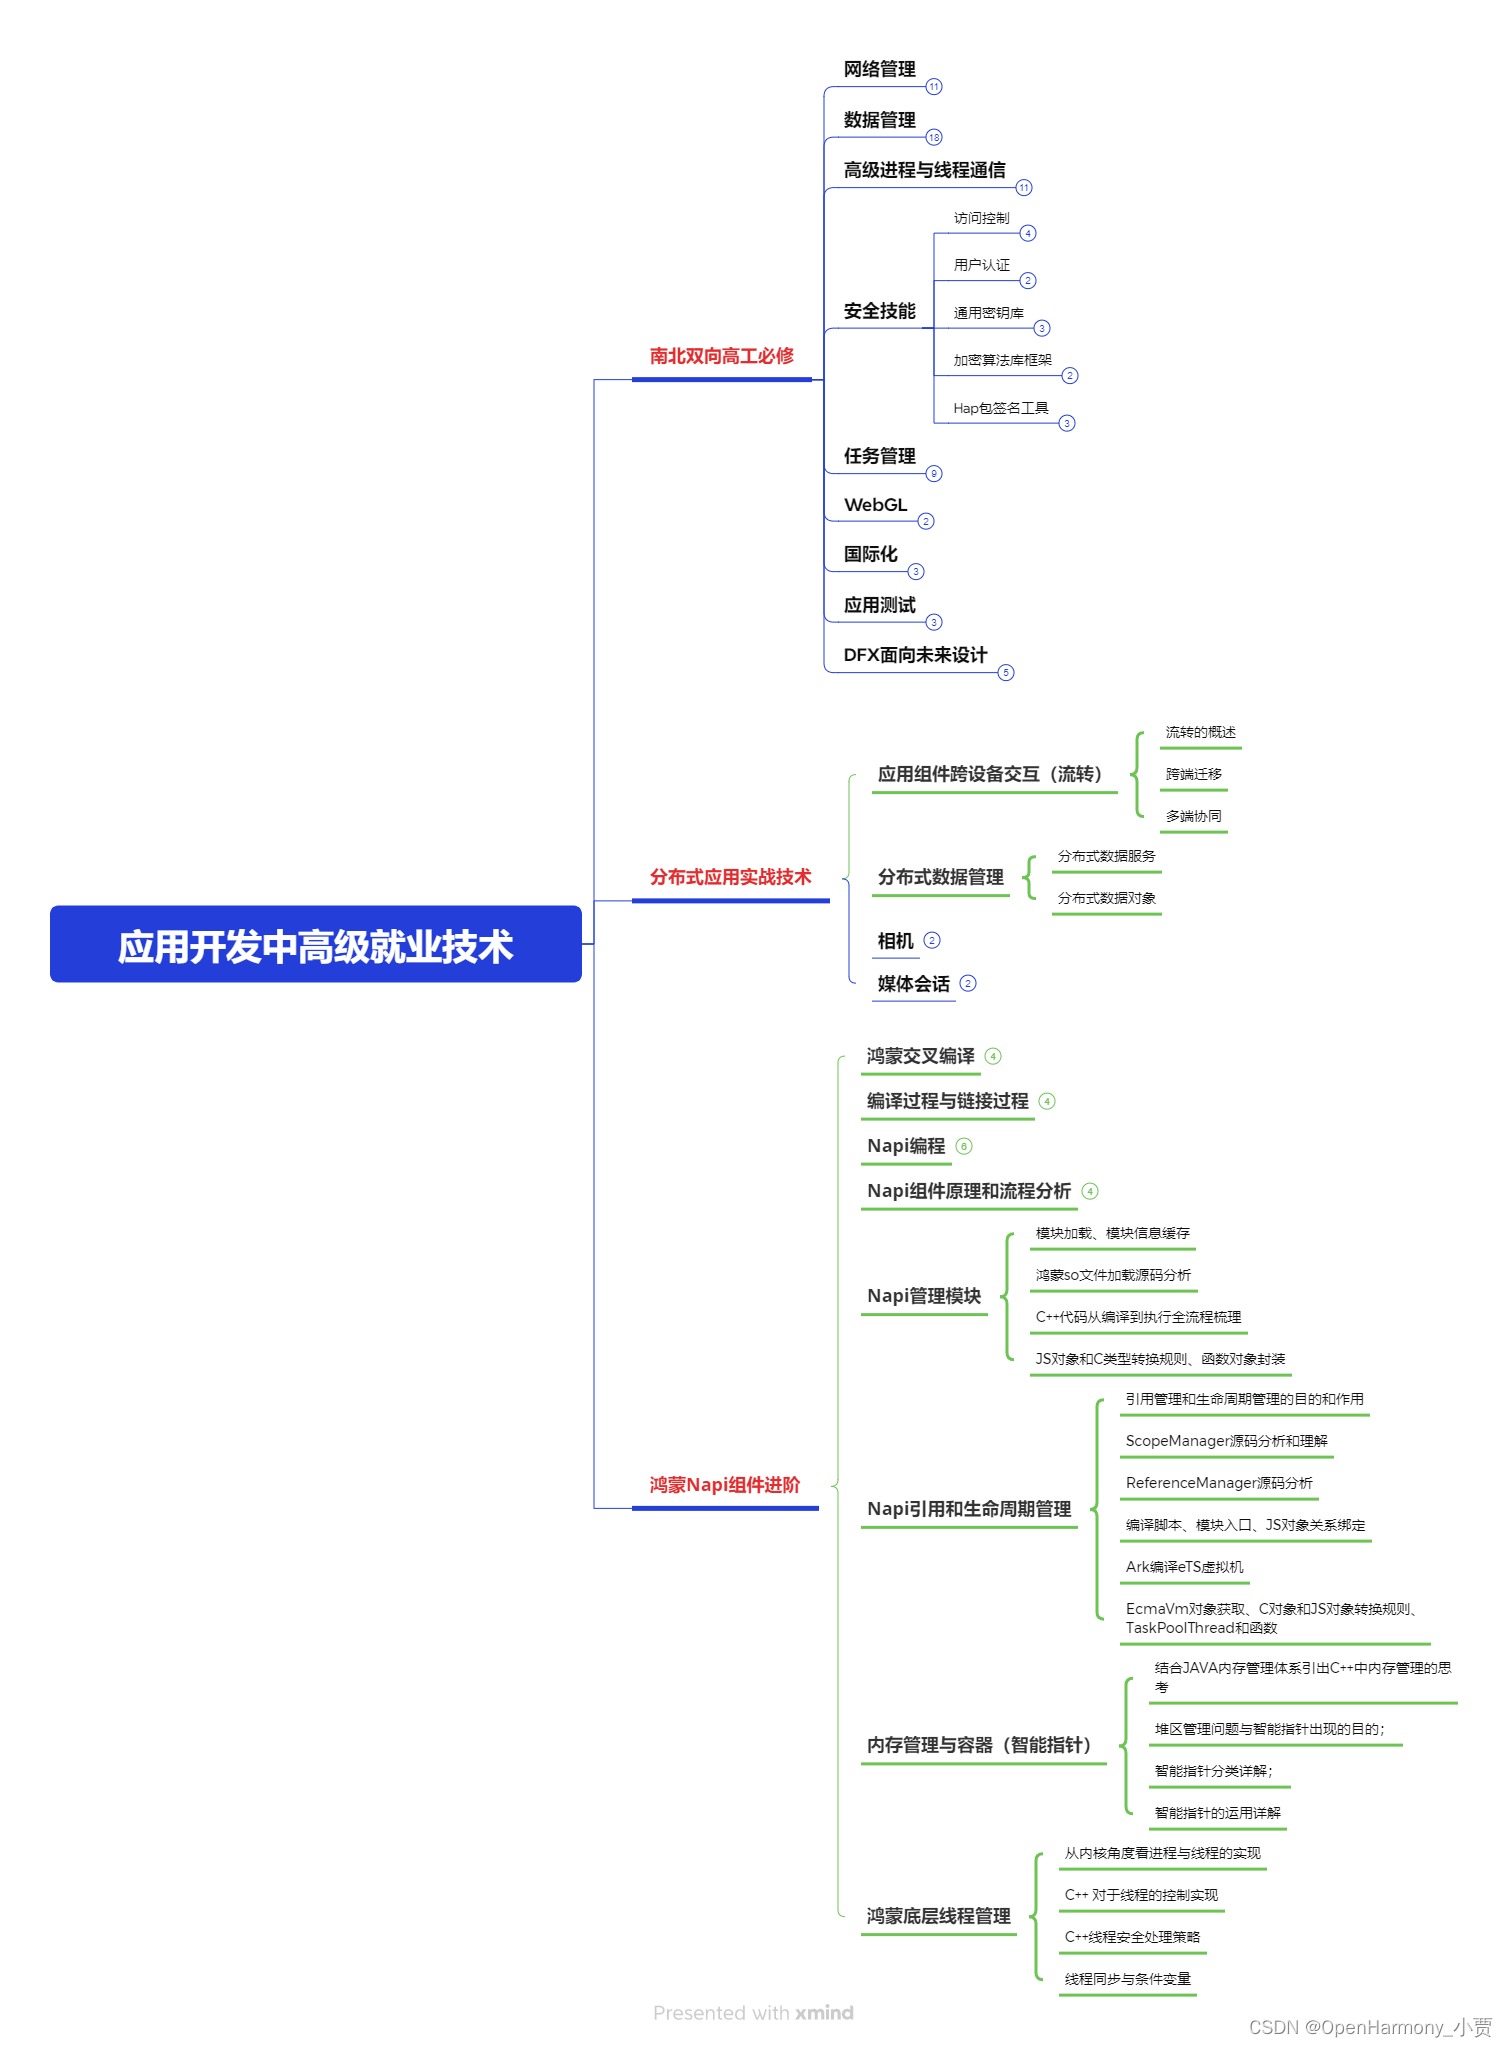
第三阶段:应用开发中高级就业技术
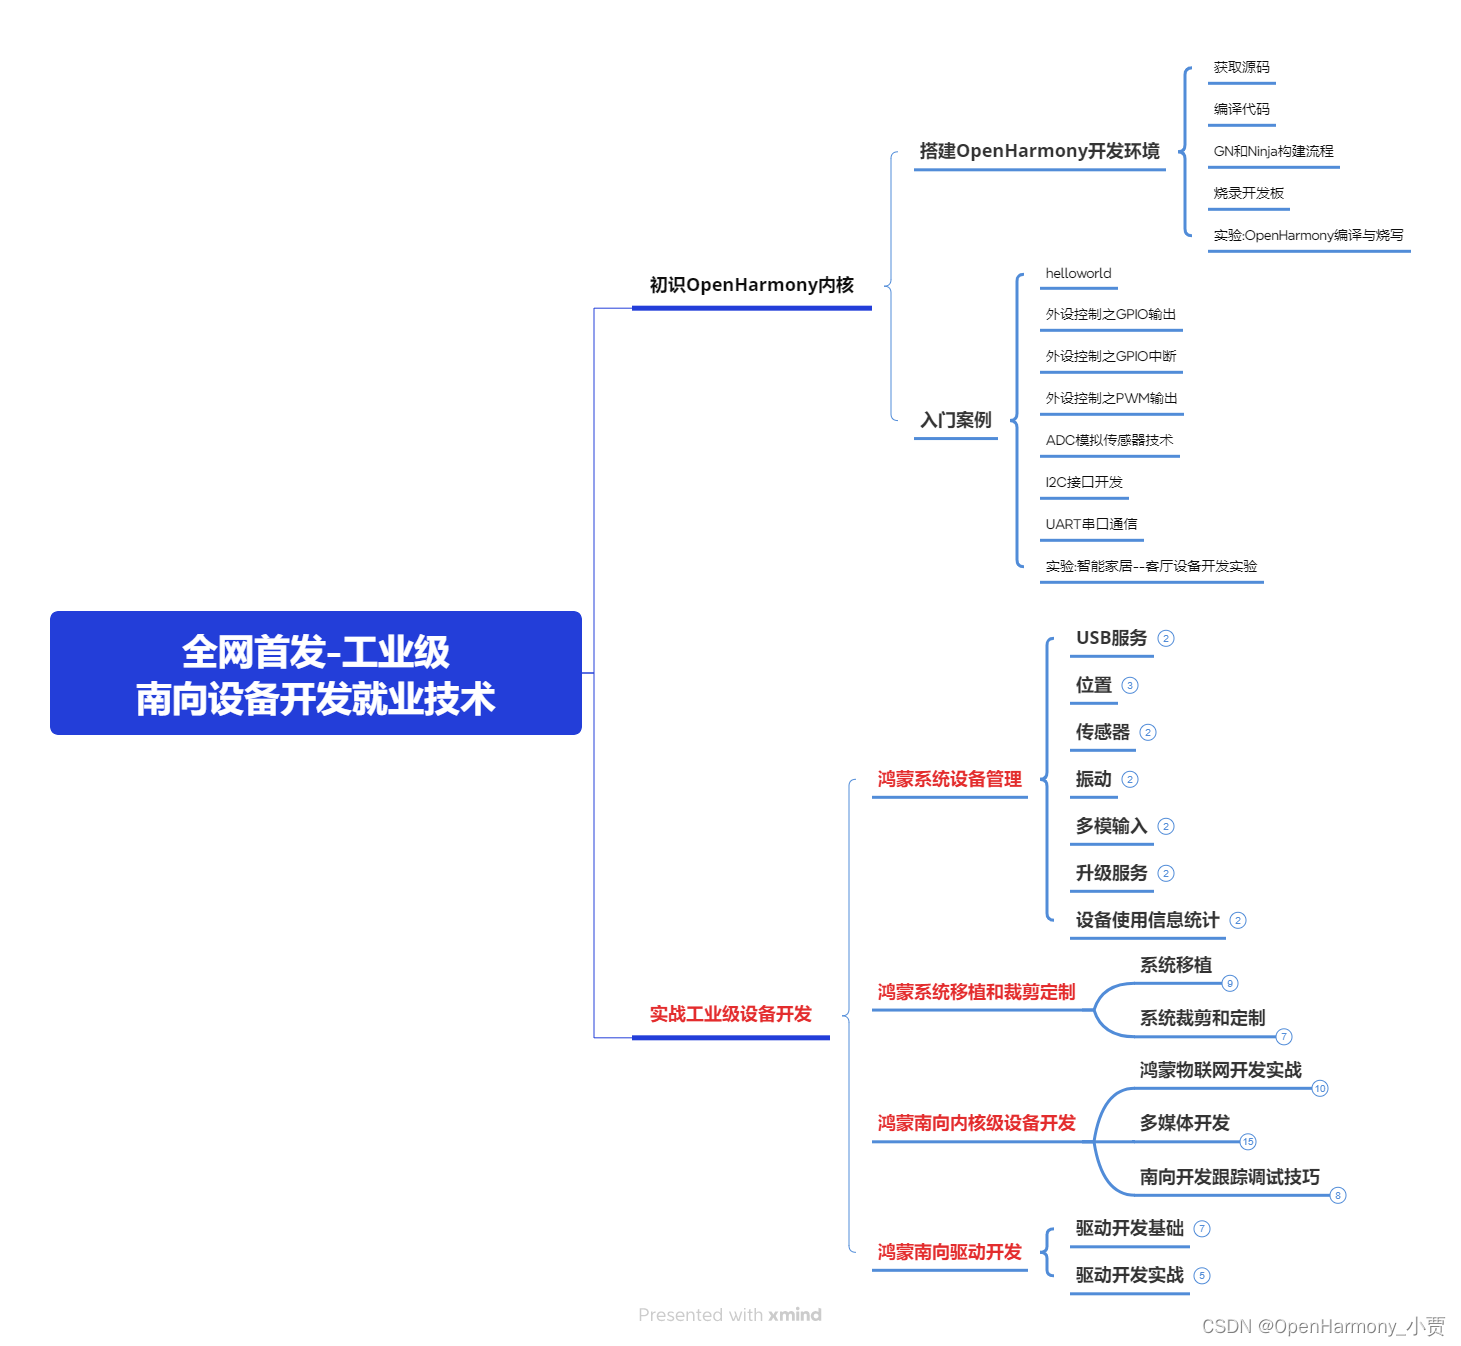
第四阶段:全网首发-工业级南向设备开发就业技术:gitee.com/MNxiaona/733GH
《鸿蒙 (Harmony OS)开发学习手册》(共计892页)
如何快速入门?
1.基本概念
2.构建第一个ArkTS应用
3.……
开发基础知识:gitee.com/MNxiaona/733GH
1.应用基础知识
2.配置文件
3.应用数据管理
4.应用安全管理
5.应用隐私保护
6.三方应用调用管控机制
7.资源分类与访问
8.学习ArkTS语言
9.……
基于ArkTS 开发
1.Ability开发
2.UI开发
3.公共事件与通知
4.窗口管理
5.媒体
6.安全
7.网络与链接
8.电话服务
9.数据管理
10.后台任务(Background Task)管理
11.设备管理
12.设备使用信息统计
13.DFX
14.国际化开发
15.折叠屏系列
16.……
鸿蒙开发面试真题(含参考答案):gitee.com/MNxiaona/733GH
鸿蒙入门教学视频:
美团APP实战开发教学:gitee.com/MNxiaona/733GH

写在最后
- 如果你觉得这篇内容对你还蛮有帮助,我想邀请你帮我三个小忙:
- 点赞,转发,有你们的 『点赞和评论』,才是我创造的动力。
- 关注小编,同时可以期待后续文章ing?,不定期分享原创知识。
- 想要获取更多完整鸿蒙最新学习资源,请移步前往小编:
gitee.com/MNxiaona/733GH


 微信名片
微信名片

评论记录:
回复评论: