
解决Web组件本地资源跨域问题
拦截本地资源跨域
为了提高安全性,ArkWeb内核不允许file协议或者resource协议访问URL上下文中来自跨域的请求。因此,在使用Web组件加载本地离线资源的时候,Web组件会拦截file协议和resource协议的跨域访问。当Web组件无法访问本地跨域资源时,开发者可以在devtools控制台中看到类似以下报错信息:
Access to script at 'xxx' from origin 'xxx' has been blocked by CORS policy: Cross origin requests are only supported for protocol schemes: http, arkweb, data, chrome-extension, chrome, https, chrome-untrusted.
- 1
本地资源跨域问题解决方法
如果Web组件要成功访问这些跨域资源,开发者需要使用http或者https等协议替代原本使用的file协议或者resource协议进行加载。其中替代的url的域名为自己构造的仅供个人或者组织使用的域名,尽量不要和网络上真实存在的域名冲突。同时需要开发者使用Web组件的 onInterceptRequest 对本地资源进行拦截替换。
以下结合示例说明如何解决本地资源跨域访问失败的问题。其中index.html和js/script.js置于工程中rawfile目录下。如果使用resource协议访问index.html,js/script.js将被跨域拦截无法加载。示例中使用https://www.example.com/域名替换原本的resource协议,同时使用 onInterceptRequest 接口替换资源,使得js/script.js可以成功加载,解决了跨域拦截的问题。
// main/ets/pages/index.ets
import { webview } from '@kit.ArkWeb';

@Entry
@Component
struct Index {
  @State message: string = 'Hello World';
  webviewController: webview.WebviewController = new webview.WebviewController();
  // 构造域名和本地文件的映射表
  schemeMap = new Map([
    ["https://www.example.com/index.html", "index.html"],
    ["https://www.example.com/js/script.js", "js/script.js"],
  ])
  // 构造本地文件和构造返回的格式mimeType
  mimeTypeMap = new Map([
    ["index.html", 'text/html'],
    ["js/script.js", "text/javascript"]
  ])

  build() {
    Row() {
      Column() {
        // 针对本地index.html,使用http或者https协议代替file协议或者resource协议,并且构造一个属于自己的域名。
        // 本例中构造www.example.com为例。
        Web({ src: "https://www.example.com/index.html", controller: this.webviewController })
          .javaScriptAccess(true)
          .fileAccess(true)
          .domStorageAccess(true)
          .geolocationAccess(true)
          .width("100%")
          .height("100%")
          .onInterceptRequest((event) => {
            if (!event) {
              return;
            }
            // 此处匹配自己想要加载的本地离线资源,进行资源拦截替换,绕过跨域
            if (this.schemeMap.has(event.request.getRequestUrl())) {
              let rawfileName: string = this.schemeMap.get(event.request.getRequestUrl())!;
              let mimeType = this.mimeTypeMap.get(rawfileName);
              if (typeof mimeType === 'string') {
                let response = new WebResourceResponse();
                // 构造响应数据,如果本地文件在rawfile下,可以通过如下方式设置
                response.setResponseData($rawfile(rawfileName));
                response.setResponseEncoding('utf-8');
                response.setResponseMimeType(mimeType);
                response.setResponseCode(200);
                response.setReasonMessage('OK');
                response.setResponseIsReady(true);
                return response;
              }
            }
            return null;
          })
      }
      .width('100%')
    }
    .height('100%')
  }
}

- 1
- 2
- 3
- 4
- 5
- 6
- 7
- 8
- 9
- 10
- 11
- 12
- 13
- 14
- 15
- 16
- 17
- 18
- 19
- 20
- 21
- 22
- 23
- 24
- 25
- 26
- 27
- 28
- 29
- 30
- 31
- 32
- 33
- 34
- 35
- 36
- 37
- 38
- 39
- 40
- 41
- 42
- 43
- 44
- 45
- 46
- 47
- 48
- 49
- 50
- 51
- 52
- 53
- 54
- 55
- 56
- 57
- 58
- 59
- 1
- 2
- 3
- 4
- 5
- 6
- 7
- 8
- 9
// main/resources/rawfile/js/script.js
const body = document.body;
const element = document.createElement('div');
element.textContent = 'success';
body.appendChild(element);
- 1
- 2
- 3
- 4
- 5
使用智能防跟踪功能
Web组件支持智能防跟踪功能,即跟踪型网站作为三方插入别的网页时,其发送的网络请求禁止携带cookie。
- 通过调用 enableIntelligentTrackingPrevention 接口使能或者关闭相应Web组件的智能防跟踪功能,默认情况下该功能未启用。
// xxx.ets
import { webview } from '@kit.ArkWeb';
import { BusinessError } from '@kit.BasicServicesKit';

@Entry
@Component
struct WebComponent {
  controller: webview.WebviewController = new webview.WebviewController();

  build() {
    Column() {
      Button('enableIntelligentTrackingPrevention')
        .onClick(() => {
          try {
            this.controller.enableIntelligentTrackingPrevention(true);
            console.log("enableIntelligentTrackingPrevention: true");
          } catch (error) {
            console.error(`ErrorCode: ${(error as BusinessError).code},  Message: ${(error as BusinessError).message}`);
          }
        })
      Web({ src: 'www.example.com', controller: this.controller })
    }
  }
}
- 1
- 2
- 3
- 4
- 5
- 6
- 7
- 8
- 9
- 10
- 11
- 12
- 13
- 14
- 15
- 16
- 17
- 18
- 19
- 20
- 21
- 22
- 23
- 24
- 通过调用 isIntelligentTrackingPreventionEnabled 接口判断当前Web组件是否开启了智能防跟踪功能。
// xxx.ets
import { webview } from '@kit.ArkWeb';
import { BusinessError } from '@kit.BasicServicesKit';

@Entry
@Component
struct WebComponent {
  controller: webview.WebviewController = new webview.WebviewController();

  build() {
    Column() {
      Button('isIntelligentTrackingPreventionEnabled')
        .onClick(() => {
          try {
            let result = this.controller.isIntelligentTrackingPreventionEnabled();
            console.log("result: " + result);
          } catch (error) {
            console.error(`ErrorCode: ${(error as BusinessError).code},  Message: ${(error as BusinessError).message}`);
          }
        })
      Web({ src: 'www.example.com', controller: this.controller })
    }
  }
}
- 1
- 2
- 3
- 4
- 5
- 6
- 7
- 8
- 9
- 10
- 11
- 12
- 13
- 14
- 15
- 16
- 17
- 18
- 19
- 20
- 21
- 22
- 23
- 24
- 通过调用 onIntelligentTrackingPreventionResult 接口,以回调的方式异步获取拦截的跟踪型网站的域名和访问的网站域名信息。
// xxx.ets
import { webview } from '@kit.ArkWeb';
import { BusinessError } from '@kit.BasicServicesKit';

@Entry
@Component
struct WebComponent {
  controller: webview.WebviewController = new webview.WebviewController();

  build() {
    Column() {
      // 需要打开智能防跟踪功能,才会触发onIntelligentTrackingPreventionResult回调
      Button('enableIntelligentTrackingPrevention')
        .onClick(() => {
          try {
            this.controller.enableIntelligentTrackingPrevention(true);
          } catch (error) {
            console.error(`ErrorCode: ${(error as BusinessError).code}, Message: ${(error as BusinessError).message}`);
          }
        })
      Web({ src: 'www.example.com', controller: this.controller })
        .onIntelligentTrackingPreventionResult((details) => {
          console.log("onIntelligentTrackingPreventionResult: [websiteHost]= " + details.host +
            ", [trackerHost]=" + details.trackerHost);
        })
    }
  }
}
- 1
- 2
- 3
- 4
- 5
- 6
- 7
- 8
- 9
- 10
- 11
- 12
- 13
- 14
- 15
- 16
- 17
- 18
- 19
- 20
- 21
- 22
- 23
- 24
- 25
- 26
- 27
- 28
同时,智能防跟踪功能提供了一组接口,用于设置需要绕过智能防跟踪功能的域名列表。这些接口设置的域名列表是整个应用生效,而非某个Web组件。
- 通过调用 addIntelligentTrackingPreventionBypassingList 接口设置需要绕过智能防跟踪功能的域名列表。
// xxx.ets
import { webview } from '@kit.ArkWeb';
import { BusinessError } from '@kit.BasicServicesKit';

@Entry
@Component
struct WebComponent {
  controller: webview.WebviewController = new webview.WebviewController();

  build() {
    Column() {
      Button('removeIntelligentTrackingPreventionBypassingList')
        .onClick(() => {
          try {
            let hostList = [ "www.test1.com", "www.test2.com" ];
            webview.WebviewController.removeIntelligentTrackingPreventionBypassingList(hostList);
          } catch (error) {
            console.error(`ErrorCode: ${(error as BusinessError).code},  Message: ${(error as BusinessError).message}`);
          }
        })
      Web({ src: 'www.example.com', controller: this.controller })
    }
  }
}
- 1
- 2
- 3
- 4
- 5
- 6
- 7
- 8
- 9
- 10
- 11
- 12
- 13
- 14
- 15
- 16
- 17
- 18
- 19
- 20
- 21
- 22
- 23
- 24
- 通过调用 removeIntelligentTrackingPreventionBypassingList 接口移除通过 addIntelligentTrackingPreventionBypassingList 接口设置的部分域名列表。
// xxx.ets
import { webview } from '@kit.ArkWeb';
import { BusinessError } from '@kit.BasicServicesKit';

@Entry
@Component
struct WebComponent {
  controller: webview.WebviewController = new webview.WebviewController();

  build() {
    Column() {
      Button('removeIntelligentTrackingPreventionBypassingList')
        .onClick(() => {
          try {
            let hostList = [ "www.test1.com", "www.test2.com" ];
            webview.WebviewController.removeIntelligentTrackingPreventionBypassingList(hostList);
          } catch (error) {
            console.error(`ErrorCode: ${(error as BusinessError).code},  Message: ${(error as BusinessError).message}`);
          }
        })
      Web({ src: 'www.example.com', controller: this.controller })
    }
  }
}
- 1
- 2
- 3
- 4
- 5
- 6
- 7
- 8
- 9
- 10
- 11
- 12
- 13
- 14
- 15
- 16
- 17
- 18
- 19
- 20
- 21
- 22
- 23
- 24
- 通过调用 clearIntelligentTrackingPreventionBypassingList 接口清除通过 addIntelligentTrackingPreventionBypassingList 接口设置的所有域名。
// xxx.ets
import { webview } from '@kit.ArkWeb';

@Entry
@Component
struct WebComponent {
  controller: webview.WebviewController = new webview.WebviewController();

  build() {
    Column() {
      Button('clearIntelligentTrackingPreventionBypassingList')
        .onClick(() => {
          webview.WebviewController.clearIntelligentTrackingPreventionBypassingList();
        })
      Web({ src: 'www.example.com', controller: this.controller })
    }
  }
}
- 1
- 2
- 3
- 4
- 5
- 6
- 7
- 8
- 9
- 10
- 11
- 12
- 13
- 14
- 15
- 16
- 17
- 18
使用Web组件的广告过滤功能
Web组件提供了网页广告过滤特性,包括最常见的url拦截与元素隐藏能力。应用可以通过AdsBlockManager提供的 setAdsBlockRules() 接口设置自定义的easylist过滤规则,并通过Web组件的 enableAdsBlock() 接口使能广告过滤特性。
开启广告过滤
在下面的示例中,演示了一个应用通过文件选择器选择easylist规则文件,并开启广告过滤功能。
// xxx.ets
import { webview } from '@kit.ArkWeb';
import { picker, fileUri } from '@kit.CoreFileKit';

// 演示点击按钮,通过filepicker打开一个easylist规则文件并设置到Web组件中
@Entry
@Component
struct WebComponent {
  main_url: string = 'https://www.example.com';
  controller: webview.WebviewController = new webview.WebviewController();

  @State input_text: string = 'https://www.example.com';

  build() {
    Column() {
      Row() {
        Flex() {
          Button({type: ButtonType.Capsule}) {
            Text("setAdsBlockRules")
          }
          .onClick(() => {
            try {
              let documentSelectionOptions: ESObject = new picker.DocumentSelectOptions();
              let documentPicker: ESObject = new picker.DocumentViewPicker();
              documentPicker.select(documentSelectionOptions).then((documentSelectResult: ESObject) => {
                if (documentSelectResult && documentSelectResult.length > 0) {
                  let fileRealPath = new fileUri.FileUri(documentSelectResult[0]);
                  console.info('DocumentViewPicker.select successfully, uri: ' + fileRealPath);
                  webview.AdsBlockManager.setAdsBlockRules(fileRealPath.path, true);
                }
              })
            } catch (err) {
              console.error('DocumentViewPicker.select failed with err:' + err);
            }
          })
        }
      }
      Web({ src: this.main_url, controller: this.controller })
        .onControllerAttached(()=>{
          this.controller.enableAdsBlock(true);
        })
    }
  }
}
- 1
- 2
- 3
- 4
- 5
- 6
- 7
- 8
- 9
- 10
- 11
- 12
- 13
- 14
- 15
- 16
- 17
- 18
- 19
- 20
- 21
- 22
- 23
- 24
- 25
- 26
- 27
- 28
- 29
- 30
- 31
- 32
- 33
- 34
- 35
- 36
- 37
- 38
- 39
- 40
- 41
- 42
- 43
- 44
如果存在内置的easylist规则文件, setAdsBlockRules() 接口的replace参数可用于设置规则文件的使用策略,replace为true表示不使用内置的easylist规则文件,replace为false表示自定义规则和内置的规则将会同时工作,如果发现内置规则与自定义规则冲突,可使用replace=true禁用内置规则效果。
设置的自定义规则文件将在应用进程内对所有的Web组件生效,是一个应用级全局配置文件,并将持久化,应用重启后可继续工作。
关闭特定域名页面的广告过滤
在Web组件的广告过滤开关开启后,应用有时候会期望关闭一些特定页面的广告过滤功能,除了可以使用自定义的easylist规则,AdsBlockManager还提供了 addAdsBlockDisallowedList() 接口完成此功能。
// xxx.ets
import { webview } from '@kit.ArkWeb';

// 演示通过一个按钮的点击向Web组件设置广告过滤的域名策略
@Entry
@Component
struct WebComponent {
  main_url: string = 'https://www.example.com';
  text_input_controller: TextInputController = new TextInputController();
  controller: webview.WebviewController = new webview.WebviewController();

  @State input_text: string = 'https://www.example.com';

  build() {
    Column() {
      Row() {
        Flex() {
          TextInput({ text: this.input_text, placeholder: this.main_url, controller: this.text_input_controller})
            .id("input_url")
            .height(40)
            .margin(5)
            .borderColor(Color.Blue)
            .onChange((value: string) => {
              this.input_text = value;
            })

          Button({type: ButtonType.Capsule}) { Text("Go") }
          .onClick(() => {
            this.controller.loadUrl(this.input_text);
          })

          Button({type: ButtonType.Capsule}) { Text("addAdsBlockDisallowedList") }
          .onClick(() => {
            let arrDomainSuffixes = new Array();
            arrDomainSuffixes.push('example.com');
            arrDomainSuffixes.push('abcdefg.cn');
            webview.AdsBlockManager.addAdsBlockDisallowedList(arrDomainSuffixes);
          })
        }
      }
      Web({ src: this.main_url, controller: this.controller })
        .onControllerAttached(()=>{
          this.controller.enableAdsBlock(true);
        })
    }
  }
}
- 1
- 2
- 3
- 4
- 5
- 6
- 7
- 8
- 9
- 10
- 11
- 12
- 13
- 14
- 15
- 16
- 17
- 18
- 19
- 20
- 21
- 22
- 23
- 24
- 25
- 26
- 27
- 28
- 29
- 30
- 31
- 32
- 33
- 34
- 35
- 36
- 37
- 38
- 39
- 40
- 41
- 42
- 43
- 44
- 45
- 46
- 47
addAdsBlockDisallowedList接口将域名设置到AdsBlockManager的DisallowedList中,下次页面加载时会使用网页url和DisallowedList中的域名进行后缀匹配,匹配成功则不会对此页面进行广告过滤。此外,还提供了 addAdsBlockAllowedList() 接口配合DisallowedList进行域名设置,控制是否开启广告过滤。
AdsBlockManager中缓存有2组域名列表,分别为DisallowedList和AllowList,其中DisallowedList用于禁用网页的广告过滤,而AllowList用于重新开启被DisallowedList关闭的广告过滤开关,其中AllowList优先级更高。页面加载时会先使用网页url和AllowList进行匹配,匹配成功的网页广告过滤将保持开启,否则将会继续使用DisallowedList进行匹配,匹配成功将关闭网页的广告过滤。如果访问的网页不在AllowList和DisallowedList中,那么默认网页的广告过滤会保持开启状态。
例如,应用想要开启域名为’news.example.com’和’sport.example.com’的广告过滤,但需要关闭’example.com’的其他域名下网页的广告过滤,就可以先使用addAdsBlockDisallowedList()接口添加’example.com’域名到DisallowedList,再使用addAdsBlockAllowedList()接口添加’news.example.com’和’sport.example.com’域名。
// xxx.ets
import { webview } from '@kit.ArkWeb';

// 演示addAdsBlockAllowedList和addAdsBlockAllowedList配套使用,设置网页级的广告过滤开关。
@Entry
@Component
struct WebComponent {
  main_url: string = 'https://www.example.com';
  text_input_controller: TextInputController = new TextInputController();
  controller: webview.WebviewController = new webview.WebviewController();

  @State input_text: string = 'https://www.example.com';

  build() {
    Column() {
      Row() {
        Flex() {
          TextInput({ text: this.input_text, placeholder: this.main_url, controller: this.text_input_controller})
            .id("input_url")
            .height(40)
            .margin(5)
            .borderColor(Color.Blue)
            .onChange((value: string) => {
              this.input_text = value;
            })

          Button({type: ButtonType.Capsule}) { Text("Go") }
          .onClick(() => {
            this.controller.loadUrl(this.input_text);
          })

          Button({type: ButtonType.Capsule}) { Text("addAdsBlockAllowedList") }
          .onClick(() => {
            let arrDisallowDomainSuffixes = new Array();
            arrDisallowDomainSuffixes.push('example.com');
            webview.AdsBlockManager.addAdsBlockDisallowedList(arrDisallowDomainSuffixes);

            let arrAllowedDomainSuffixes = new Array();
            arrAllowedDomainSuffixes.push('news.example.com');
            arrAllowedDomainSuffixes.push('sport.example.com');
            webview.AdsBlockManager.addAdsBlockAllowedList(arrAllowedDomainSuffixes);
          })
        }
      }
      Web({ src: this.main_url, controller: this.controller })
        .onControllerAttached(()=>{
          this.controller.enableAdsBlock(true);
        })
    }
  }
}
- 1
- 2
- 3
- 4
- 5
- 6
- 7
- 8
- 9
- 10
- 11
- 12
- 13
- 14
- 15
- 16
- 17
- 18
- 19
- 20
- 21
- 22
- 23
- 24
- 25
- 26
- 27
- 28
- 29
- 30
- 31
- 32
- 33
- 34
- 35
- 36
- 37
- 38
- 39
- 40
- 41
- 42
- 43
- 44
- 45
- 46
- 47
- 48
- 49
- 50
- 51
需要注意的是,AdsBlockManager的DisallowedList和AllowedList列表不会持久化,因此重启应用后会重置为空。
如果Web组件未通过enableAdsBlock()接口开启广告过滤功能,上述接口设置在此Web组件中将不起作用。
收集广告过滤的信息
在Web组件的广告过滤开关开启后,访问的网页如果发生了广告过滤,会通过Web组件的 onAdsBlocked() 回调接口通知到应用,应用可根据需要进行过滤信息的收集和统计。
// xxx.ets
import { webview } from '@kit.ArkWeb';


@Entry
@Component
struct WebComponent {
  @State totalAdsBlockCounts: number = 0;
  controller: webview.WebviewController = new webview.WebviewController();

  build() {
    Column() {
      Web({ src: 'https://www.example.com', controller: this.controller })
        .onAdsBlocked((details: AdsBlockedDetails) => {
          if (details) {
            console.log(' Blocked ' + details.adsBlocked.length + ' in ' + details.url);
            let adList: Array = Array.from(new Set(details.adsBlocked));
            this.totalAdsBlockCounts += adList.length;
            console.log('Total blocked counts :' + this.totalAdsBlockCounts);
          }
        })
    }
  }
}
- 1
- 2
- 3
- 4
- 5
- 6
- 7
- 8
- 9
- 10
- 11
- 12
- 13
- 14
- 15
- 16
- 17
- 18
- 19
- 20
- 21
- 22
- 23
- 24
- 25
由于页面可能随时发生变化并不断产生网络请求,为了减少通知频次、降低对页面加载过程的影响,仅在页面加载完成时进行首次通知,此后发生的过滤将间隔1秒钟上报,无广告过滤则无通知。
鸿蒙全栈开发全新学习指南
有很多小伙伴不知道学习哪些鸿蒙开发技术?不知道需要重点掌握哪些鸿蒙应用开发知识点?而且学习时频繁踩坑,最终浪费大量时间。所以要有一份实用的鸿蒙(HarmonyOS NEXT)学习路线与学习文档用来跟着学习是非常有必要的。
针对一些列因素,整理了一套纯血版鸿蒙(HarmonyOS Next)全栈开发技术的学习路线,包含了鸿蒙开发必掌握的核心知识要点,内容有(ArkTS、ArkUI开发组件、Stage模型、多端部署、分布式应用开发、WebGL、元服务、OpenHarmony多媒体技术、Napi组件、OpenHarmony内核、OpenHarmony驱动开发、系统定制移植等等)鸿蒙(HarmonyOS NEXT)技术知识点。
本路线共分为四个阶段:
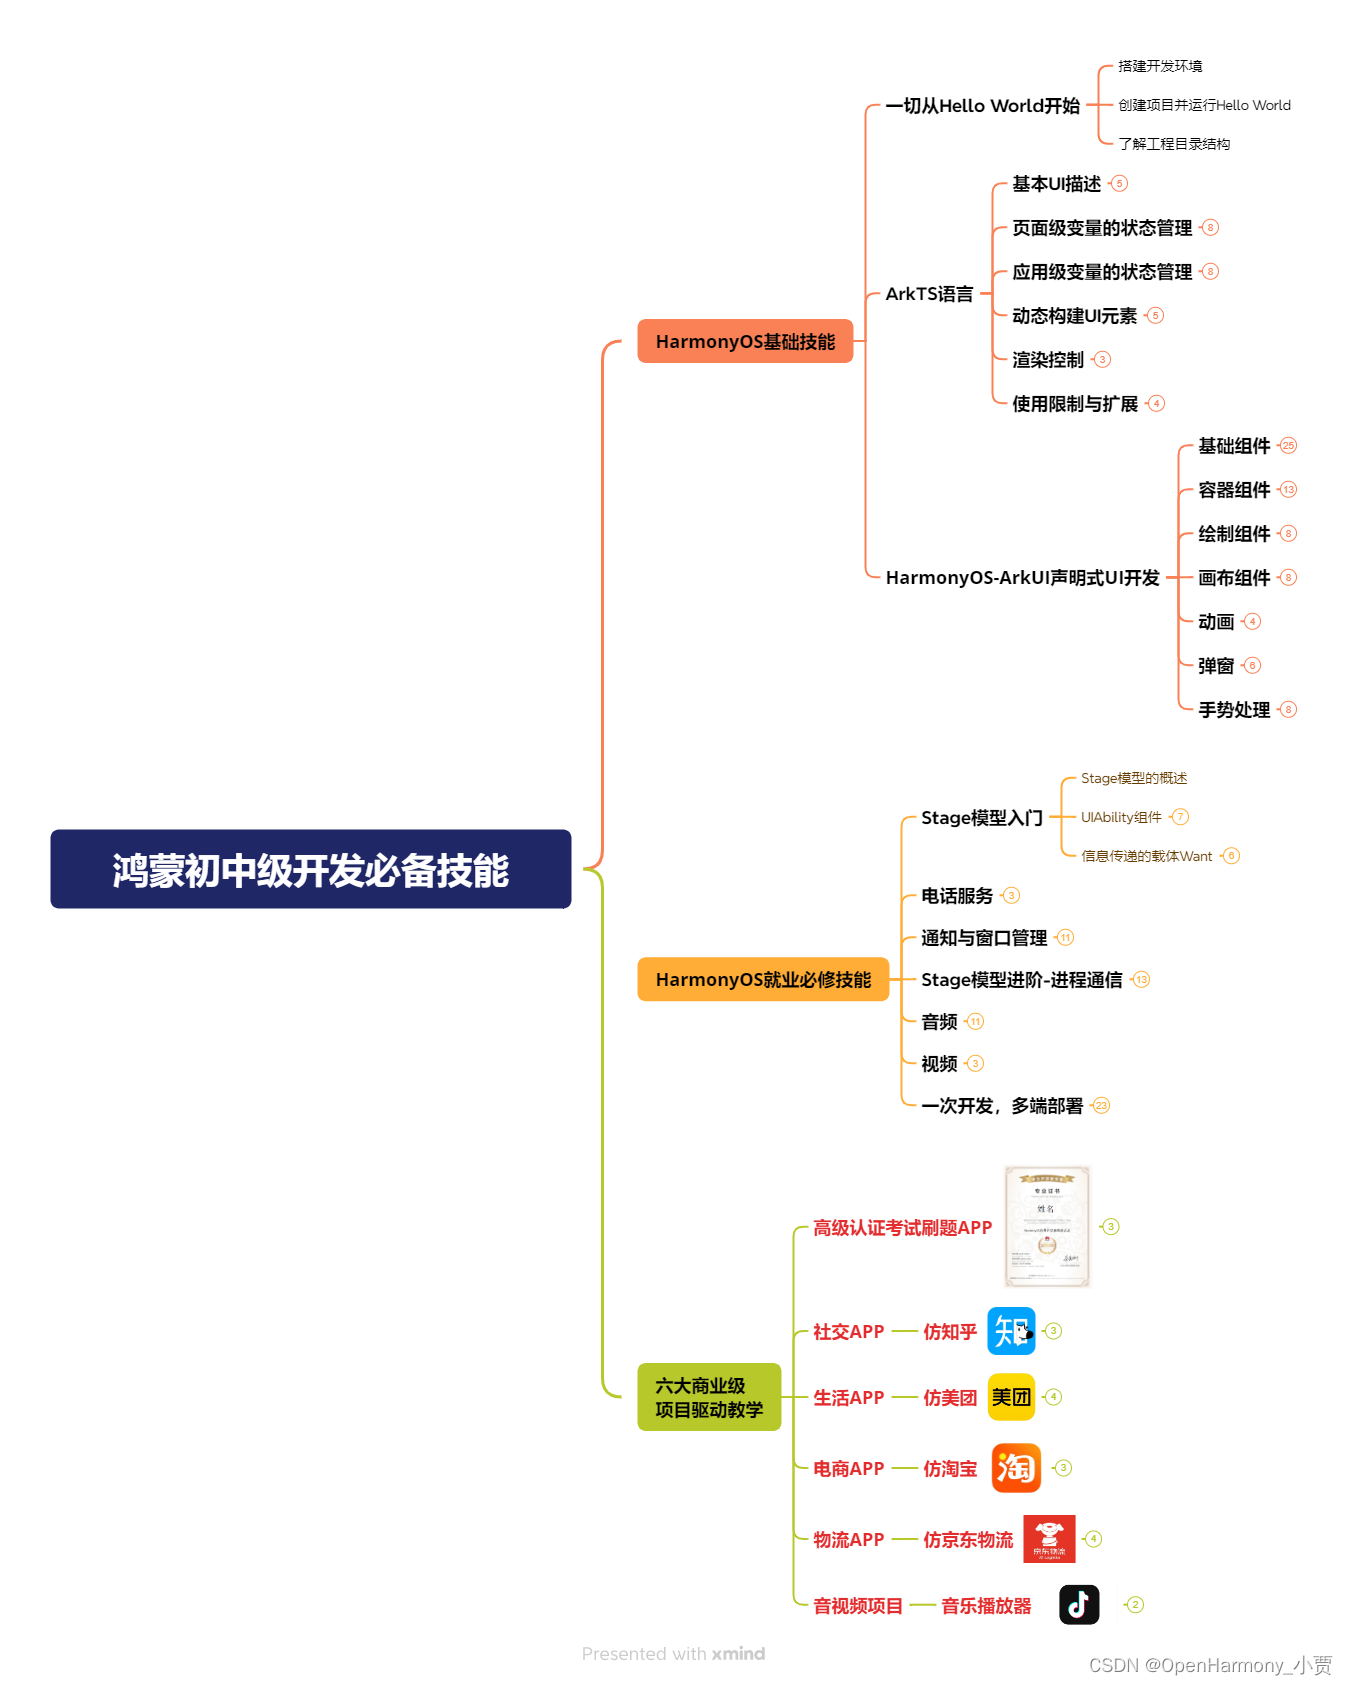
第一阶段:鸿蒙初中级开发必备技能
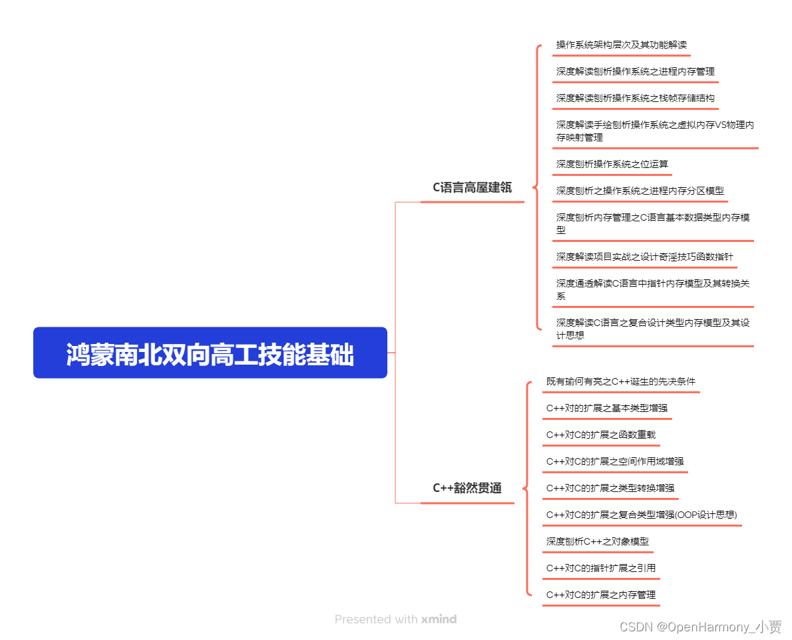
第二阶段:鸿蒙南北双向高工技能基础:gitee.com/MNxiaona/733GH
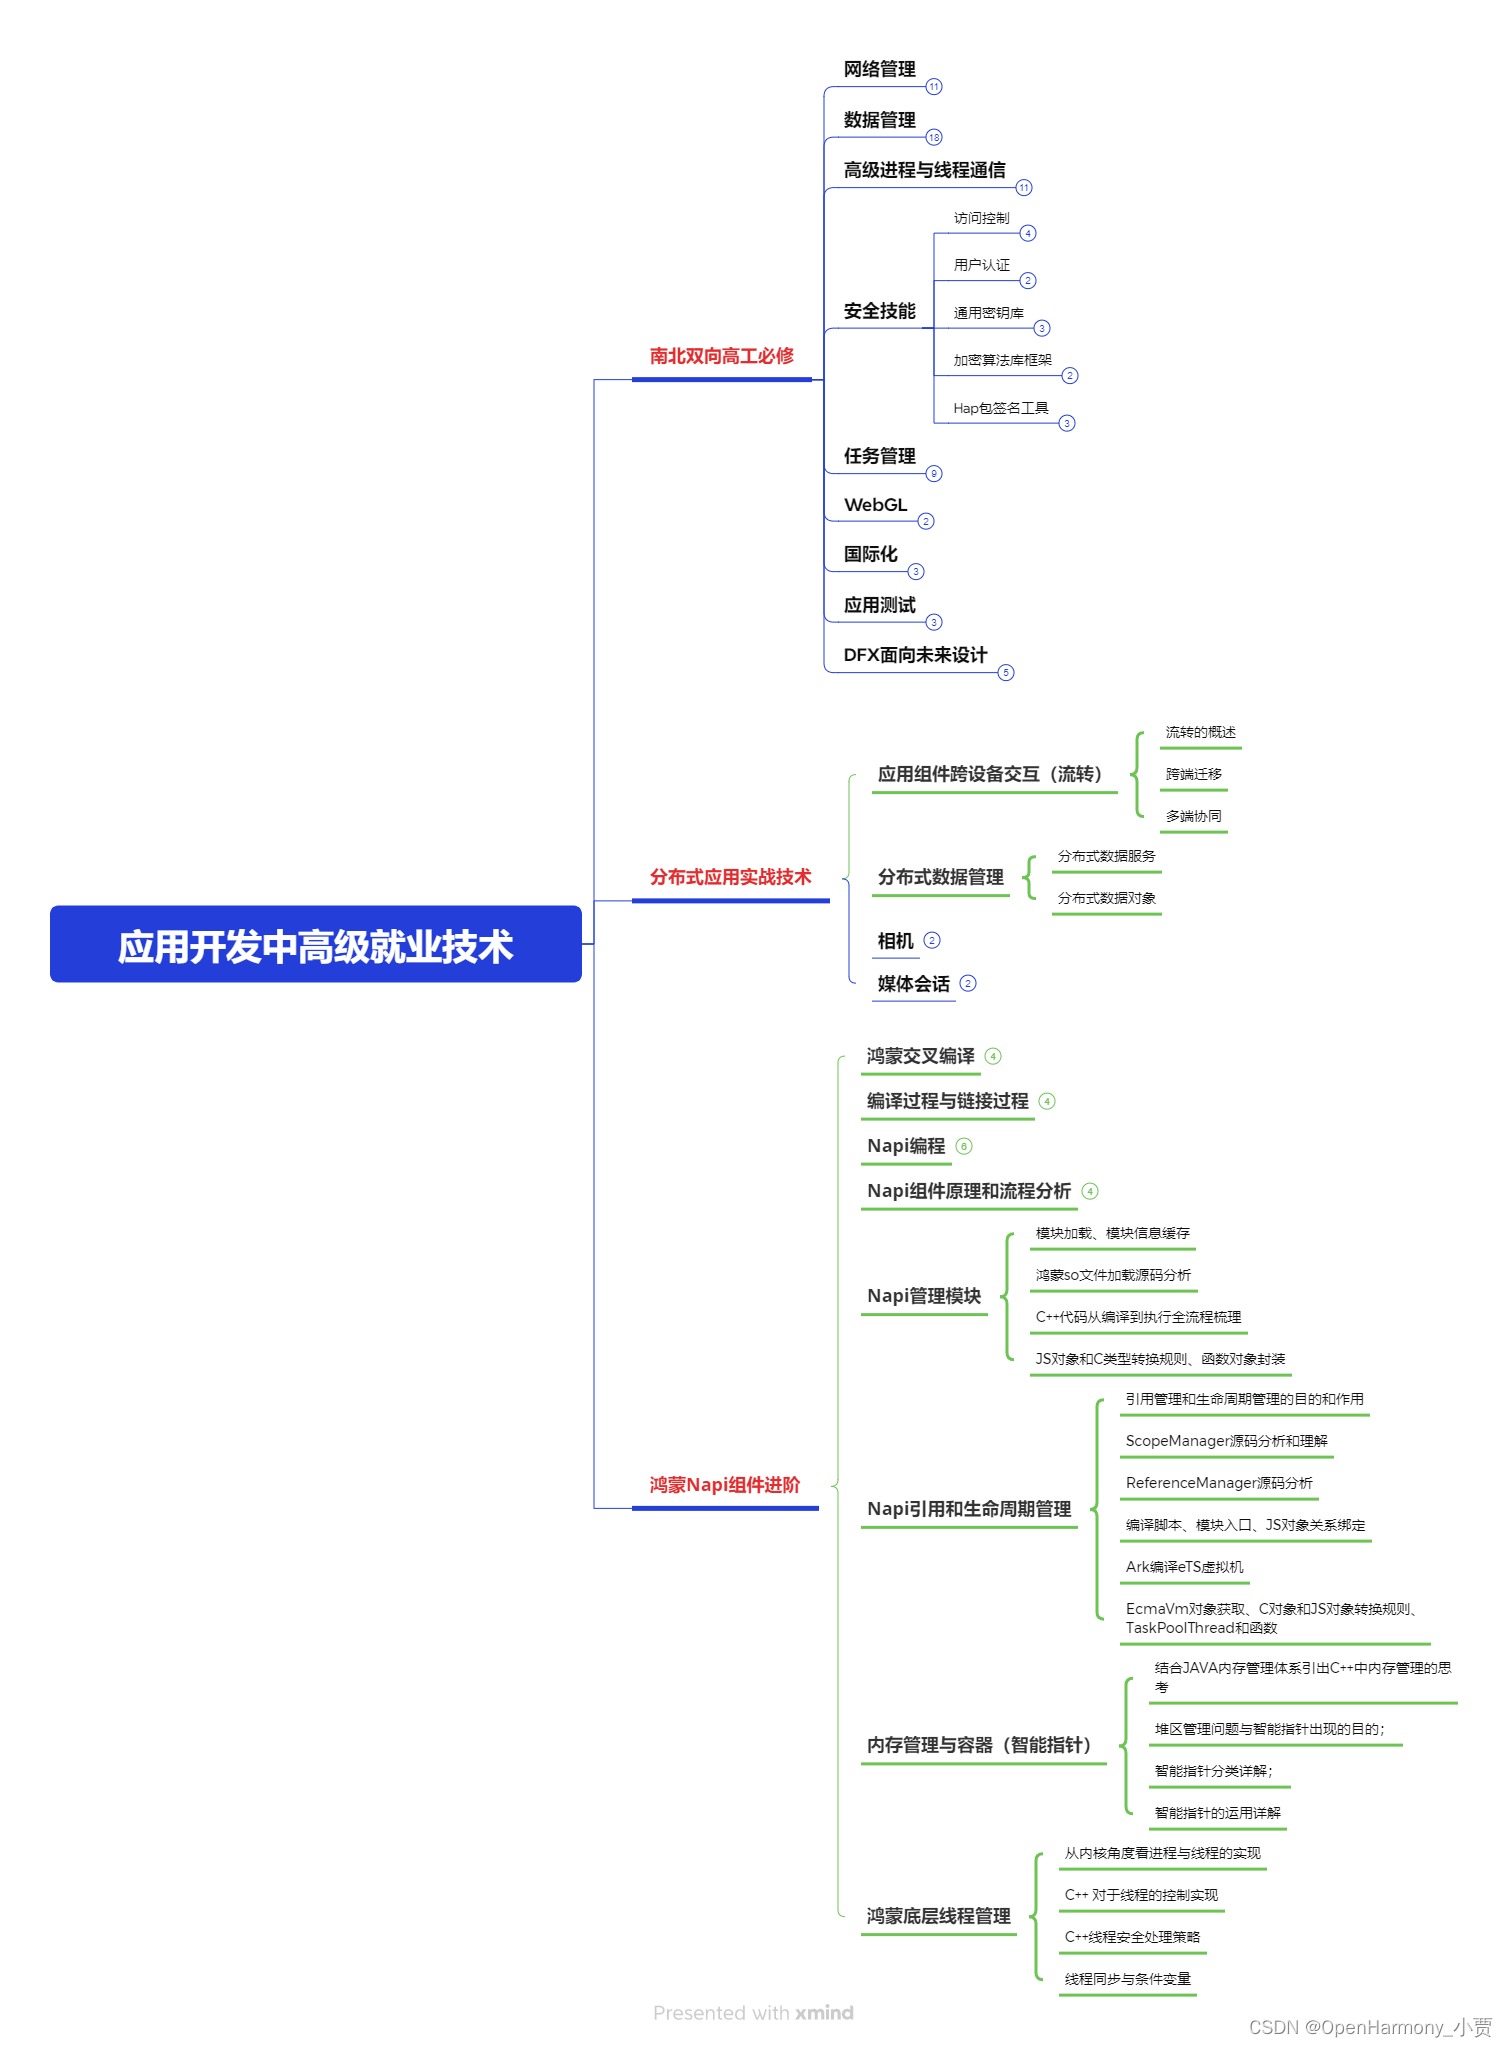
第三阶段:应用开发中高级就业技术
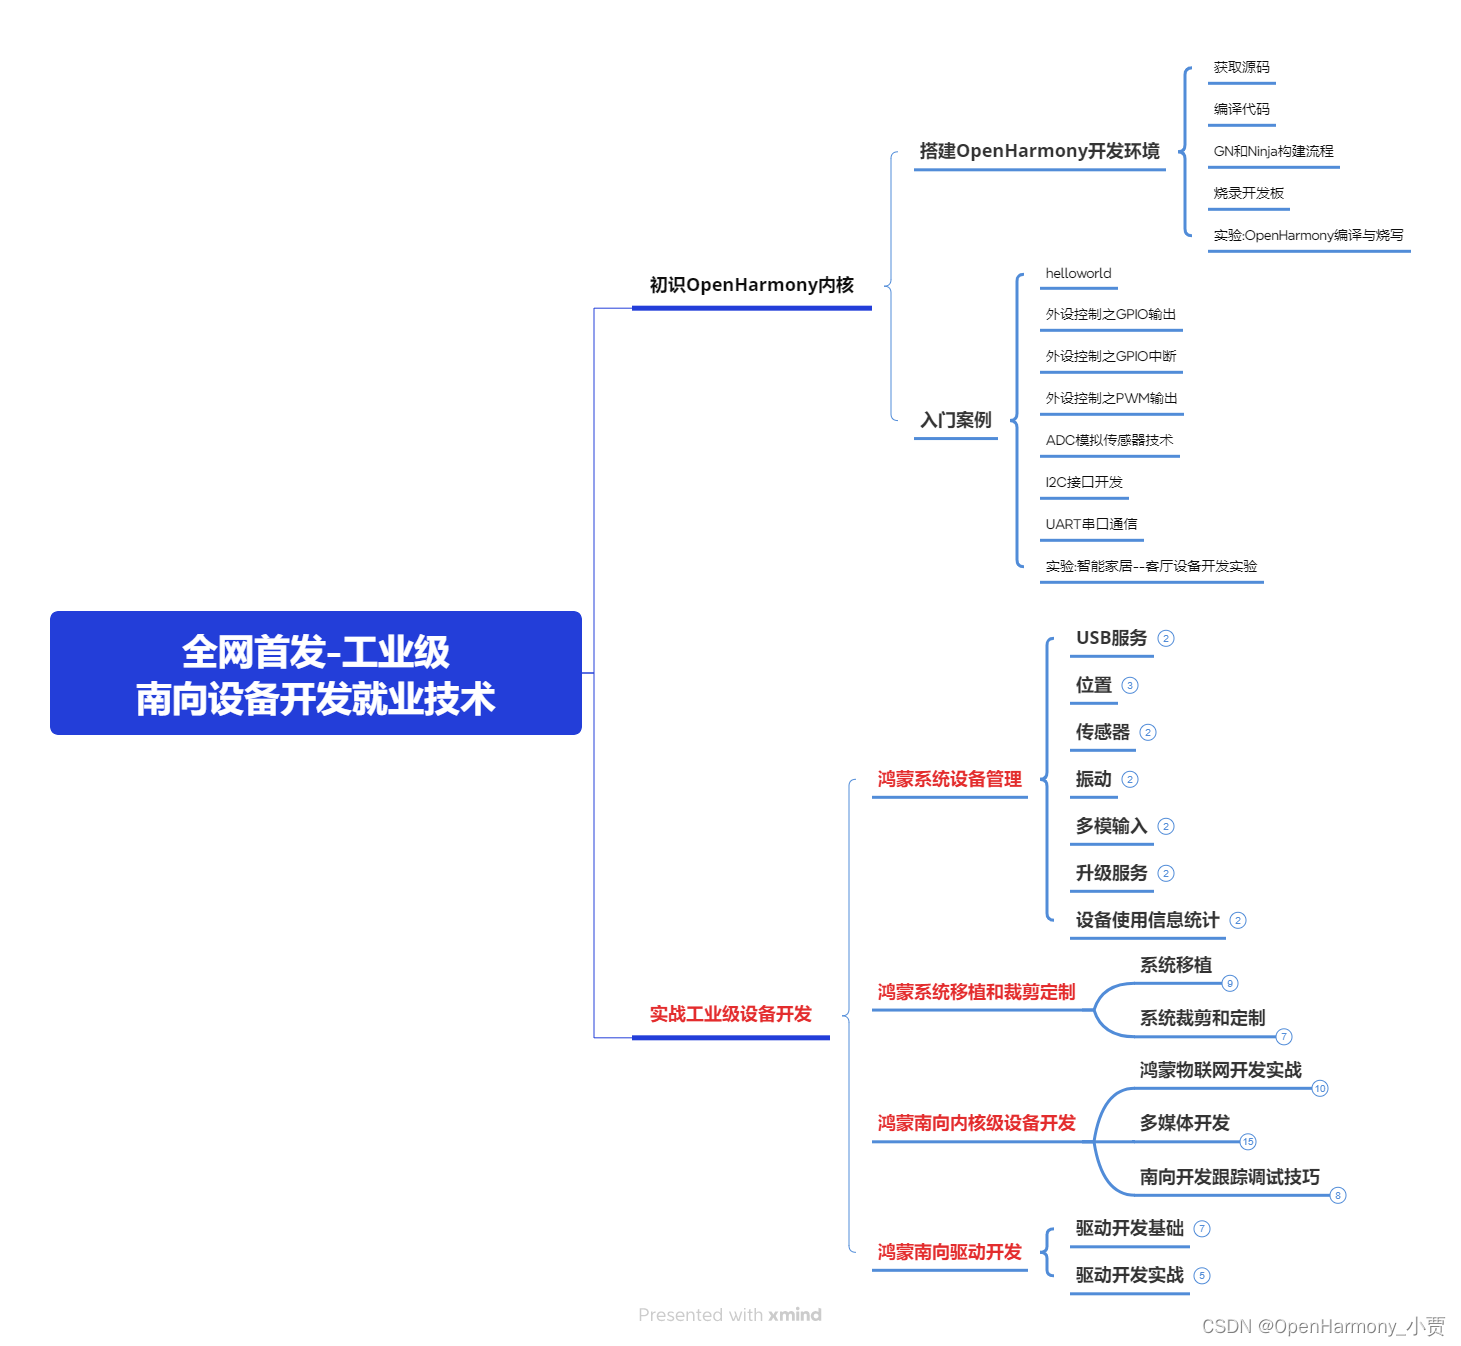
第四阶段:全网首发-工业级南向设备开发就业技术:gitee.com/MNxiaona/733GH
《鸿蒙 (Harmony OS)开发学习手册》(共计892页)
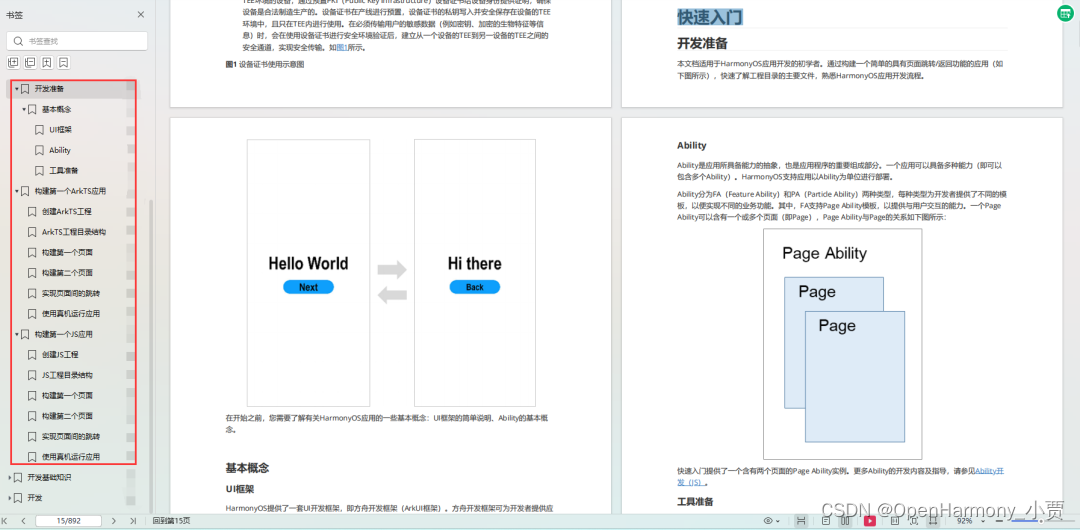
如何快速入门?
1.基本概念
2.构建第一个ArkTS应用
3.……
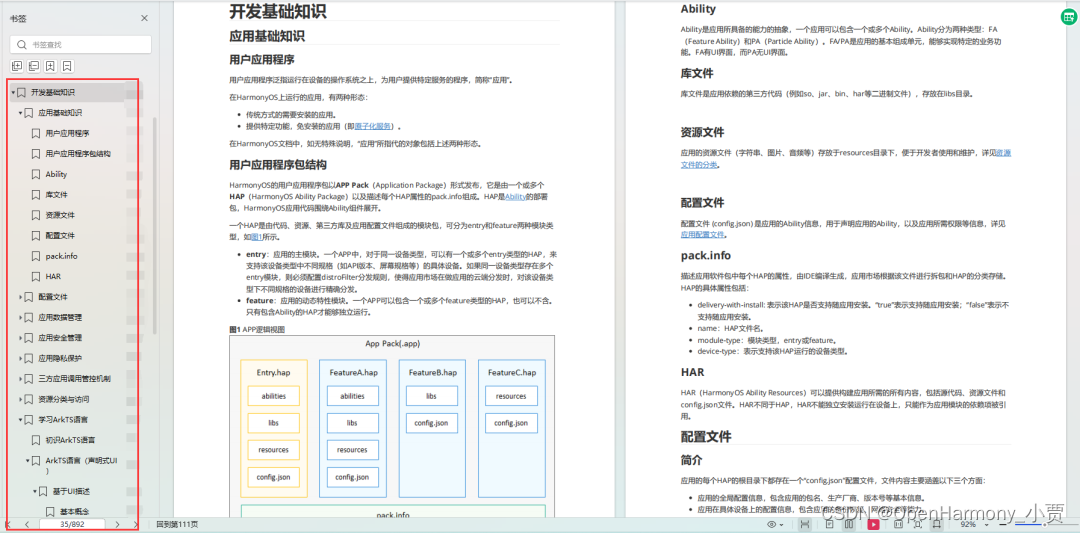
开发基础知识:gitee.com/MNxiaona/733GH
1.应用基础知识
2.配置文件
3.应用数据管理
4.应用安全管理
5.应用隐私保护
6.三方应用调用管控机制
7.资源分类与访问
8.学习ArkTS语言
9.……
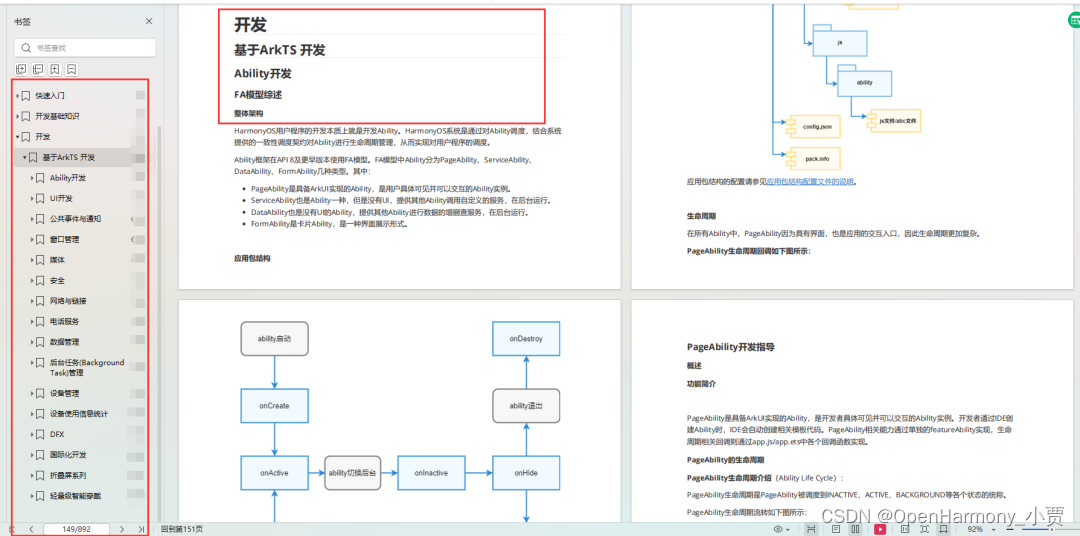
基于ArkTS 开发
1.Ability开发
2.UI开发
3.公共事件与通知
4.窗口管理
5.媒体
6.安全
7.网络与链接
8.电话服务
9.数据管理
10.后台任务(Background Task)管理
11.设备管理
12.设备使用信息统计
13.DFX
14.国际化开发
15.折叠屏系列
16.……
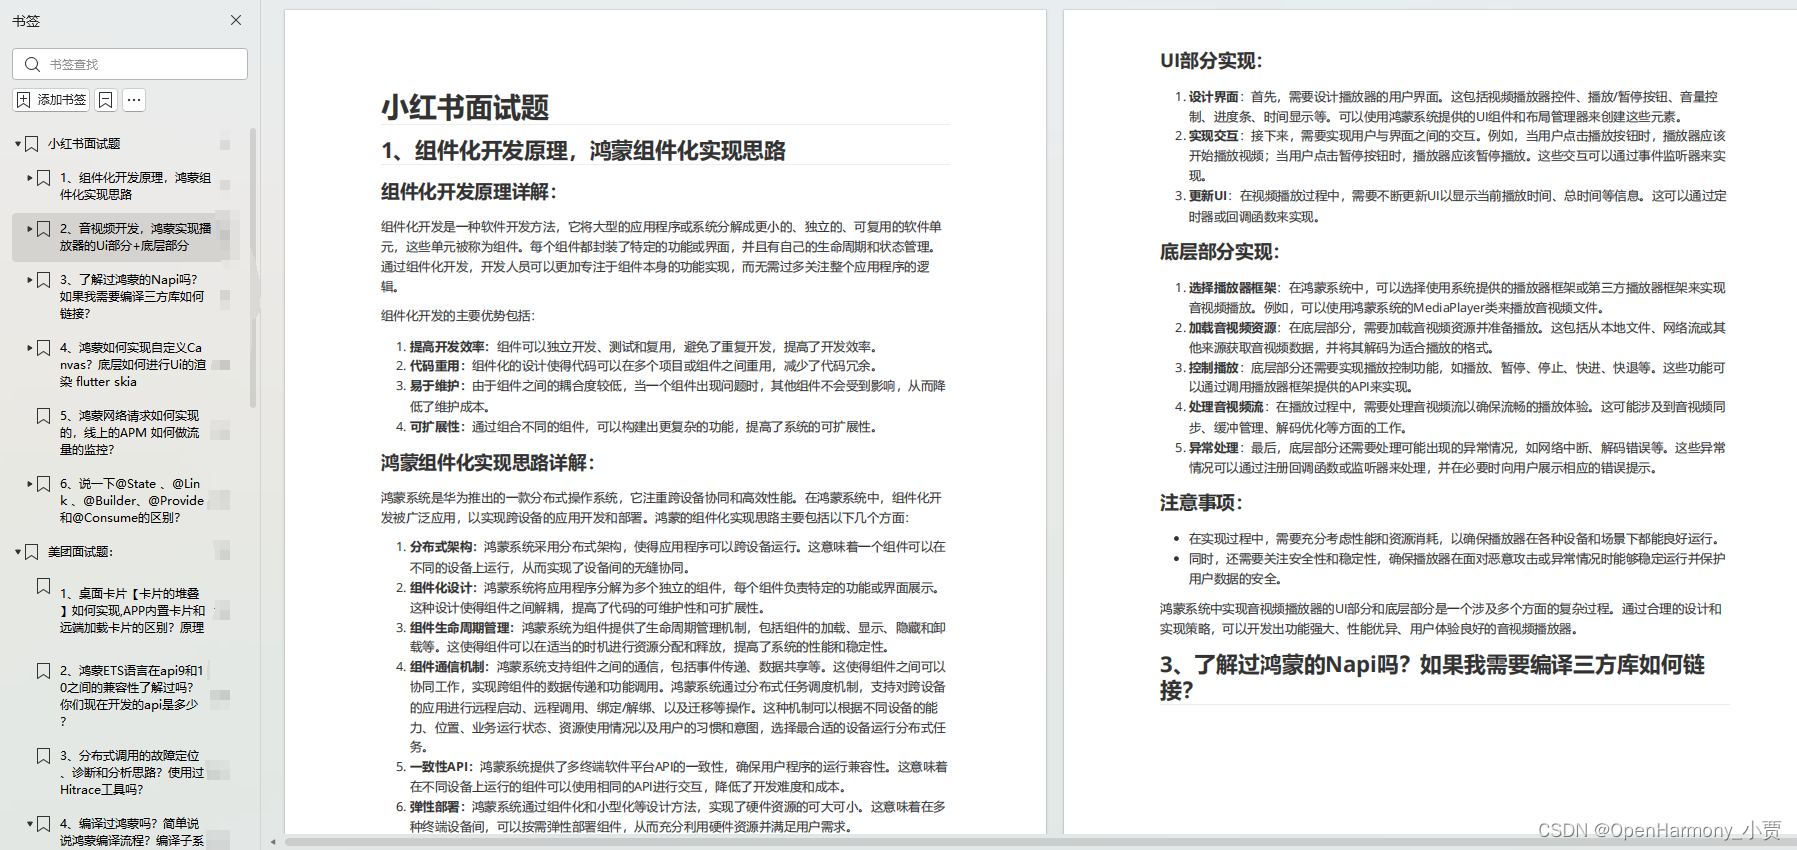
鸿蒙开发面试真题(含参考答案):gitee.com/MNxiaona/733GH
鸿蒙入门教学视频:
美团APP实战开发教学:gitee.com/MNxiaona/733GH

写在最后
- 如果你觉得这篇内容对你还蛮有帮助,我想邀请你帮我三个小忙:
- 点赞,转发,有你们的 『点赞和评论』,才是我创造的动力。
- 关注小编,同时可以期待后续文章ing?,不定期分享原创知识。
- 想要获取更多完整鸿蒙最新学习资源,请移步前往小编:
gitee.com/MNxiaona/733GH


 微信名片
微信名片

评论记录:
回复评论: