
警告:请勿将这些说明用于生产部署
本页上的说明仅适用于本地开发。请勿将此配置用于生产部署,因为它不安全。请参阅部署选项以获取生产部署选项列表。
使用 start-local 脚本在 Docker 中快速设置 Elasticsearch 和 Kibana 以进行本地开发或测试。
此设置附带一个月的试用许可证,其中包括所有 Elastic 功能。试用期过后,许可证将恢复为免费和开放 - Basic。有关更多信息,请参阅 Elastic 订阅。
更多阅读:Elasticsearch:如何在 Docker 上运行 Elasticsearch 8.x 进行本地开发
先决条件
- 如果你尚未安装 Docker,请下载并安装适用于你的操作系统的Docker Desktop。
- 如果你使用的是 Microsoft Windows,请安装适用于 Linux 的 Windows 子系统 (WSL)。
运行 start-local
start-local 脚本可以在地址进行下载 GitHub - elastic/start-local: Try Elasticsearch and Kibana locally。要在本地设置 Elasticsearch 和 Kibana,请运行 start-local 脚本。
curl -fsSL https://elastic.co/start-local | sh此脚本创建一个 elastic-start-local 文件夹,其中包含:
- docker-compose.yml:Elasticsearch 和 Kibana 的 Docker Compose 配置
- .env:环境设置,包括 Elasticsearch 密码
- start.sh 和 stop.sh:用于启动和停止 Elasticsearch 和 Kibana 的脚本
- uninstall.sh:用于卸载 Elasticsearch 和 Kibana 的脚本
- $ pwd
- /Users/liuxg/data/start-local
- $ curl -fsSL https://elastic.co/start-local | sh
-
- ______ _ _ _
- | ____| | | | (_)
- | |__ | | __ _ ___| |_ _ ___
- | __| | |/ _` / __| __| |/ __|
- | |____| | (_| \__ \ |_| | (__
- |______|_|\__,_|___/\__|_|\___|
- -------------------------------------------------
- ? Run Elasticsearch and Kibana for local testing
- -------------------------------------------------
-
- ℹ️ Do not use this script in a production environment
-
- ⌛️ Setting up Elasticsearch and Kibana v8.15.3...
-
- - Generated random passwords
- - Created the elastic-start-local folder containing the files:
- - .env, with settings
- - docker-compose.yml, for Docker services
- - start/stop/uninstall commands
- - Running docker compose up --wait
-
- [+] Running 24/24
- ✔ kibana 13 layers [⣿⣿⣿⣿⣿⣿⣿⣿⣿⣿⣿⣿⣿] 0B/0B Pulled 62.0s
- ✔ 23987c61699b Pull complete 5.6s
- ✔ 8915ba981ca3 Pull complete 4.0s
- ✔ 4c8b24782cfe Pull complete 33.1s
- ✔ 807b2cadbcb1 Pull complete 5.3s
- ✔ aea2eb4e3b10 Pull complete 9.4s
- ✔ ab757075fe94 Pull complete 7.1s
- ✔ 4ca545ee6d5d Pull complete 8.5s
- ✔ 7e3665e2de31 Pull complete 9.8s
- ✔ c3055b6e09f0 Pull complete 10.9s
- ✔ ec8a64bd5a5f Pull complete 11.1s
- ✔ dfd6d27a36fe Pull complete 12.5s
- ✔ 17173b4bfc67 Pull complete 13.3s
- ✔ 2b1cd59a6503 Pull complete 14.1s
- ✔ kibana_settings 8 layers [⣿⣿⣿⣿⣿⣿⣿⣿] 0B/0B Pulled 66.3s
- ✔ 4253e52d2237 Pull complete 16.8s
- ✔ e436db77a937 Pull complete 15.4s
- ✔ 0f431d485a97 Pull complete 57.7s
- ✔ 8673bfa492b1 Pull complete 18.4s
- ✔ fab125f6f236 Pull complete 19.8s
- ✔ 43ad26ccf7ea Pull complete 21.8s
- ✔ fb6208a6757b Pull complete 23.1s
- ✔ 500133bff266 Pull complete 24.9s
- ✔ elasticsearch Pulled 66.3s
- [+] Building 0.0s (0/0) docker:desktop-linux
- [+] Running 6/6
- ✔ Network elastic-start-local_default Created 0.0s
- ✔ Volume "elastic-start-local_dev-elasticsearch" Created 0.0s
- ✔ Volume "elastic-start-local_dev-kibana" Cre... 0.0s
- ✔ Container es-local-dev Healthy 2.1s
- ✔ Container kibana_settings Exited 0.1s
- ✔ Container kibana-local-dev Healthy 0.0s
-
- ? Congrats, Elasticsearch and Kibana are installed and running in Docker!
-
- ? Open your browser at http://localhost:5601
-
- Username: elastic
- Password: wuRd1MYj
-
- ? Elasticsearch API endpoint: http://localhost:9200
- ? API key: MDBQWUpKTUJDMldQM2xRTVlqM1A6N2FyUE9WRVpSSFc4d25QNWZTYThMQQ==
-
-
- Learn more at https://github.com/elastic/start-local

我们首先查看一下生成的文件:
- $ pwd
- /Users/liuxg/data/start-local
- $ ls
- elastic-start-local
它创建了一个叫做 elastic-start-local 的目录。我们进入该目录进行查看:
- $ cd elastic-start-local/
- $ ls -al
- total 40
- drwxr-xr-x 7 liuxg staff 224 Nov 13 17:24 .
- drwxr-xr-x 3 liuxg staff 96 Nov 13 17:24 ..
- -rw-r--r-- 1 liuxg staff 419 Nov 13 17:26 .env
- -rw-r--r-- 1 liuxg staff 2434 Nov 13 17:24 docker-compose.yml
- -rwxr-xr-x 1 liuxg staff 1450 Nov 13 17:24 start.sh
- -rwxr-xr-x 1 liuxg staff 189 Nov 13 17:24 stop.sh
- -rwxr-xr-x 1 liuxg staff 1099 Nov 13 17:24 uninstall.sh
从上面,我们可以看到所生成的文件。我们来查看一下 .env 的文件:
.env
- ES_LOCAL_VERSION=8.15.3
- ES_LOCAL_CONTAINER_NAME=es-local-dev
- ES_LOCAL_PASSWORD=wuRd1MYj
- ES_LOCAL_URL=http://localhost:9200
- ES_LOCAL_PORT=9200
- ES_LOCAL_HEAP_INIT=128m
- ES_LOCAL_HEAP_MAX=2g
- KIBANA_LOCAL_CONTAINER_NAME=kibana-local-dev
- KIBANA_LOCAL_PORT=5601
- KIBANA_LOCAL_PASSWORD=N6IOHrSA
- KIBANA_ENCRYPTION_KEY=V2Q2IKYiH5YgXgeXuokzBuuZ1wuB7ygE
- ES_LOCAL_API_KEY=MDBQWUpKTUJDMldQM2xRTVlqM1A6N2FyUE9WRVpSSFc4d25QNWZTYThMQQ==
从上面的配置中,我们可以看出来,修改 ES_LOCAL_VERSION 可以改变 Elasticsearch 及 Kibana 的版本。在上面,我们也可以看到它配置的密码 ES_LOCAL_PASSWORD。
我们使用如下的命令来进行查看:
- $ docker ps
- CONTAINER ID IMAGE COMMAND CREATED STATUS PORTS NAMES
- 4b50f85bddd3 docker.elastic.co/kibana/kibana:8.15.3 "/bin/tini -- /usr/l…" 7 minutes ago Up 7 minutes (healthy) 127.0.0.1:5601->5601/tcp kibana-local-dev
- a89056d65008 docker.elastic.co/elasticsearch/elasticsearch:8.15.3 "/bin/tini -- /usr/l…" 7 minutes ago Up 7 minutes (healthy) 127.0.0.1:9200->9200/tcp, 9300/tcp es-local-dev
我们可以看到有两个容器正在运行中。
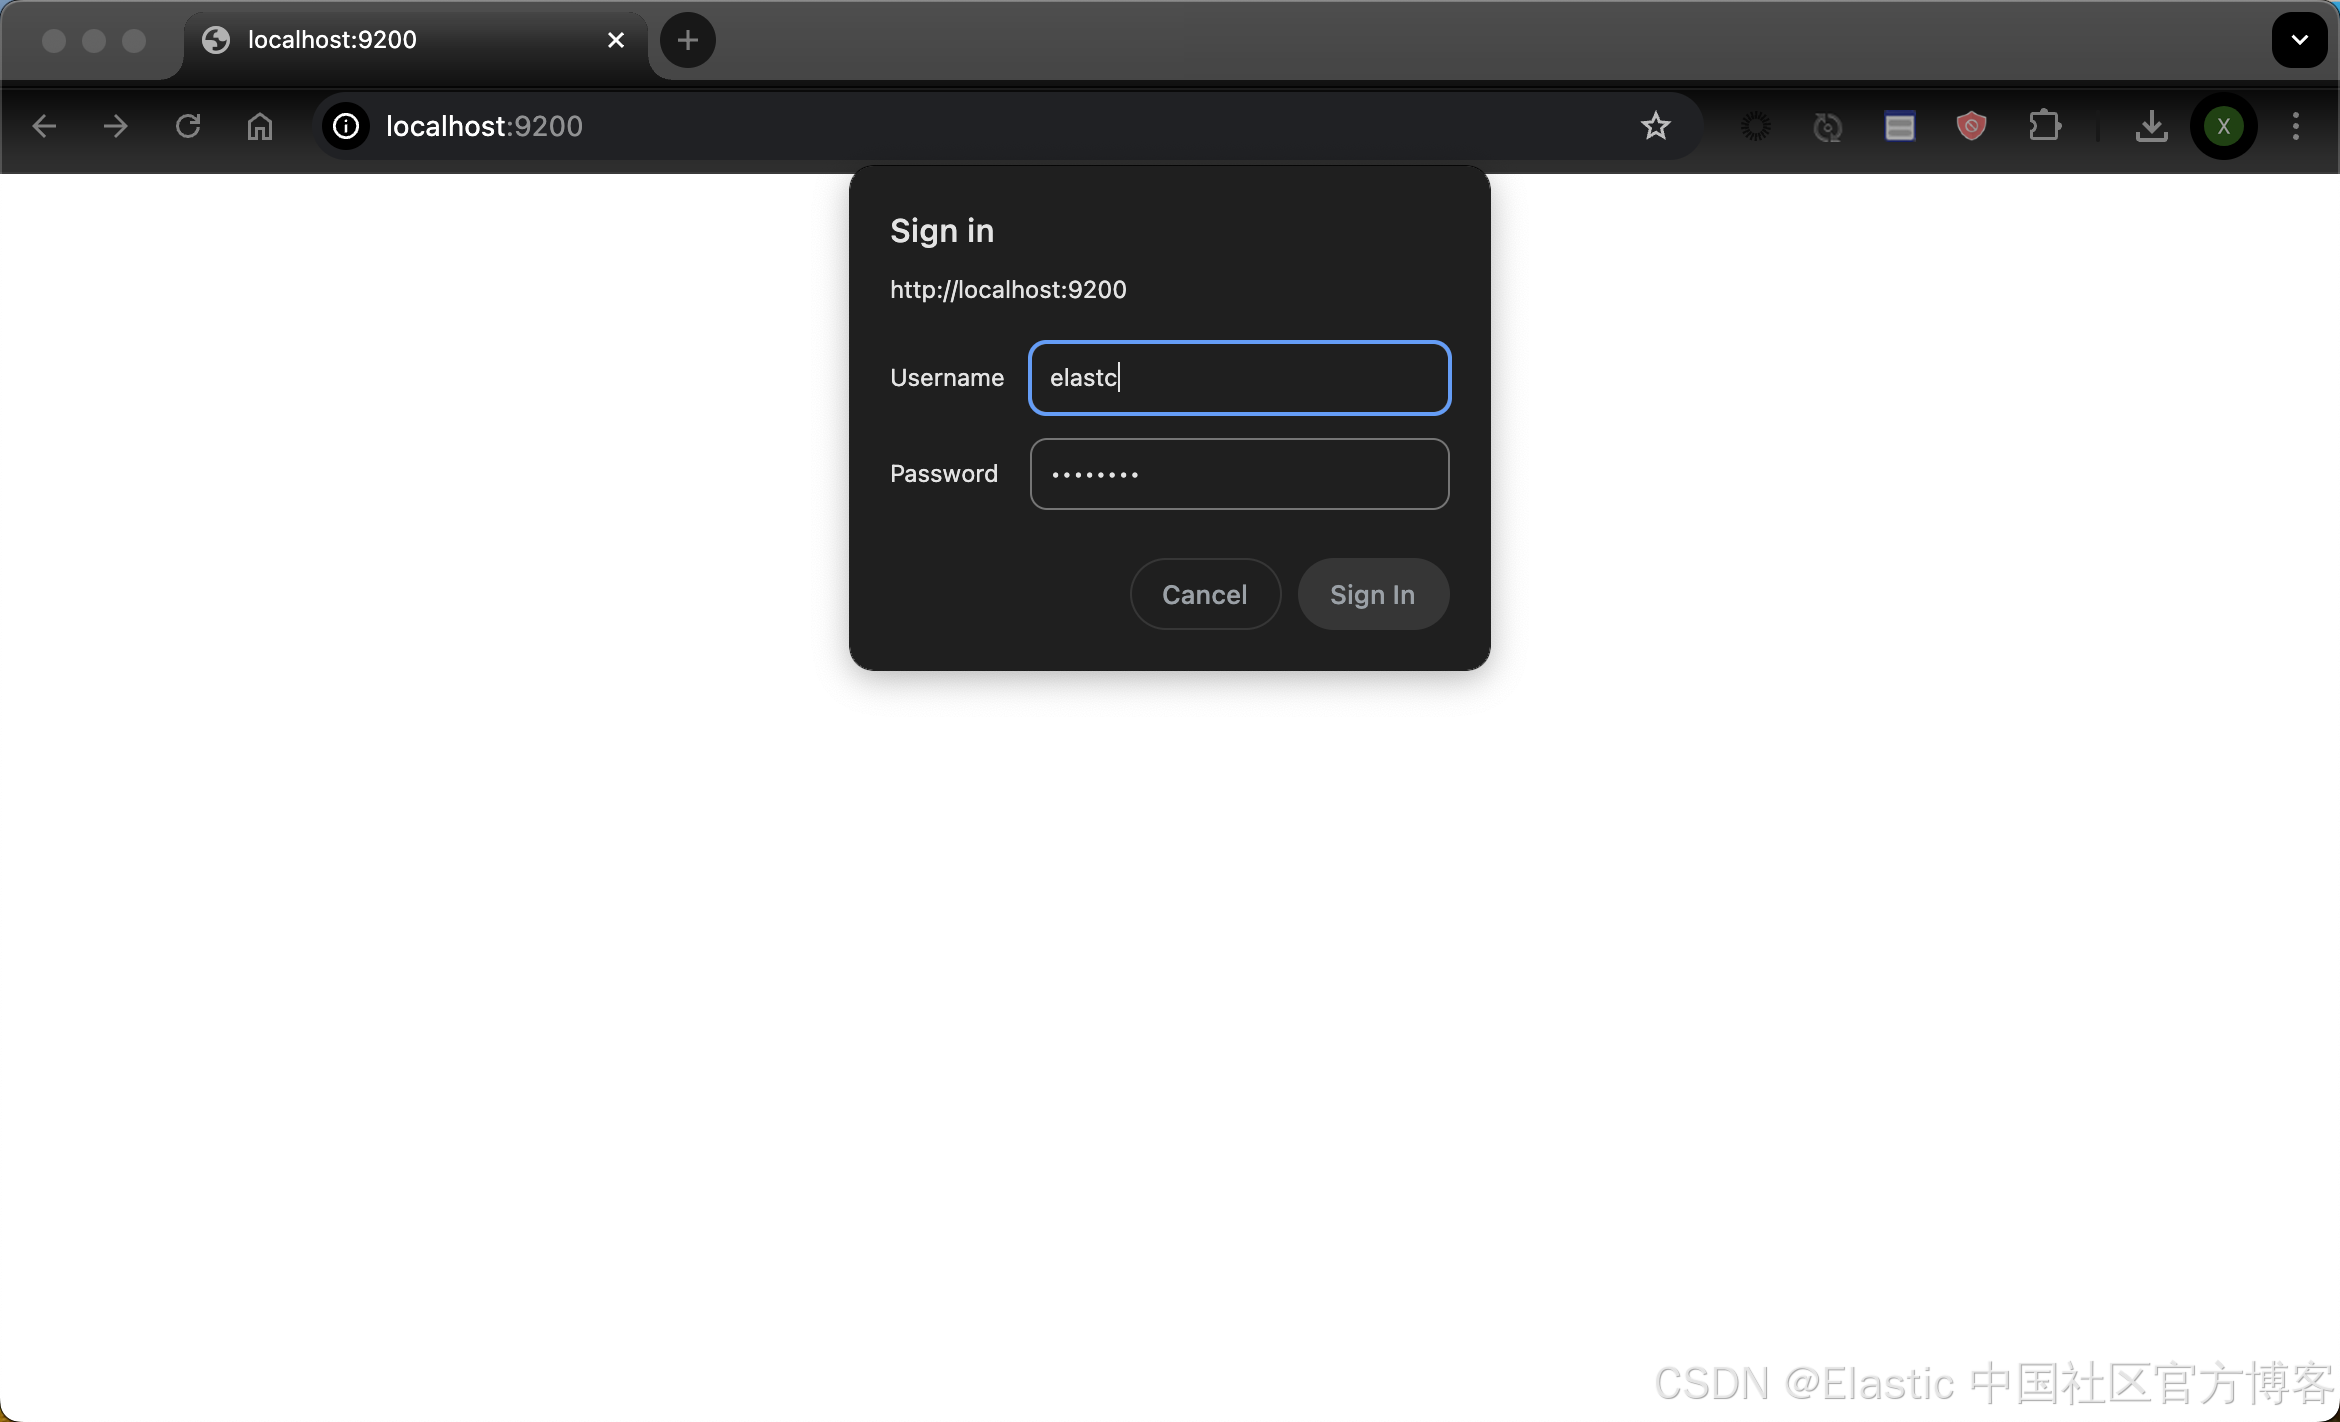
我们在浏览器中打开 http://localhost:9200:
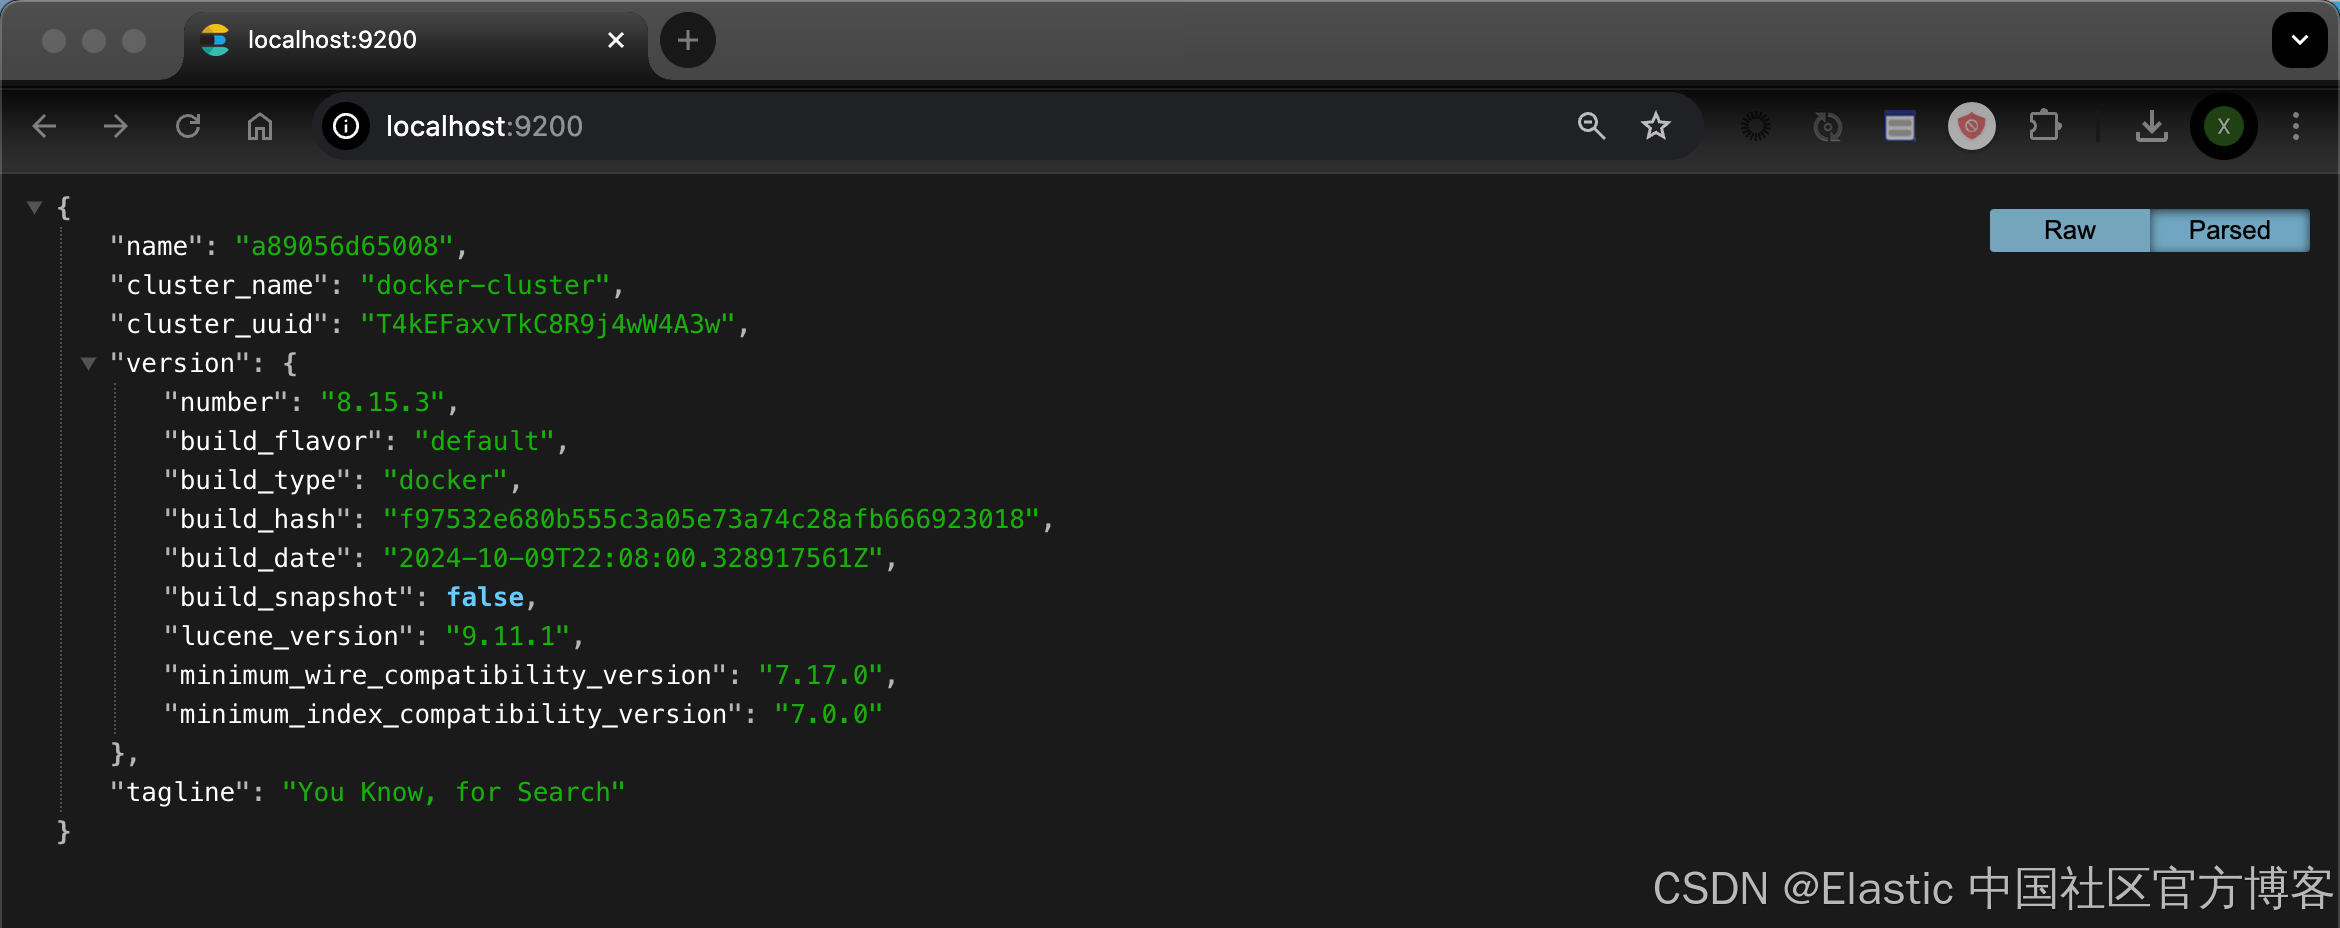
我们也可以使用如下的命令来进行查看:
- $ curl -u elastic:wuRd1MYj http://localhost:9200
- {
- "name" : "a89056d65008",
- "cluster_name" : "docker-cluster",
- "cluster_uuid" : "T4kEFaxvTkC8R9j4wW4A3w",
- "version" : {
- "number" : "8.15.3",
- "build_flavor" : "default",
- "build_type" : "docker",
- "build_hash" : "f97532e680b555c3a05e73a74c28afb666923018",
- "build_date" : "2024-10-09T22:08:00.328917561Z",
- "build_snapshot" : false,
- "lucene_version" : "9.11.1",
- "minimum_wire_compatibility_version" : "7.17.0",
- "minimum_index_compatibility_version" : "7.0.0"
- },
- "tagline" : "You Know, for Search"
- }
我们也可以在浏览器中打入地址 http://localhost:5601:

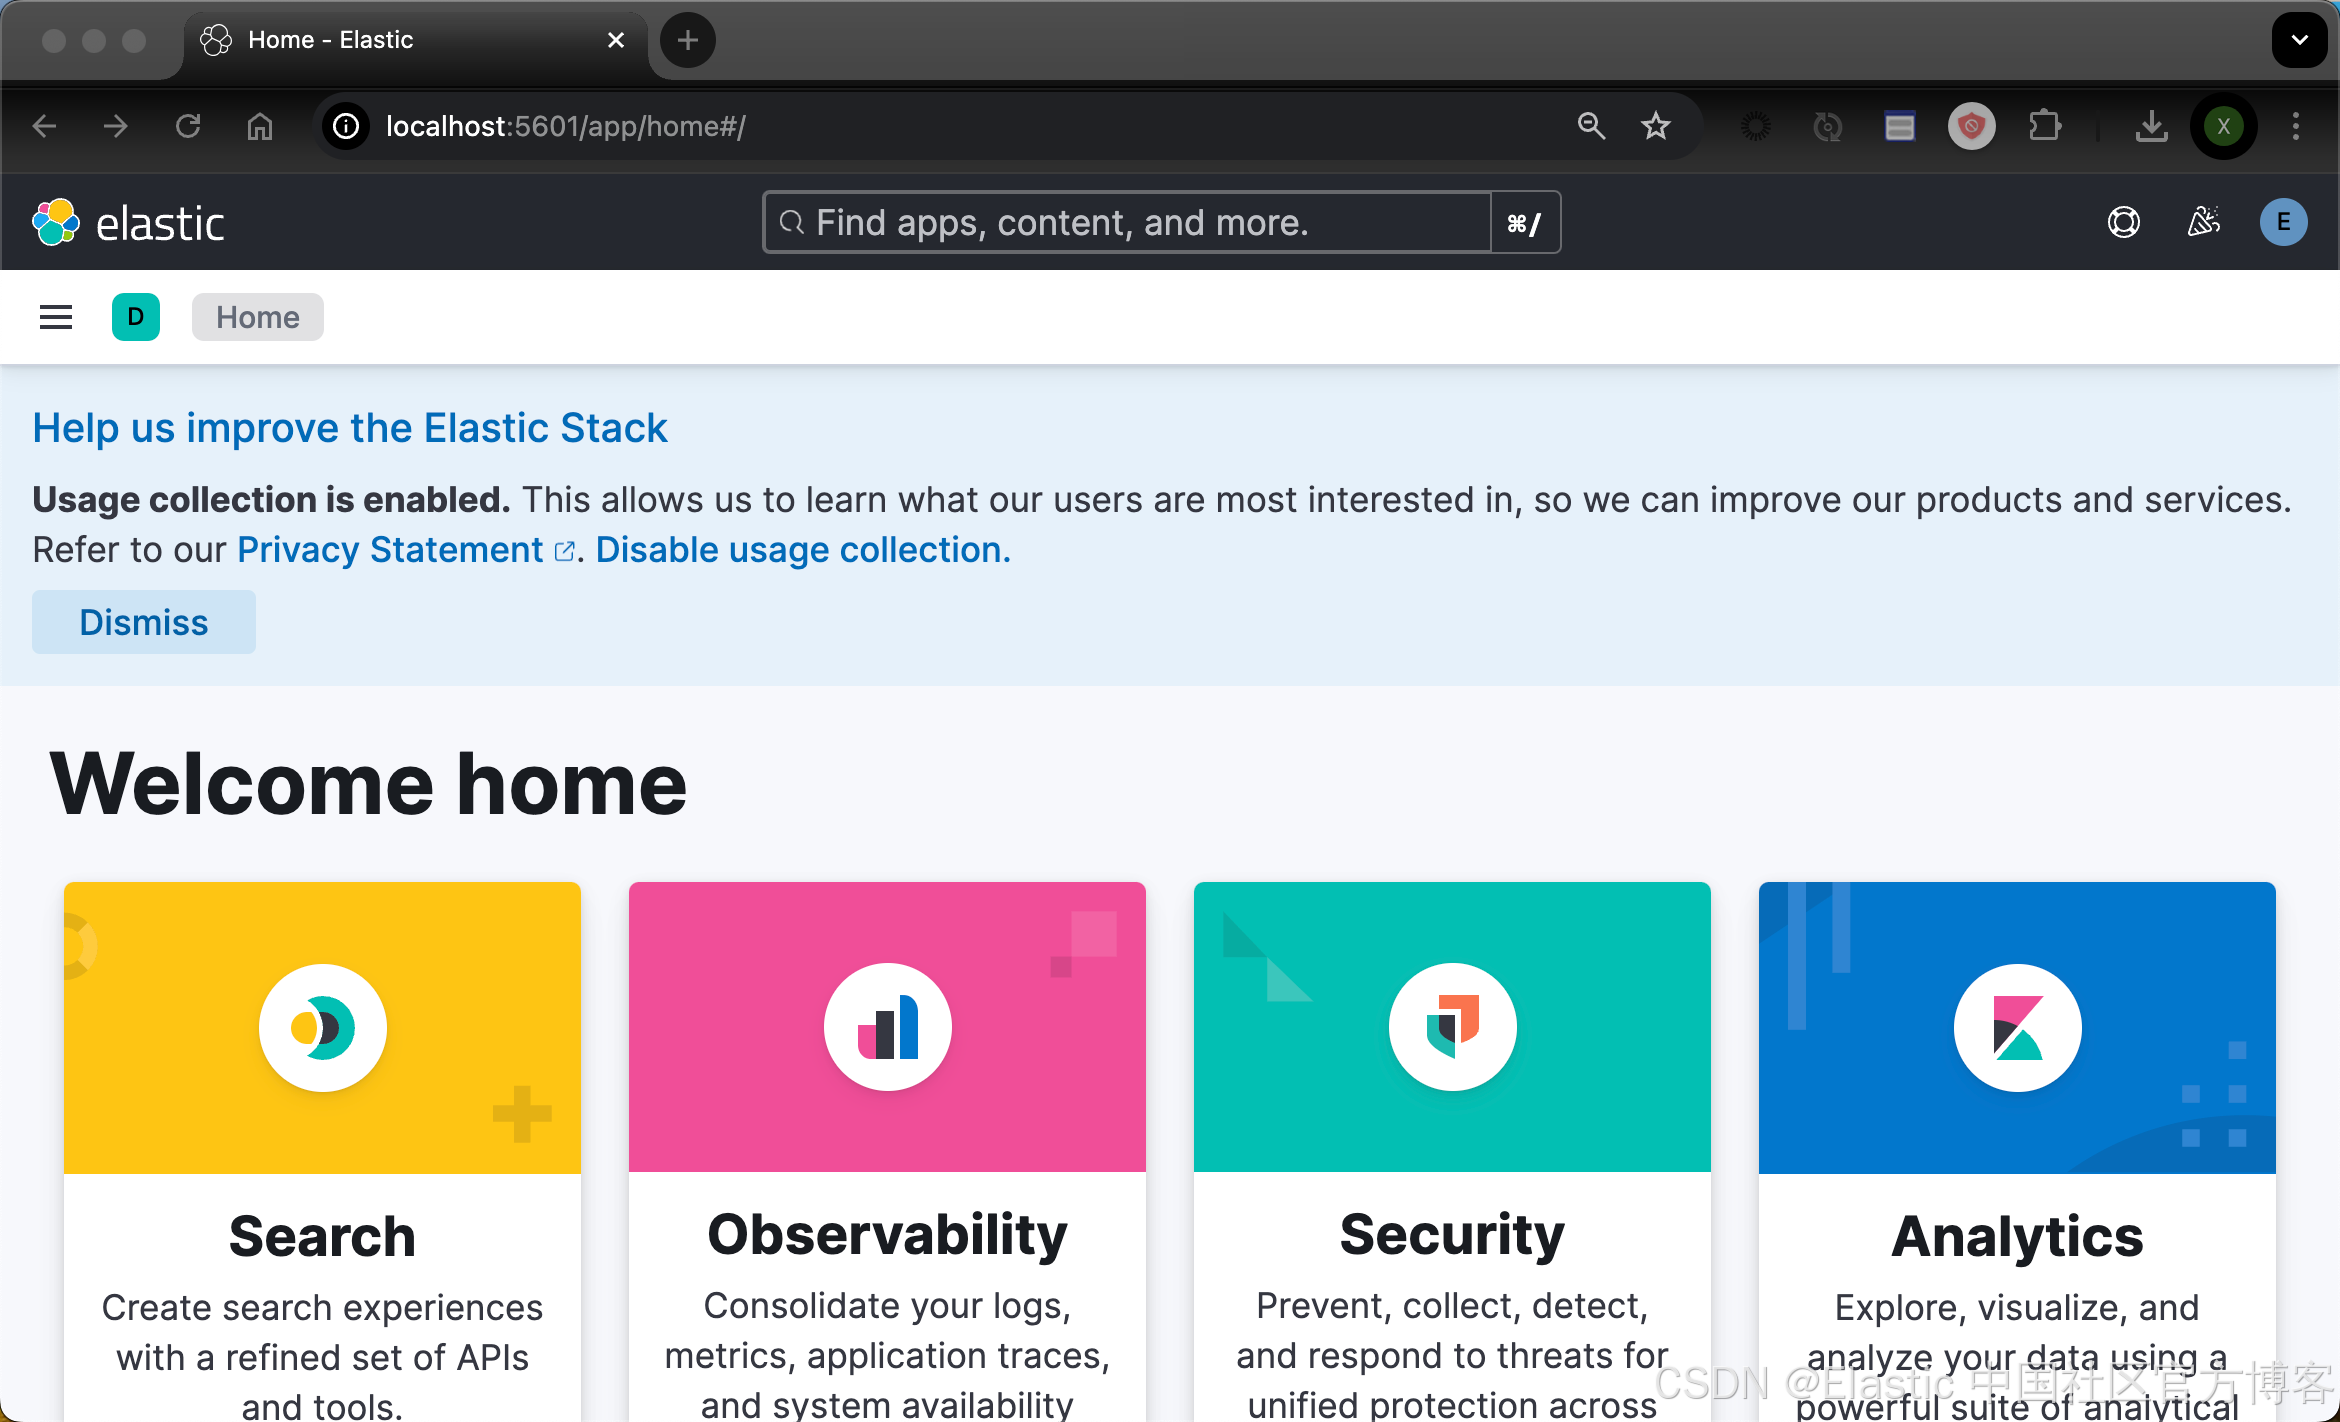
我们成功地进入到 Kibana 的界面了。
警告:HTTPS 已禁用,并且对 Elasticsearch 使用基本身份验证。此配置仅用于本地测试。出于安全考虑,Elasticsearch 和 Kibana 只能通过 localhost 访问。
API keys
生成 Elasticsearch 的 API 密钥并将其作为 ES_LOCAL_API_KEY 存储在 .env 文件中。使用此密钥通过 Elastic SDK 或 REST API 连接到 Elasticsearch。
在 elastic-start-local 文件夹中使用 curl 检查与 Elasticsearch 的连接:
- source .env
- curl $ES_LOCAL_URL -H "Authorization: ApiKey ${ES_LOCAL_API_KEY}"
- $ source .env
- $ curl $ES_LOCAL_URL -H "Authorization: ApiKey ${ES_LOCAL_API_KEY}"
- {
- "name" : "a89056d65008",
- "cluster_name" : "docker-cluster",
- "cluster_uuid" : "T4kEFaxvTkC8R9j4wW4A3w",
- "version" : {
- "number" : "8.15.3",
- "build_flavor" : "default",
- "build_type" : "docker",
- "build_hash" : "f97532e680b555c3a05e73a74c28afb666923018",
- "build_date" : "2024-10-09T22:08:00.328917561Z",
- "build_snapshot" : false,
- "lucene_version" : "9.11.1",
- "minimum_wire_compatibility_version" : "7.17.0",
- "minimum_index_compatibility_version" : "7.0.0"
- },
- "tagline" : "You Know, for Search"
- }
启动及停止服务
你可以使用 elastic-start-local 文件夹中提供的 start 和 stop 命令。
要停止 Elasticsearch 和 Kibana Docker 服务,请使用 stop 命令:
- cd elastic-start-local
- ./stop.sh
- $ pwd
- /Users/liuxg/data/start-local/elastic-start-local
- $ ls
- docker-compose.yml start.sh stop.sh uninstall.sh
- $ ./stop.sh
- [+] Stopping 3/3
- ✔ Container kibana-local-dev Stopped 0.2s
- ✔ Container kibana_settings Stopped 0.0s
- ✔ Container es-local-dev Stopped 2.6s
- $ docker ps
- CONTAINER ID IMAGE COMMAND CREATED STATUS PORTS NAMES
要启动 Elasticsearch 和 Kibana Docker 服务,请使用 start 命令:
- cd elastic-start-local
- ./start.sh
- $ pwd
- /Users/liuxg/data/start-local/elastic-start-local
- $ ls
- docker-compose.yml start.sh stop.sh uninstall.sh
- $ ./start.sh
- [+] Building 0.0s (0/0) docker:desktop-linux
- [+] Running 3/3
- ✔ Container es-local-dev Healthy 0.0s
- ✔ Container kibana_settings Exited 0.0s
- ✔ Container kibana-local-dev Healthy 0.0s
- $ docker ps
- CONTAINER ID IMAGE COMMAND CREATED STATUS PORTS NAMES
- 4b50f85bddd3 docker.elastic.co/kibana/kibana:8.15.3 "/bin/tini -- /usr/l…" 19 minutes ago Up 23 seconds (healthy) 127.0.0.1:5601->5601/tcp kibana-local-dev
- a89056d65008 docker.elastic.co/elasticsearch/elasticsearch:8.15.3 "/bin/tini -- /usr/l…" 19 minutes ago Up 34 seconds (healthy) 127.0.0.1:9200->9200/tcp, 9300/tcp es-local-dev
从上面,我们可以看到容器已经被成功运行。
如果你需要配置 HTTPS,你需要阅读文章 “如何在 Linux,MacOS 及 Windows 上进行安装 Elasticsearch”。

 微信公众号
微信公众号

评论记录:
回复评论: